9
iPDU - Ref.: IOMPDUXXXX02-GB 00
ENGLISH
3. GETTING STARTED
3.1-1
3.2-1
This section provides information about setting up the iPDU, connecting power, and connecting devices to it before users start using
it for power management. Read this section carefully to learn how to connect various devices to the iPDU.
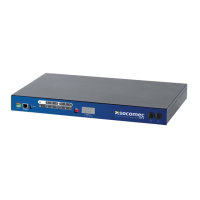
3.1. Attaching the feet
The iPDU comes with four feet or spacers that are attached to the bottom. Use the four screws provided with the feet to attach them
to the bottom of the iPDU as shown:
Note: Users do not need to attach the feet if the iPDU is going to be installed in a rack.
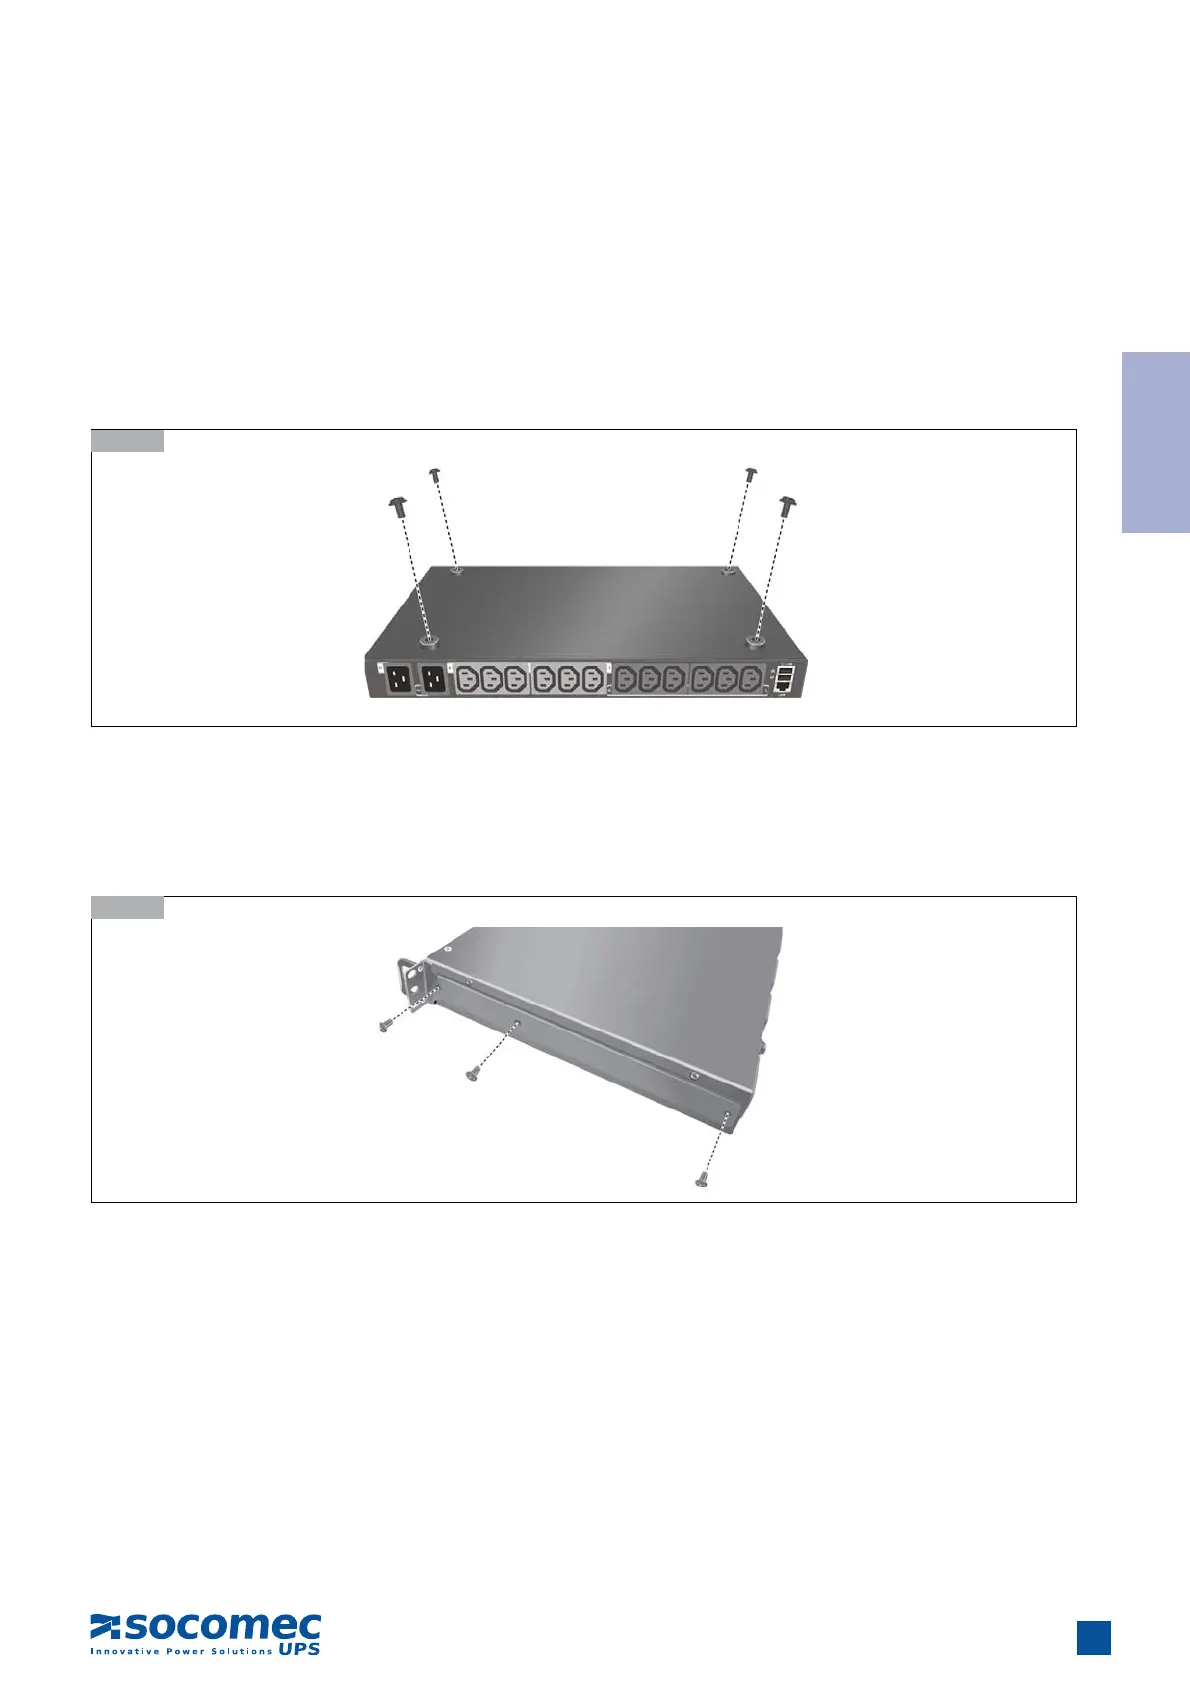
3.2. Attaching the brackets
The iPDU is designed to be placed in a rack arrangement and comes with two brackets to help users move the device easily. Attach
each bracket with the three screws provided in the package.
3.3. Rack Mounting
The iPDU can be installed in most standard 19” (1U) racks. After attaching the brackets to each side of the device, position the
device in the rack and align the holes on the brackets to the holes on the rack. Use the screws supplied with your racks to tighten
the brackets to the rack.