Cordless drill (with a torque clutch)or screwdriver and bits suitable for the surface
on which the inverter and Power Optimizers are installed and for opening the Safety
Unit drill guides. Use of an impact driver is
not
allowed
Ring terminals crimping tool
Wire cutters
Wire strippers
Voltmeter
For installing the communication options, you may also need the following:
For Ethernet:
CAT6 twisted pair Ethernet cable with RJ45 connector
If using a CAT6 cable spool: RJ45 plug and RJ45 crimper
For RS485 / CAN Bus :
Four- or six-wire shielded twisted pair cable
Watchmaker precision screwdriver set
Installation Procedure
The following procedures, are required for installing and setting up a new SolarEdge
site. Some of these procedures also apply to modification of an existing site.
1. Installing the Power Optimizers
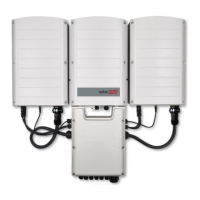
2. Installing the Synergy Manager and Synergy Units
3. "Connecting PV Modules and AC to the Synergy Manager" on page47
4. Connecting AC and PV Strings to the Synergy Manager
5. Activating, Commissioning and Configuring the System
6. Setting Up Communication with the Monitoring Platform
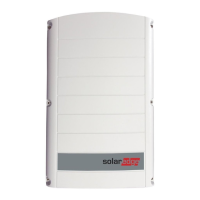
Three Phase Inverters with Synergy Technology PN: SExxK-xxxxIxxxx
20 Installation Procedure