Mark the location of the bracket screw and drill the hole
Fasten the bracket using a standard bolt
Verify that the bracket is firmly attached to the mounting surface .
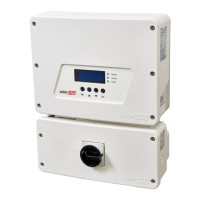
Figure 17: Connection Unit bracket
9.
Connect the Connection Unit cables to the Secondary Unit(s) connectors:
Communication cable to communication connector
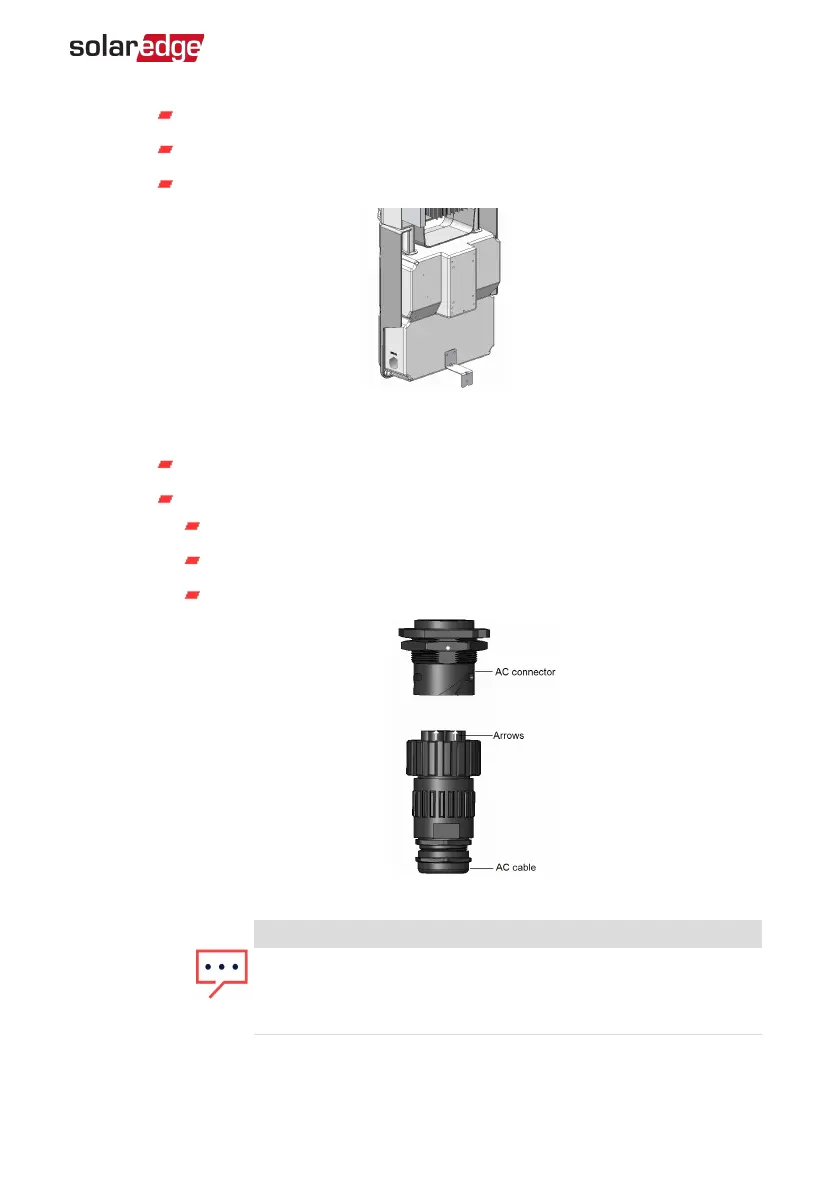
AC cable to AC connector:
Position the cable so that the arrows are facing you.
Plug the AC cable into the Secondary Unit.
Rotate the cable connector clockwise to fasten it.
Figure 18: Connecting the AC connector to a Secondary Unit
NOTE
When connecting the AC cable to the left Secondary Unit, loop
the cable ( see the following figure) to prevent pressure on the
gland.
Chapter 3: Installing the Primary and Secondary Unit(s) 33
Three Phase Inverter with Synergy Technology Installation MAN-01-00402-1.2