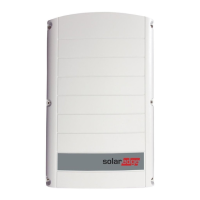
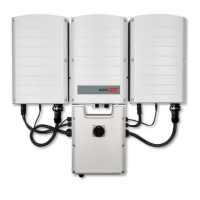
5. Disconnect all DC, AC wires and the communication connectors from the Primary
Unit.
Figure 47: Primary Unit interface
6.
Unscrew the two conduit nuts in the Primary Unit securing it to the Connection
Unit.
Figure 48: Conduit nuts
7. Remove the screw securing the Primary Unit to the mounting bracket and remove
the Primary Unit from the mounting bracket.
NOTE
If you remove the Primary Unit and do not immediately install a new one,
use insulation tape to isolate any exposed wires.
8. Place the new Primary Unit on the mounting bracket; insert the screw securing the
Primary Unit through the right side of the heat sink and into the bracket.
9. Connect the DC, AC wires and the communication connectors to the Primary Unit.
10. For a 3 unit inverter reconnect the AC, DC and comm cables from the Connection
Unit to the right Secondary Unit.
11. Close the Primary Unit cover.
12. Perform the commissioning steps as described in
Activating, Commissioning and
Configuring the System Using the Inverter SetApp
on page 43.
13.
In the monitoring platform, use the Replace button in the logical layout tab (in site
Admin).
-Three Phase Inverter with Synergy Technology Installation MAN-01-00402-1.2
88 Replacing the Primary Unit

 Loading...
