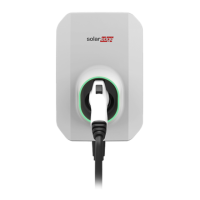
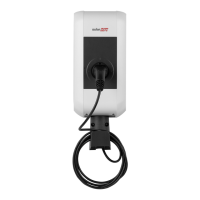
Connecting the Smart EV Charger to the Single phase
inverter with HD-Wave technology
This section describes the procedures required for connecting the Smart EVCharger to
the Single phase inverter with HD-Wave technology. This option enables using PV
produced by the Single phase inverter with HD-Wave technology as well as power from
the grid, for Level 2 EV charging.
Prerequisites
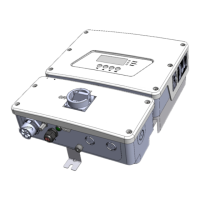
Before connecting the Smart EVCharger to the Single phase inverter with HD-Wave
technology, replace the bus bar and AC terminal blocks inside the DC Safety Unit as
described in these following procedures, using the supplied kit.
Kit Contents
2 terminal blocks
9 hole bus bar
Required Equipment
Unibit drill
Open ended 36mm wrench
3.6" / 5mm flat-blade screwdriver
Main Procedure
1. Remove the DC Safety Unit Cover and open the AC conduit drill guide
2. Replace the existing AC terminal blocks, inside the DC Safety Unit
3. Replace the existing bus bar, inside the DC Safety Unit
4. Connect the AC cable between the Single phase inverter with HD-Wave technology
and the Smart EV Charger
5. Connect the AC wires to the DC Safety Unit AC terminals
The following are the detailed procedures.
Smart EV Charger Installation MAN-01-00657-1.0
29 Connecting the Smart EV Charger to the Single phase inverter with
HD-Wave technology