Appendix A: Professional Installer - Connecting
the Smart EV Charger to an Energy Meter
This section provides instructions for connecting the Smart EV Charger to an Energy
Meter. An Energy Meter is required for Smart Energy Management applications, such as
controlled Excess Solar charging.
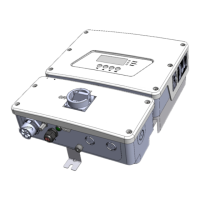
To install the Energy Meter, refer to the installation guide supplied with it:
Energy Meter DIPSwitches
The following sections explain the DIPSwitches IDs and termination.
Energy Meter ID DIP Switches
The IDDIPswitches are used to set the Modbus address of the meter. The addressing
options are listed in the table below. See the figure
ID and termination DIP switches
on
page 50 for switch direction guidelines.
Table 1: Energy Meter ID DIP Switches
Modbus Address ID 1 ID 2 ID 3
0 Down Down Down
1 Up Down Down
2 Down Up Down
3 Up Up Down
4 Down Down Up
5 Up Down Up
6 Down Up Up
7 Up Up Up
Energy Meter Termination DIPSwitches
The Termination DIPswitches are used to configure RS485 wiring termination. The
termination options are listed in the table below. See the figure
ID and termination DIP
switches
on page 50 for switch direction guidelines and refer to
Table 1
.
Smart EV Charger Installation MAN-01-00657-1.0
49 Appendix A: Professional Installer - Connecting the Smart EV Charger
to an Energy Meter