CAUTION!
When removing the cover, make sure not to damage internal components.
SolarEdge will not be held responsible for any components damaged as a
result of incautious cover removal.
ATTENTION!
Lors du retrait du couvercle, assurez-vous de ne pas endommager les
composants internes. SolarEdge ne peut être tenue pour responsable des
composants endommagés à la suite d'une imprudence dans le retrait du
couvercle.
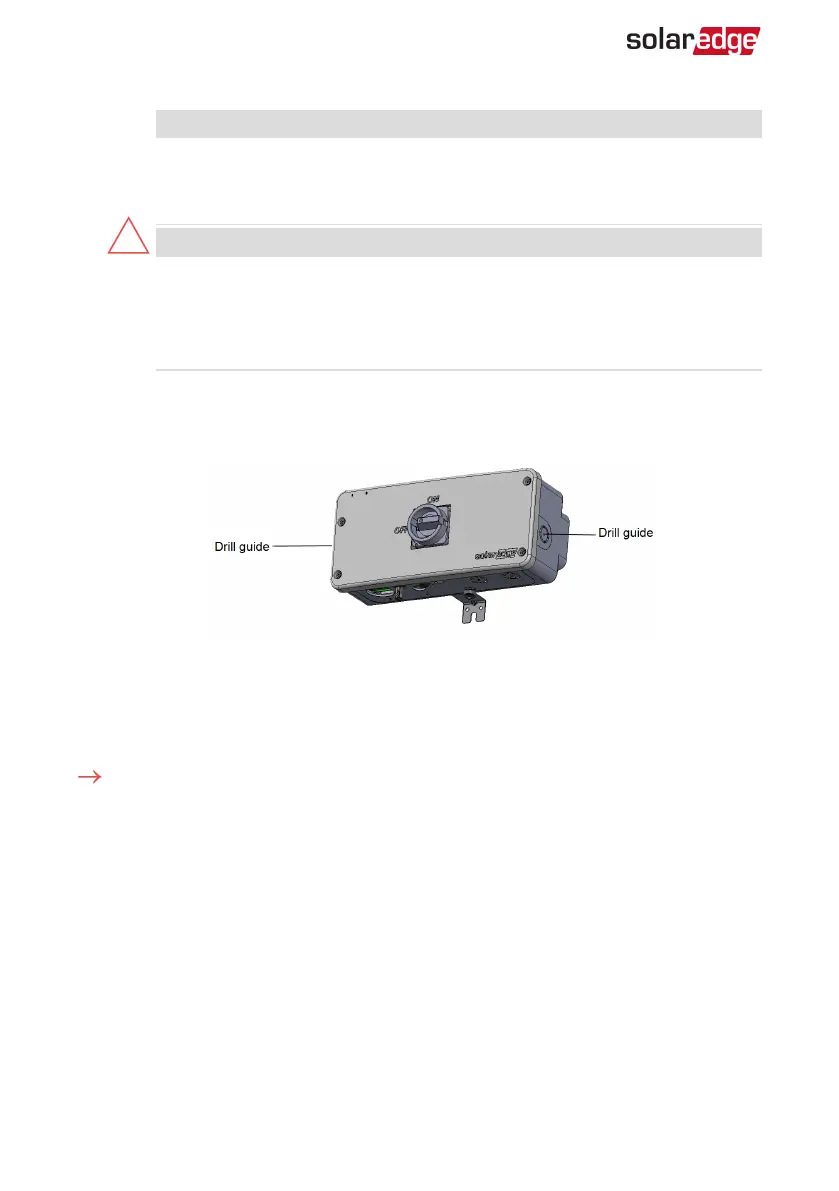
4.
Open the AC conduit drill guide either on the left or the right side (as shown in the
following image), taking care not to interfere with any of the internal components
(see the following figure). It is recommended to use a Unibit drill.
Replacing the AC terminal Blocks, Inside the DC Safety Unit
For the location of the existing and new AC terminal blocks inside the DC Safety Unit,
see
Figure 7
.
To remove the existing AC terminal blocks:
1.
Unscrew the screws on the right and left sides of the DIN-rail.
2.
Using a screwdriver remove the right end-stop from the DIN-rail (see the following
figure).
Smart EV Charger Installation MAN-01-00657-1.0
31 Connecting the Smart EV Charger to the Single phase inverter with
HD-Wave technology