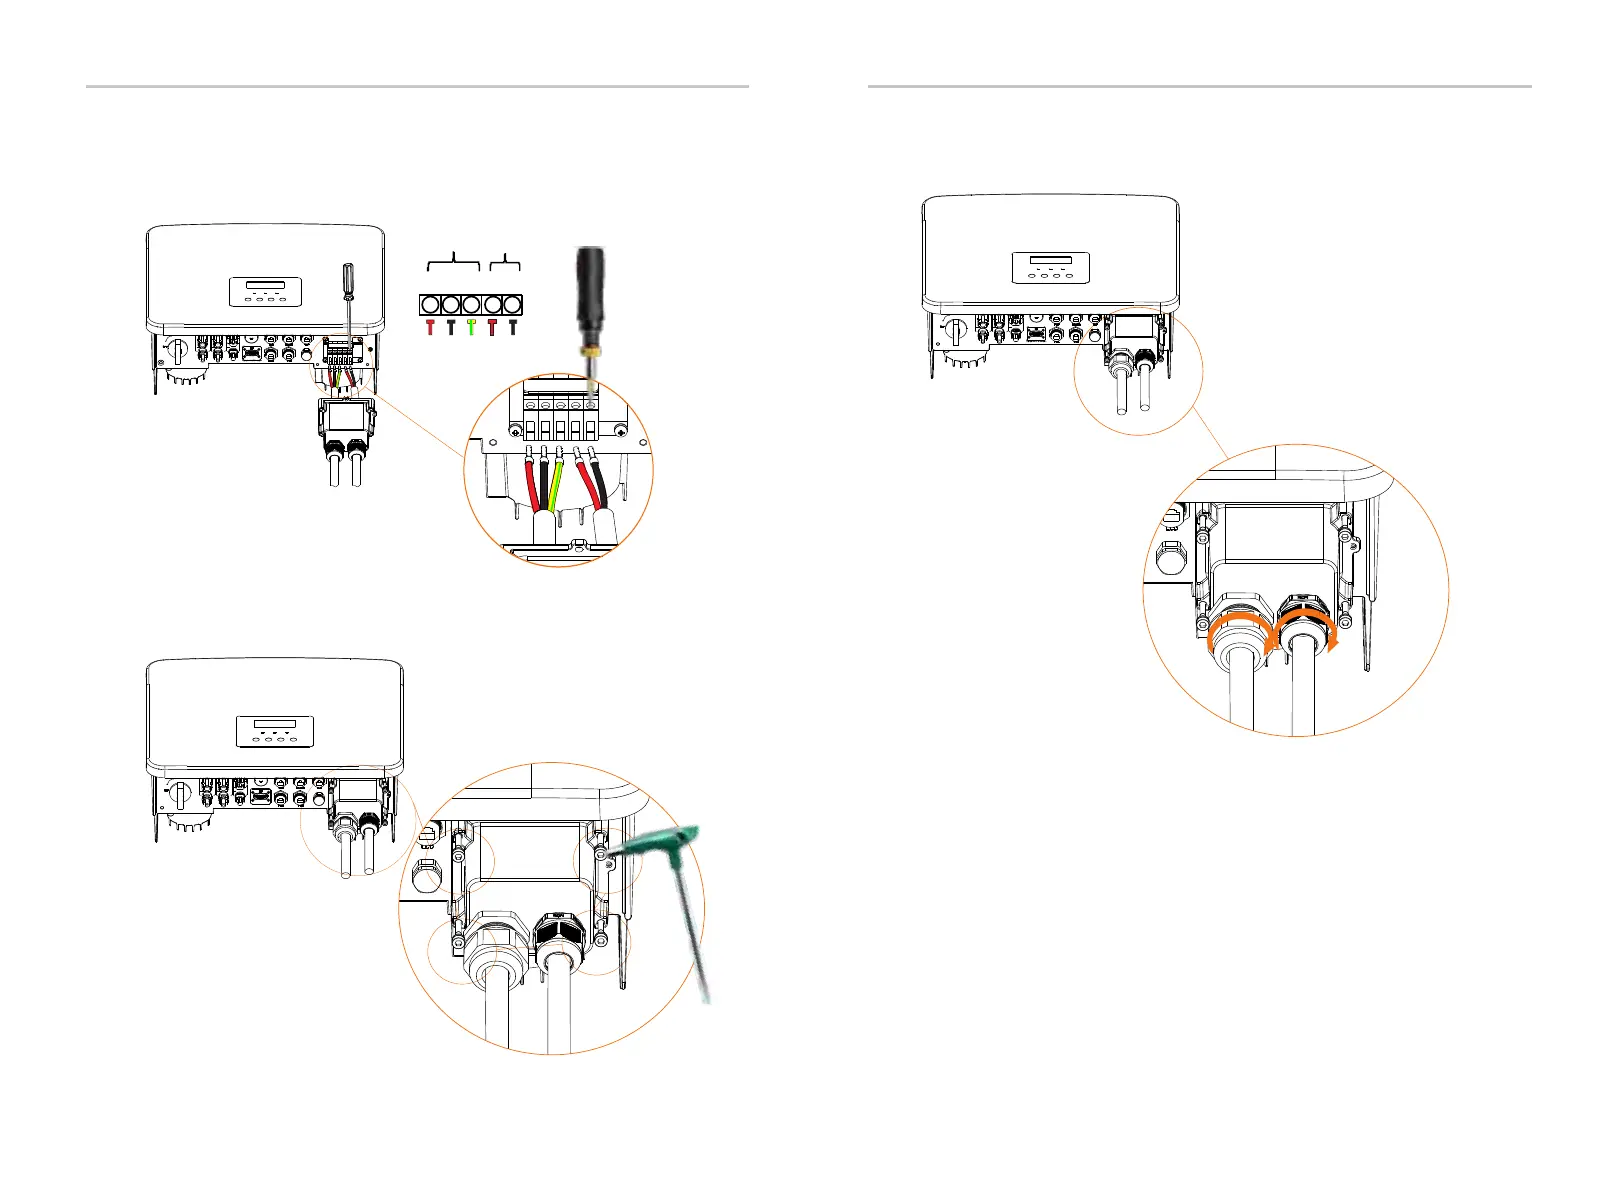
Step 6. Tighten the waterproof fastening head.
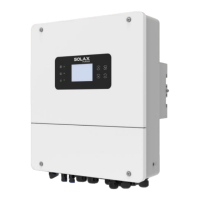
Step 5. Install the AC waterproof shield and tighten the screws on the four
Hexagon keys
(Torque: 0.8±0.1 N ·m)
Electrical Connection
Electrical Connection
Torque screwdriver
(Torque: 1.5±0.1 N ·m)
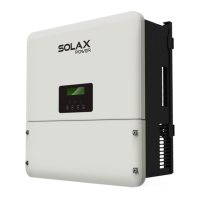
GRID
EPS(Off-grid)
L N PE L N
44
45
Upgrade/Dongle
Step 4. Find the location of the AC interface on the inverter, insert the
crimped terminals into the UW10 terminals L, N, and P according to the
wire sequence, and use a flat-blade screwdriver to tighten the screws.
(Torque: 0.2±0.1 N ·m)

 Loading...