Using the Printer Driver
13
Windows Me
[Orientation]
Select [Portrait] or [Landscape] for the print direction.
[Copies]
Set the number of copies to print. You can select from 1
to 24 for the number of copies.
[Scale]
Select the rate of enlargement or reduction. You can
select a setting within the range of 10% to 400%.
[Border]
Select this check box to print a border in the margins.
[Image Layout]
Select the number of images to print on one sheet: 1up,
2up, 4up, or 8 up.
[Laminate Pattern]
Select a laminate pattern for the surface of the print from
the three available options:
• [Glossy] The image is printed with a glossy, slick
finish.
• [Texture] The image is printed with a silk screen
finish.
• [Matte] The image is printed with a matte finish.
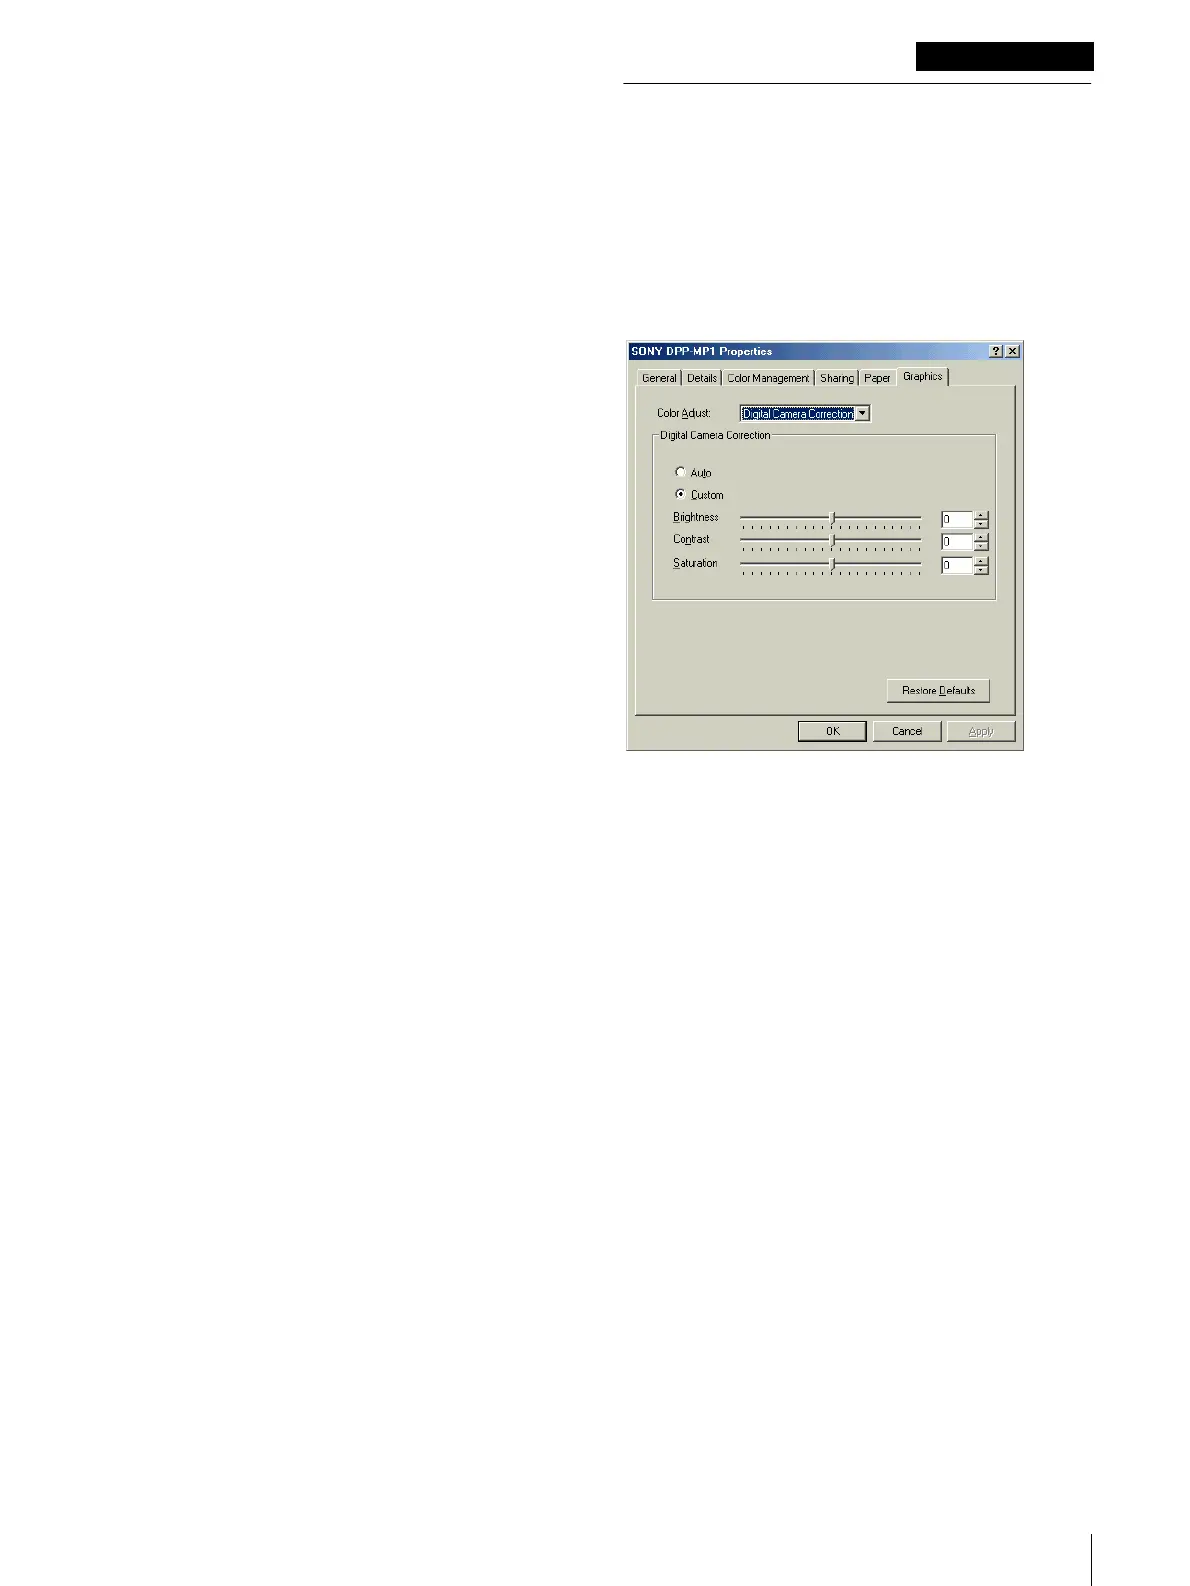
[Graphics] Tab
This tab presents adjustments for image color,
brightness and so forth.
From the [Color Adjust] pull-down list, you can select
[Digital Camera Correction], [Color Balance],
[Sharpness], or [Color Correction], and then adjust the
image with the settings provided for each selection.
[Digital Camera Correction]
When printing an image captured with a digital camera,
you can use the [Brightness], [Contrast] and [Saturation]
settings to adjust the image.
• Select [Auto] to achieve the best possible processing
for a digital image.
• Select [Custom] to manually adjust the [Brightness],
[Contrast], and [Saturation] of the image.
 Loading...