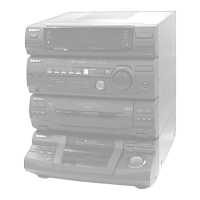
HCD-CX4iP/CX5iP
8
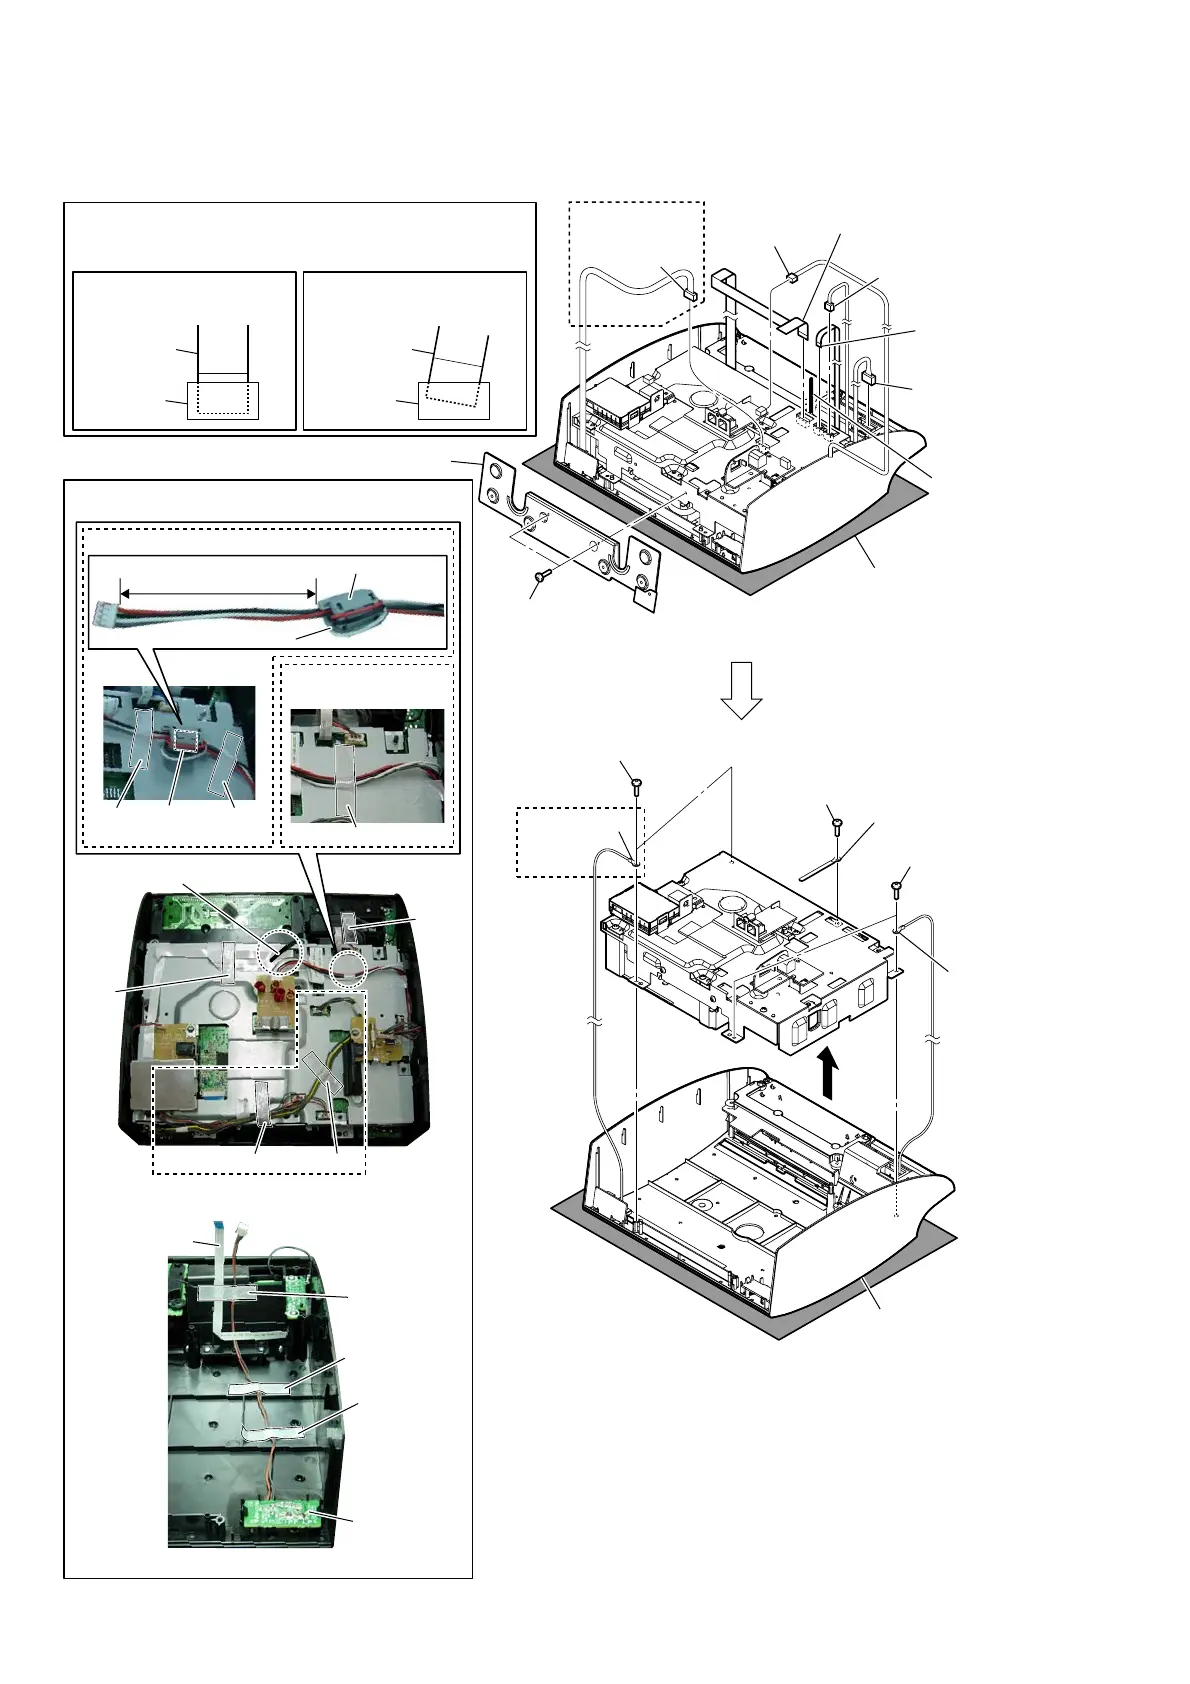
2-3. PANEL (FRONT) BLOCK
– Rear bottom view –
– Rear bottom view –
– Rear view –
– Panel (front) inner view –
(CX5iP)
(CX5iP)
(CX5iP)
1 two screws
(BVTT3 u 6)
0 two screws
(BV B2.6)
tape
tape
tape
0 two screws
(BV B2.6)
0 screw
(BV B2.6)
2 chassis (bottom) block
3 connector
(CN1701)
9 connector
(CN491)
4 connector
(CN852)
7 Lift up the
coating clip.
qa coating clip
coating clip
qs lug wire
qs lug wire
qf panel (front) block
5 connector
(CN1235)
6 flexible flat
cable (5 core)
(CN1240)
8 flexible flat cable (11 core)
(CN1220)
flexible flat
cable (11 core)
RMC board
Note 2:
When you install the flat cable, please install them correctly.
There is a possibility that this machine damages when not
correctly installing it.
Note 1:
Please spread a sheet
under a unit not to injure
panel (front).
Insert is straight to the interior. Insert is incline
flat cable
connectorconnector
flat cable
OK NG
tape
tape
tape
tape
:
ire
V
ettin
J
(US, Canadian)
(EXCEPT US,
Canadian)
tape
tape
tape
adhesive
tape (EMC)
qd
sleeve ferrite clamp
Roll the wire once.
125 ± 5 mm