29
5-5. Creating Continuos Recorded Disc
• This disc is used in focus bias adjustment and error rate check.
The following describes how to create a continuos recording disc.
1. Load a disc (blank disc) commercially available.
the disc is loaded by pushing the tray.
2. Rotate the lAMSL knob and display “CREC 1MODE”
(C35).
3. Press the YES button to display “CMEC 1MID”.
“CREC1 (0300)” is displayed for a moment and recording starts.
4. Complete recording within 5 minutes.
5. Press the MENU/NO button to stop recording.
6. Press the A button to eject the disc.
The above has been how to create a continuos recording data for
the focus bias adjustment and error rate check.
Note:
• Be careful not to apply vibration during continuos recording.
5-6. Check before Repairing
This check aims at locating the approximate position of cause of
trouble before starting to replace parts using specifications.
For detailed information, refer to [Checks before Part Replacement
and Adjustment] of Service note.
5-6-1. Temperature Compensation Offset Check
Before adjustment, set the internal temperature and the ambient
temperature are between 22 and 28 °C.
Checking procedure:
1. Rotate the lAMSL knob to display “TEMP CHECK”
(C12).
2. Press the YES button.
3. It is OK when “T=@@(##)[OK” appears. It is NG when
“T=@@(##)[NG” appears. (@@ is the current value. ## is the
value that is written in the non-volatile memory.)
5-6-2. Laser Power Check
Before check:
• Refer to Section 1 “Service note” How to open the disc tray when
power switch is turned off, and laser power check.
• Check the IOP value of optical pick-up. (Refer to Section 5-8
“Recording and displaying the IOP information”.)
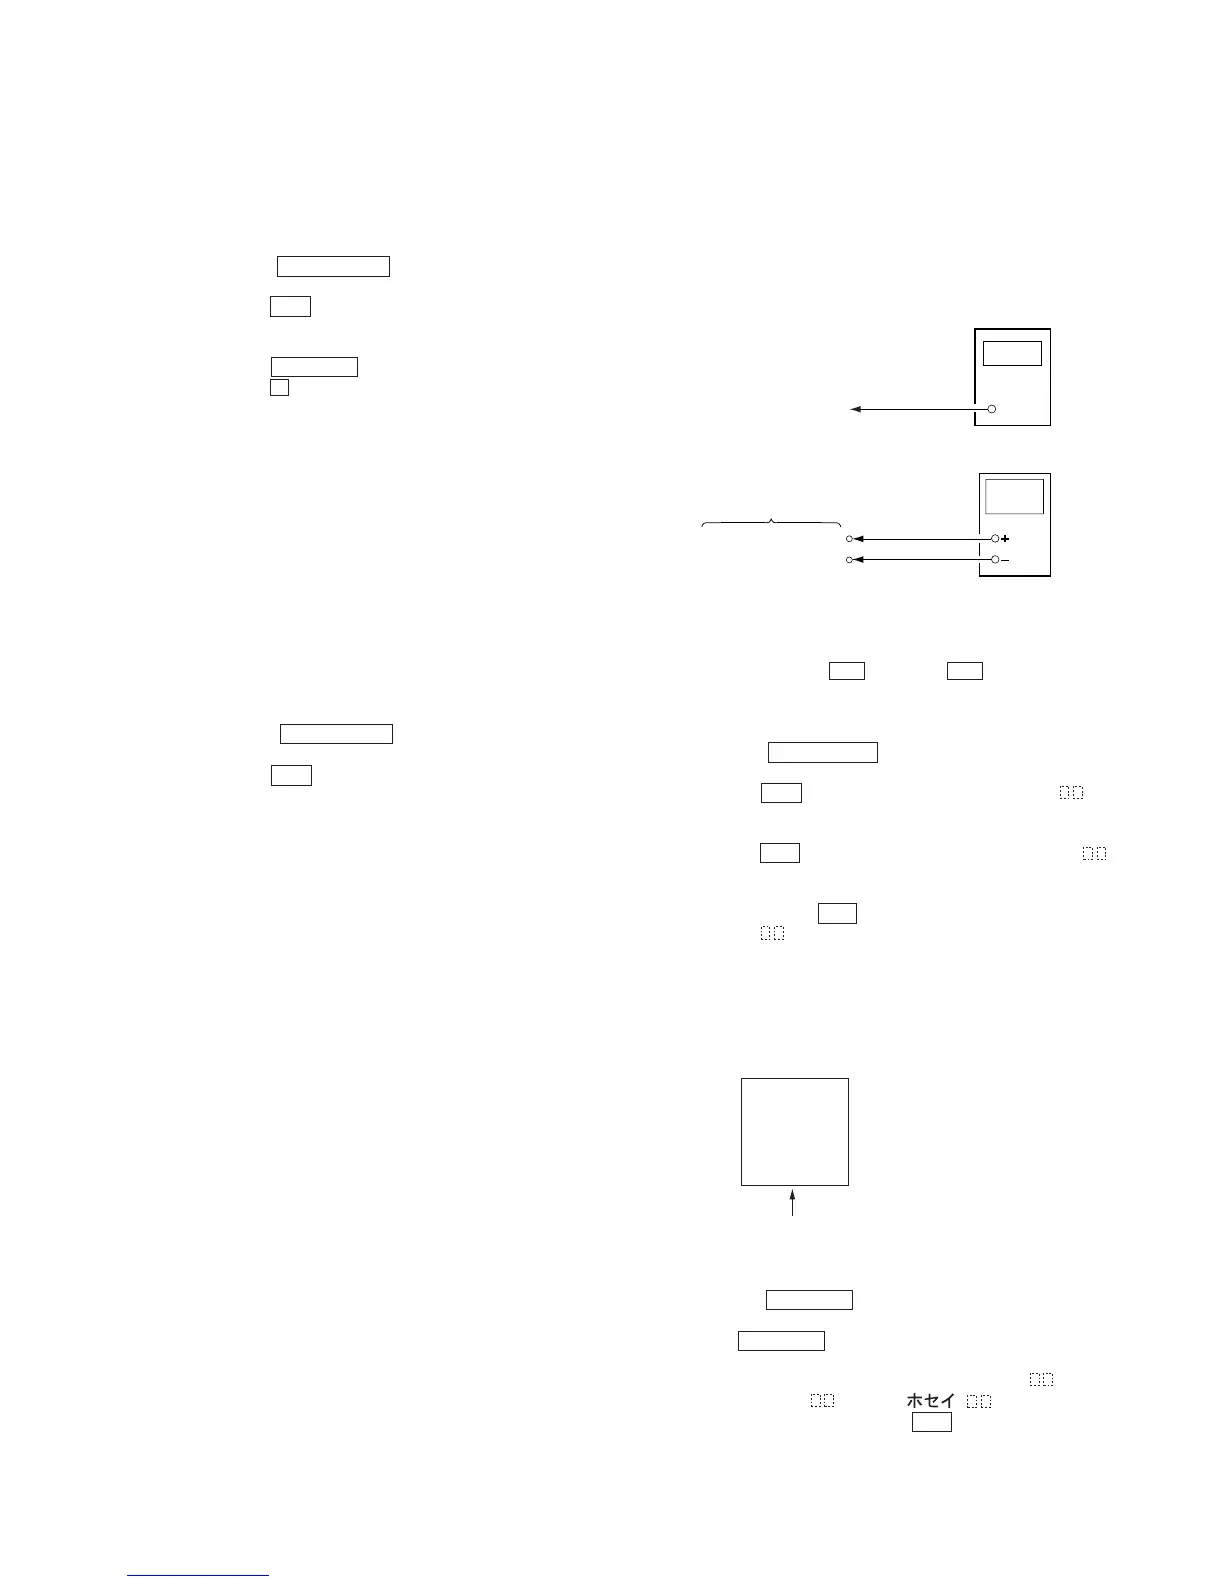
Connection:
Checking procedure:
1. Insert the laser power meter from the disc inlet and set it on the
objective lens of the optical pick-up. (When it cannot be set
properly, press the m button and M button to move the
optical pick-up.)
Connect the digital voltmeter to CN110 5-pin (I+3V) and the
CN110 4-pin (IOP).
2. Rotate the lAMSL knob to display “LDPWR CHECK”
(C13).
3. Press the YES button once to display “LD 0.9mW $ ”.
Confirm that the reading of the laser power meter is 0.84 to
0.92 mW.
4. Press th
e YES button once again to display “LD 7.0mW $ ”.
Confirm that the readings of the laser power meter and digital
bolt meter satisfy the specified value.
5. Then press th
e YES button once again to display “LD
6.2mW $ ”.
Specification:
Laser power meter reading: 7.0 ± 0.2 mW
Digital bolt meter reading: Optical pick-up displayed value ± 10 %
6. Press the MENU/NO button to display “LDPWR CHECK”
(C13) and stop laser emission.
(The MENU/NO button is effective at all times to stop the
laser emission.)
Note 1 : After step 4, the display of “LD 0.7mW$ ” “LD
6.2mW$ ”, “LD Wp $ ” is switched every
time when pressing the YES button. Operation is not
necessary for these displays.
Laser power meter
Optical pick-up
objective lens
Digital voltmeter
CN110 5-pin (I+3V)
CN110 4-pin (IOP)
BD board
KMS
260B
24391
H0528
(For the checking procedure of
this value, refer to Section 5-8
“Recording and displaying the
IOP information”.)
IOP = 52.8 mA in this case
IOP (mA) = digital bolt meter reading (mV)/1 (W)
(Optical pick-up label)
 Loading...