EasyManua.ls Logo

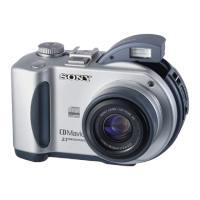
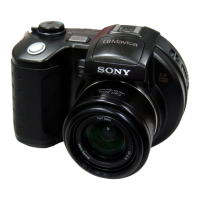
Sony MVC-CD300

Sony MVC-CD300
86 pages
To Next Page IconTo Next Page
Loading...
SERVICE MANUAL
DIGITAL STILL CAMERA
Level 3
This service manual contains information
for japanese model as well.
The information that is not described in this
Service Manual is described in the LEVEL 2
Service Manual.
When repairing, use this manual together with
LEVEL 2 Service Manual.
Contents of LEVEL 2 Service Manual
SERVICE NOTE
1. GENERAL
2. DISASSEMBLY
3. BLOCK DIAGRAMS
4. PRINTED WIRING BOARDS AND
SCHEMATIC DIAGRAMS
5. ADJUSTMENTS
6. REPAIR PARTS LIST
OVERALL
MODE CONTROL
LCD
POWER
CD-333 BOARD
CD-334 BOARD
TK-61 BOARD
CONTROL SWITCH BLOCK (ZK-503)
FS-83 BOARD
JK-208 BOARD
PK-58 BOARD
EXPLODED VIEWS
ELECTRICAL PARTS LIST
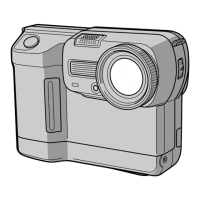
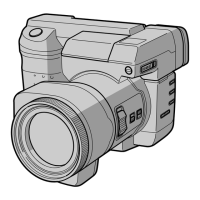
MVC-CD200/CD300
US Model
Canadian Model
AEP Model
UK Model
E Model
Hong Kong Model
Australian Model
Chinese Model
Tourist Model
Korea Model
Japanese Model
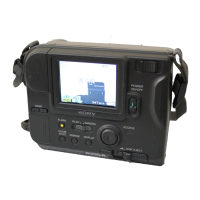
Photo : MVC-CD300
Ver 1.1 2001. 07

Table of Contents

Question and Answer IconNeed help?

Do you have a question about the Sony MVC-CD300 and is the answer not in the manual?

Sony MVC-CD300 Specifications

General IconGeneral
Image Sensor1/2.7" CCD
Optical Zoom3x
Digital Zoom2x
LensCarl Zeiss Vario-Sonnar
Display2.5" LCD
Max Shutter Speed1/1000 sec
Self Timer Delay10 sec
Viewfinder TypeOptical
Weight540 g
StorageCD-R, CD-RW
Video RecordingMPEG
BatteryNP-FM50 InfoLithium
Focus AdjustmentAuto, Manual
Light SensitivityISO 100, ISO 200, ISO 400
Shooting ProgramsTwilight, Twilight Portrait, Landscape
Exposure MeteringMulti-pattern, Spot
Exposure ModesAperture Priority, Shutter Priority
White BalanceAuto
White Balance PresetsCloudy, Daylight, Fluorescent
Flash ModesAuto, Slow Sync, Red-eye reduction, Off
Effective Flash Range0.5 - 3.5 m
Connector TypeUSB
Image FormatJPEG

Summary

SERVICE MANUAL

SUPPLEMENT-1

ADJUSTMENT

Error Analysis and Repair Work Flow

5. Installing the Dencho for DDX-G2100

5-1. Installing the Dencho for DDX-G2100

Steps to install the "Dencho" software for DDX-G2100.

6. Adjustment

6-1. Starting Up Dencho for DDX-G2100

Steps to launch and access the engineer mode of the adjustment software.

6-2. Saving the Error Status and Initializing the EEPROM

6-2-1. Saving the Error Log File

Procedure to save error logs and model serial number.

6-3. Laser Power Adjustment

6-4. SKEW Adjustment

SKEW Adjustment

Adjusts the skew error caused by the optical device to minimum.

6-5. Read (CD) Adjustment

6-6. Write (CDR) Adjustment

6-7. Write (CDRW) Adjustment

7-1. Laser Power Adjust

7-1-1. EEPROM preset NG

Initializes EEPROM for electrical adjustment.

7-1-3. Read Power NG

Adjusts laser read power and troubleshoots issues.

7-2. SKEW Adjust

7-2-1. SKEW Adjustment NG (Judgement is not performed.)

Adjusts skew error caused by the OP unit to minimum.

7-3. Read (CD) Adjust

7-4. Write (CDR) Adjustment

7-5. Write (CDRW) Adjustment

TROUBLESHOOTING

3. TROUBLESHOOTING THE DDX-G2100

1. Laser Power Adjust

Details troubleshooting steps for Laser Power Adjustment issues.

3. Read (CD) Adjust

Troubleshooting for Read (CD) Adjustment issues.

Related product manuals