Adjusting the Viewfinder
31
Preparations
Select “B&W” if checking the subject and
focusing are easier on the monochrome display.
If you assign “VF Mode” to one of the assignable
buttons (see page 72), you can switch between
color and monochrome by pressing the button.
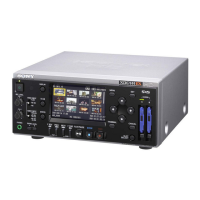
Adjusting the position (distance from
your eye)
Loosening the fixing lever below the handle
(rotating it toward the viewfinder) permits you to
horizontally pull out the support bar and move the
viewfinder forward or rearward with the support
bar as the axis.
1 Adjust the horizontal position.
2 Move the viewfinder forward or
rearward for the best position.
Tighten the fixing lever after the adjustments.
Note
When you move the viewfinder forward or
rearward, the angle of the viewfinder varies
simultaneously.
Adjust the angle for your best position after
tightening the fixing lever.
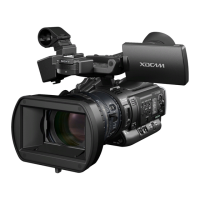
Adjusting the angle
You can adjust the angle of the viewfinder.
Note
If the fixing lever below the handle is loose, the
position may vary when you adjust the angle. Be
sure to tighten the lever in advance.
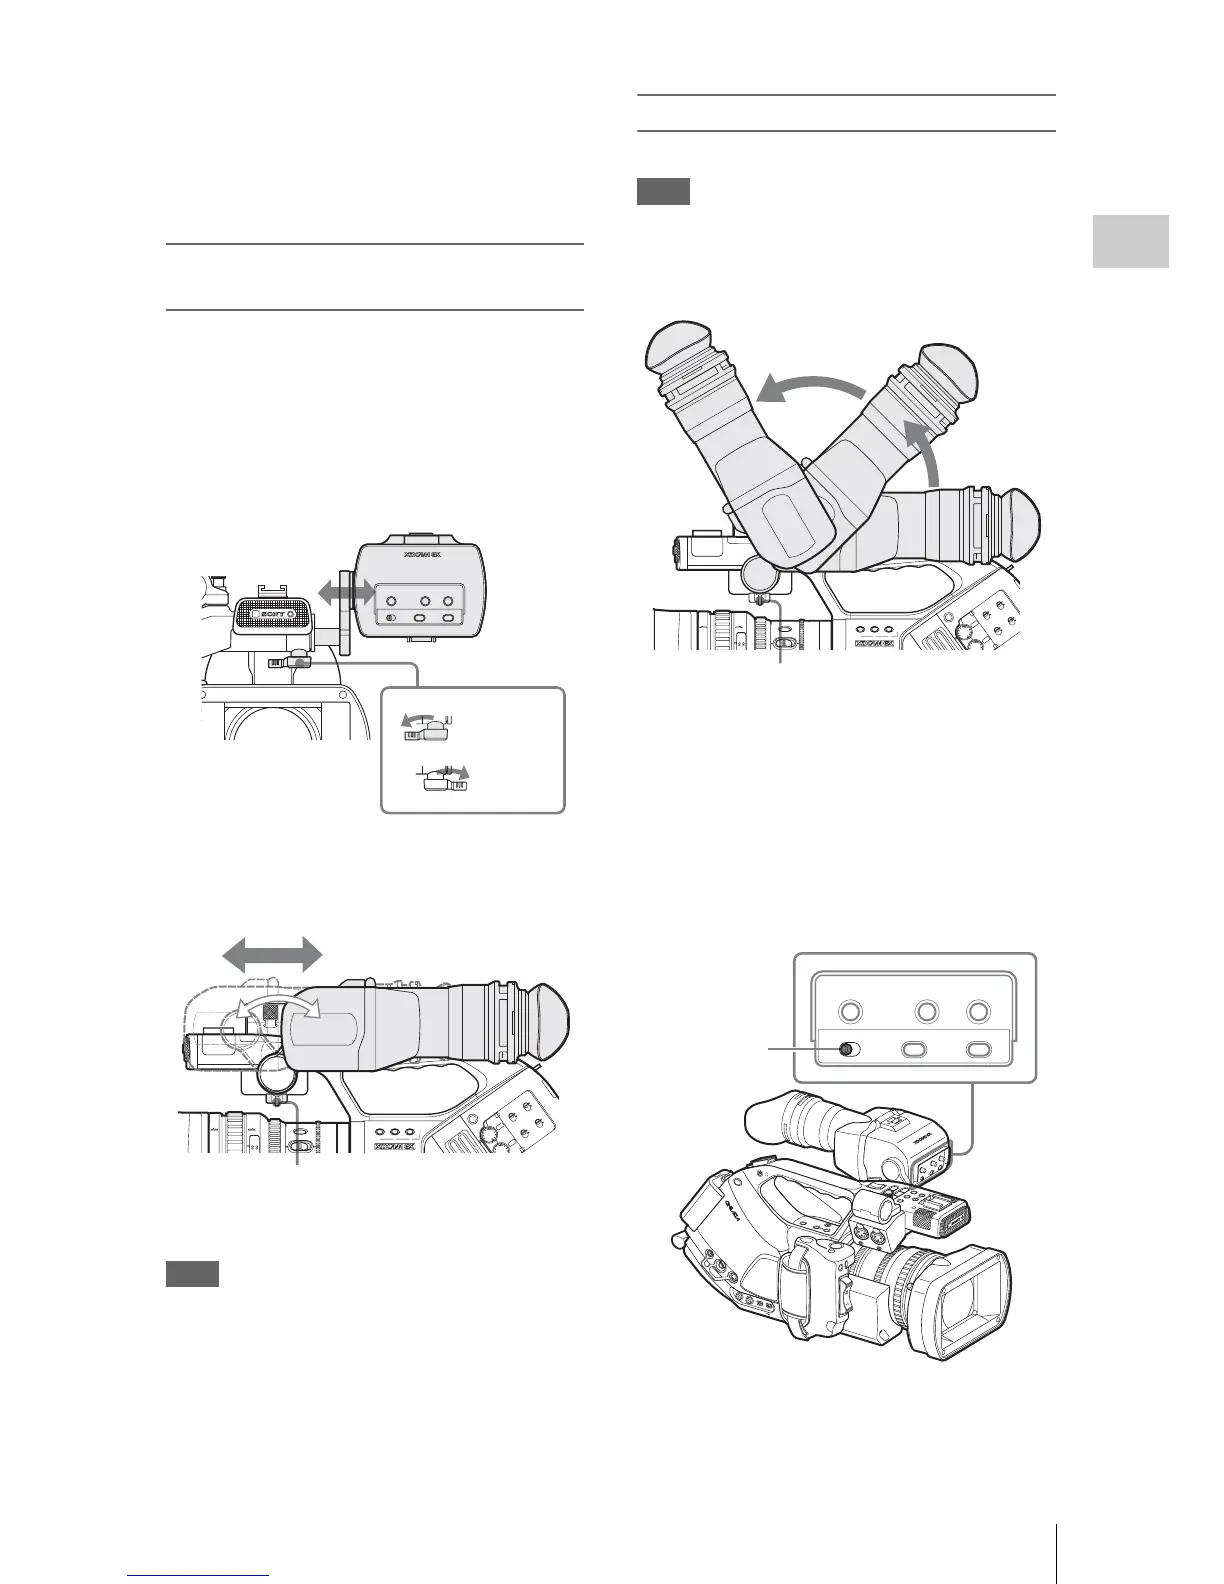
To reverse the image
The viewfinder can be rotated as much as 180
degrees toward the direction facing the subject.
To read the displayed menu and messages in this
condition, set the MIRROR IMAGE switch to
ON so that the textual information is converted to
the readable direction.
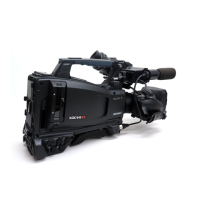
When the camcorder is in Media mode, the
picture is also inverted both vertically and
horizontally. In Camera mode, the picture is
MIRROR IMAGE
OFF ON
DISPLAY/BATT INFO
ZEBRA
PEAKING CONTRAST BRIGHT
Tighten
Loosen
Fixing lever
AF
Full
MF
40 81.2
mm
ft
IRIS
STEADY
SHOT
2.8 1.9
123
LENS INFO BRT DISP
ASSIGN
ND