Adjustment Using the Menus
31
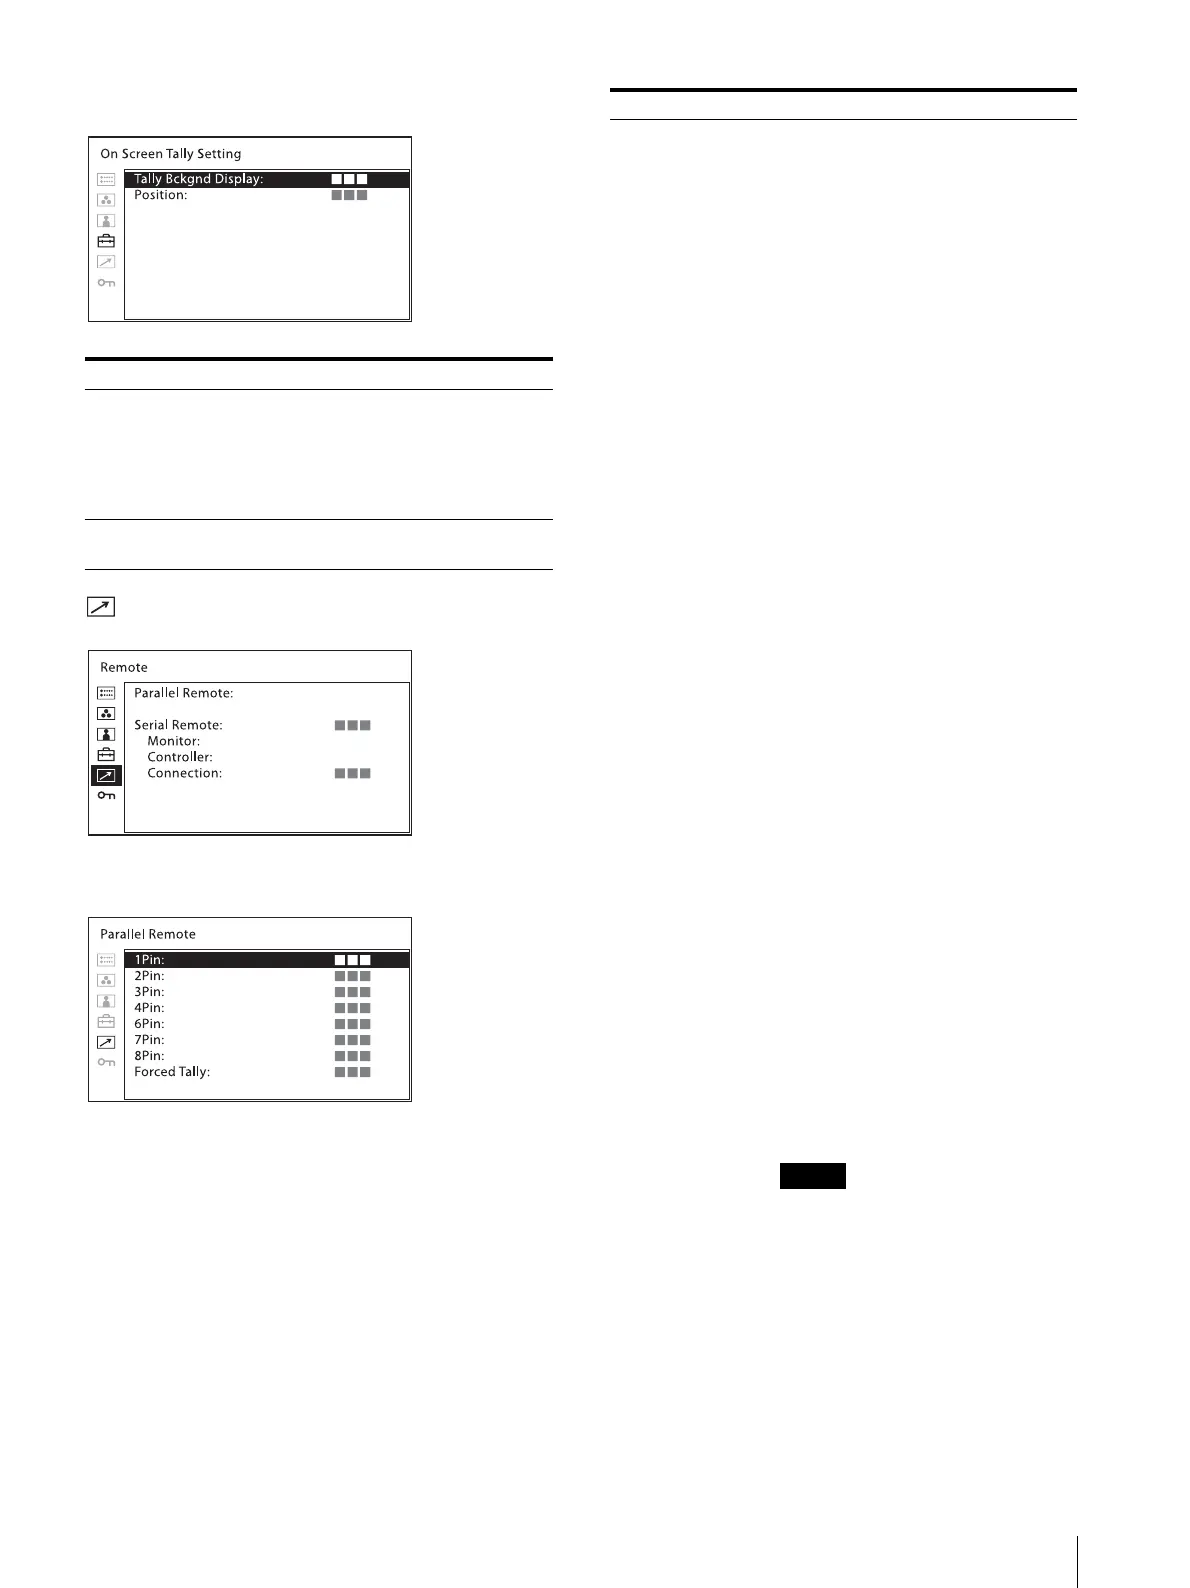
[On Screen Tally Setting]
[Remote] menu
[Parallel Remote]
Submenu Setting
[Tally Bckgnd
Display]
The tally is displayed on the screen of
this unit.
When [Tally Bckgnd Display] is set to
[On], the mat is displayed on the tally
display area. When [Off], the tally is
displayed directly on the video signal.
[Position] Sets the display position of tally. Select
[Top] or [Bottom].
Submenu Setting
[Parallel Remote] Selects the PARALLEL REMOTE
connector pins for which you want to
change the function.
You can assign various functions to pins
1 to 4 and pins 6 to 8. The following lists
the functions you can assign to the pins.
[SDI1]
[SDI2]
[HDMI]
[Composite]
[80% Area Maker]
[85% Area Maker]
[88% Area Maker]
[90% Area Maker]
[93% Area Maker]
[95% Area Maker]
[Center Marker]
[16:9 Marker]
[15:9 Marker]
[14:9 Marker]
[13:9 Marker]
[1.85:1 Marker]
[2.39:1 Marker]
[2.35:1 Marker]
[4:3 Marker]
[Aspect Mat]
[Grid Full Screen]
[Grid Window]
[Camera Metadata]
[Chroma Up]
[Auto SDI Switch]
[Blending]
[Difference]
[Side by Side]
[Wipe]
[Tally Red]
[Tally Green]
[Normal Scan]
[Native Scan]
[4:3]
[16:9]
[Flip H]
[Flip V]
[Flip H/V]
[WFM/ALM/Vector]
[Focus Assist]
[Mono]
[Blue Only]
[Flicker Free]
[– – –] ([– – –]: No function is
assigned.)
If you use the parallel remote
function, you need to connect
cables. For more details, see page 12.
Set [Marker] (page 27) in [Marker
Setting] to [On] to control the aspect
marker and center marker.