Adjustment Using the Menus
27
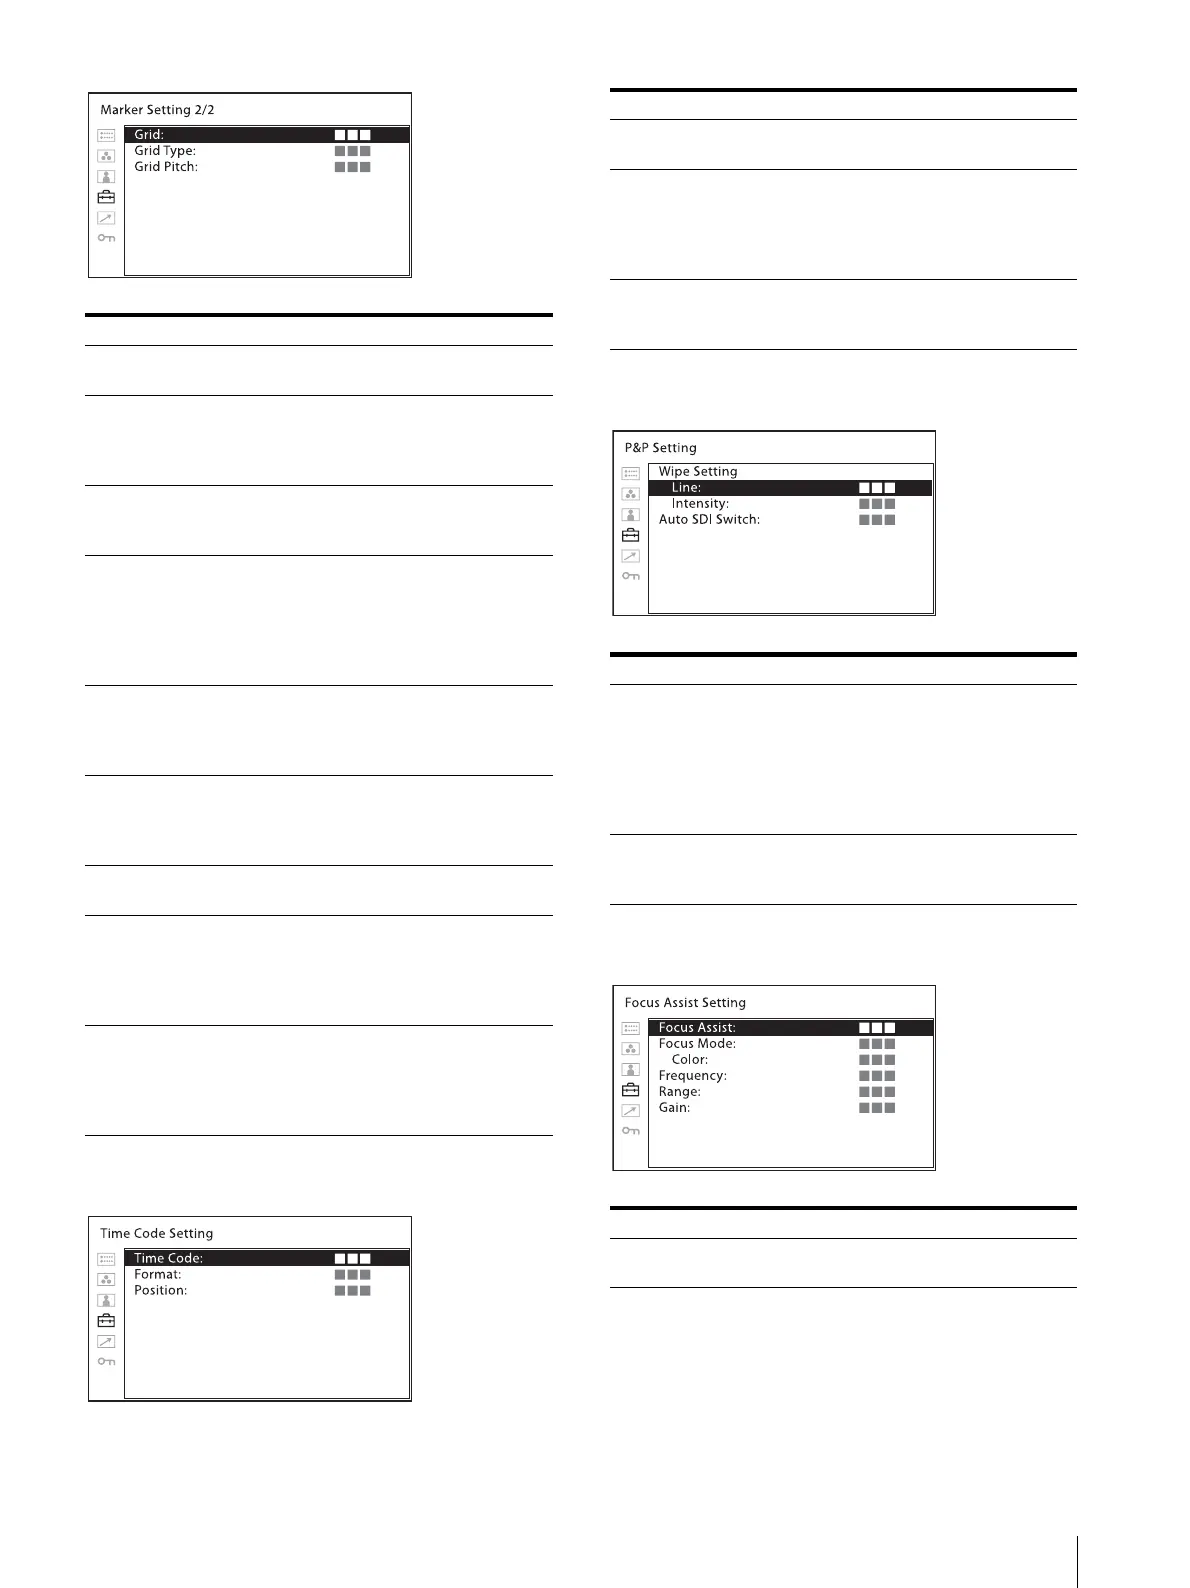
[Time Code Setting]
[P&P Setting]
[Focus Assist Setting]
Submenu Setting
[Marker] Selects [On] to display the marker and
[Off] not to display.
[Aspect Marker] Selects the aspect ratio of the aspect
marker. You can select from among
[4:3], [16:9], [15:9], [14:9], [13:9],
[1.85:1], [2.39:1], [2.35:1], [Off].
[Center Marker] Selects the center marker of the picture.
You can select from among [1], [2],
[Off].
[Area Marker] Selects the safe area size for the aspect
marker. When the aspect marker is set
to [Off], this menu selects the safe area
size for the effective screen area. You
can select from among [Off], [80%],
[85%], [88%], [90%], [93%], [95%].
[Marker Intensity] Sets the luminance to display the
[Aspect Marker], [Center Marker], and
[Area Marker]. You can select between
[High] and [Low].
[Aspect Mat] Selects whether you put mat on the
outside of the marker display.
[Off]: No mat is put.
[Gray]: Gray mat is put.
[Grid] Sets the grid display. Select [On] to
display the grid and [Off] not to display.
[Grid Type] Sets the grid type to be displayed.
[Full Screen]: Displays the grid over
the entire screen.
[Window]: Displays the grid except
for the center part of the screen.
[Grid Pitch] Sets the grid pitch to be displayed.
[60dots]: Sets the grid line interval to
60 dots.
[120dots]: Sets the grid line interval
to 120 dots.
Submenu Setting
[Time Code] Selects [On] to display the time code
and [Off] not to display.
[Format] Sets the time code format.
[VITC]: To display the time code in
VITC format.
[LTC]: To display the time code in
LTC format.
[Position] Sets the position of the time code
display. You can select between [Top]
and [Bottom].
Submenu Setting
[Wipe Setting] Sets the wipe screen setting.
[Line]: Select [On] to always display
the boundary line and [Off] to
not display.
[Intensity]: Sets the brightness of the
boundary line. Select [Low] or
[High].
[Auto SDI Switch] Sets the automatic switching duration
from the SDI signal. Select from among
[Short], [Medium], [Long].
Submenu Setting
[Focus Assist] Selects [On] to use the camera focus
and [Off] not to use.