47
Recording from External Equipment with a Timer (Synchro Rec)
Recording/Timer Recording
Recording from External
Equipment with a Timer
(Synchro Rec)
You can set the recorder to automatically record programs from
connected equipment that has a timer function (such as a satellite
receiver). Connect the equipment to the LINE IN 1 jacks of the
recorder (page 30).
When the connected equipment turns on, the recorder starts
recording a programme from the LINE IN 1 jacks.
a Press }/1.
b Turn on the TV, and switch the input selector
on your TV so that the signal from the
recorder appears on the TV screen.
◆ When using an amplifier (receiver)
Turn on the amplifier (receiver) and select the
appropriate channel so that you can hear the sound
from the recorder.
c Press Z OPEN/CLOSE, and place a
recordable disc on the disc tray.
d Press Z OPEN/CLOSE to close the disc tray.
Wait until “LOAD” disappears from the front panel
display.
If you use an unused DVD, formatting starts
automatically.
When using an unused DVD-RW, select the
recording format, VR or Video.
e Select the line input audio when recording a
program having two types of sound.
A Press INPUT SELECT to select “L1.”
B Press TOOLS.
C Press M/m to select “Line Audio Input,” then
press ENTER.
D Press M/m to select “Main/Sub*,” then press
ENTER.
* When recording a program having two types of sound, select
“Main/Sub.” Both sounds can be recorded. You can select either
sound when playing a disc.
Select “Main/Sub” only when using a DVD-RW (VR mode).
For other discs, select “Stereo.” Only stereo sound is recorded.
f Press REC MODE repeatedly to select the
recording mode, HQ, HSP, SP, LP, EP, or
SLP.
g Set the timer on the connected equipment to
the time of the program you want to record,
and turn it off.
h Press SYNCHRO REC.
The SYNCHRO REC indicator lights up on the front
panel. The recorder automatically turns off and
stands by for Synchro-Recording.
The recorder automatically starts recording when it
receives an input signal from the connected
equipment. The recorder stops recording when the
connected equipment turns off.
To stop recording
Press x REC STOP.
To cancel Synchro Rec
Press SYNCHRO REC or turn on the recorder before the
Synchro-Recording Starts. The SYNCHRO REC indicator turns
off.
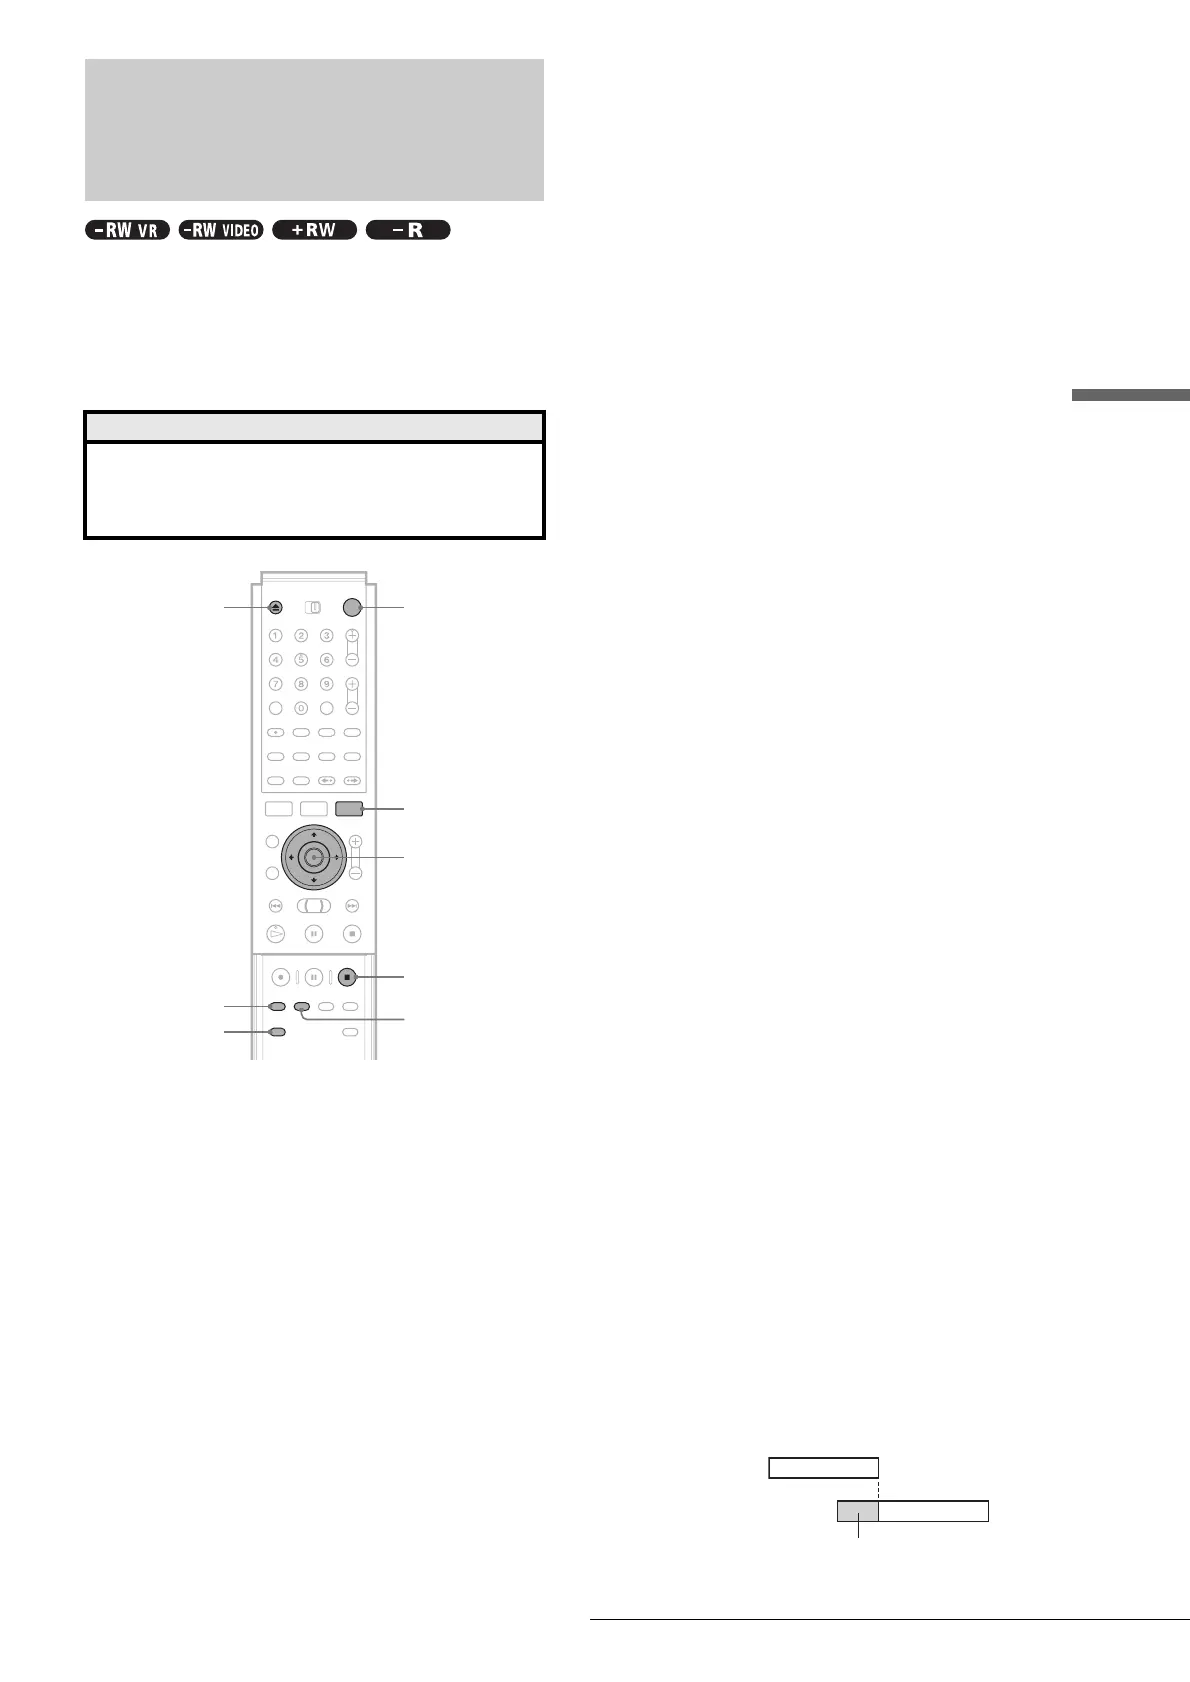
If the timer settings of a Synchro-Recording and
another timer recording overlap
Regardless of whether or not the program is a Synchro Rec
program, the program that starts first has priority and the second
program starts recording only after the first program has
finished.
Before you start…
• Check that the disc has enough available space for the
recording (page 37).
• Adjust the recording picture quality and picture size if
necessary (page 46).
REC MODE
</M/m/,,
ENTER
"/1
Z OPEN/CLOSE
x REC STOP
SYNCHRO REC
TOOLS
INPUT SELECT
7:00 8:00 9:00 10:00
First program
Second program
will be cut off
,continued
 Loading...