85
Re-editing the “program” in the DV/D8 Edit List
Connecting a Digital Video Camera or Other Equipment
C While watching the playback picture, press
m or M to search for the IN point, then
press ENTER.
The IN point is set, and the display for setting the
OUT point (end of the scene) appears.
D While watching the playback picture, press
m or M to search for the OUT point, then
press ENTER.
The OUT point is set, and the display asks
whether to add the selected scene to the Scene
List menu.
• To preview the scene, select “Preview.”
• To reset either the IN or OUT point, select
“Change IN” or “Change OUT.”
E Press </M/m/, to select “OK,” then press
ENTER.
A new Scene List menu appears with the selected
scene. To add another scene, repeat from step 1.
◆ If you select a program that contains no scenes
The display asks whether to generate scenes within
the selected program.
To generate scenes automatically, press </, to
select “Auto,” then press ENTER.
Scenes are generated and a new Scene List menu
appears.
To capture scenes manually, select “Manual,” then
press ENTER. The display for adding a scene
appears. Follow steps 3 to 5 above. You can add a
maximum of 50 scenes.
f Press M/m to select the scene you want to edit,
then press ENTER.
The sub-menu appears.
g Press M/m to select the edit option you want
to apply to the scene, then press ENTER.
◆ To erase the scene
A Press M/m to select “Erase,” then press
ENTER.
B When the display asks for confirmation, press
</, to select “OK,” then press ENTER.
◆ To move the scene
A Press M/m to select “Move,” then press
ENTER.
The display for selecting the scene insertion point
appears.
B Press M/m to select the point, then press
ENTER.
The scene moves to the selected location.
◆ To reset the start or end of the scene
Press M/m to select “Change IN” or “Change OUT,”
then press ENTER.
◆ To preview the scene
Press M/m to select “Preview,” then press ENTER.
To cancel, press </M/m/, to select “Quit” in the
Scene List menu, then press ENTER.
h When you finish editing the Scene List, press
</M/m/, to select “OK,” then press
ENTER.
The display asks if you want to make a Playlist title.
If you select “No,” the edited program is saved, and
the display returns to the DV/D8 Edit List. Note that
the original program will be rewritten.
To dub the selected scenes to a disc, go to step 4 of
“Creating a Copy of the Edited Contents (Copy
Dubbing)” (page 86).
i Press </, to select “Yes,” then press
ENTER.
The display for entering a Playlist title name appears.
To enter a new name, select “Enter,” and follow the
explanations on page 34.
j To use the default name, press </, to
select “OK,” then press ENTER.
A Playlist title of the default title name is created on
the same disc, and the display returns to the DV/D8
Edit List.
You now have a disc containing both the entire
contents of the DV/Digital8 format tape and a
Playlist of the selected scenes.
To edit the Playlist title, see “Advanced Editing
(Playlist Edit)” (page 67).
k Dub the selected scenes to a disc.
Make copies of the selected scenes to a disc of your
choice. Go to step 4 of
“Creating a Copy of the
Edited Contents (Copy Dubbing)” (page 86).
To preview a program
After you edit a program, you can preview the changes you
made.
1 While the DV/D8 Edit List is displayed, press M/
m to select the program, then press ENTER.
2 Press M/m to select “Preview,” from the sub-
menu, then press ENTER.
To create a Playlist title of the program
After you edit a program, you can create a Playlist title of the
edited program. The Playlist will be created on the inserted
DVD-RWs (VR mode).
1 While the DV/D8 Edit List is displayed, press M/
m to select the program, then press ENTER.
2 Press M/m to select “Make a Playlist,” from the
sub-menu, then press ENTER.
The display for entering a Playlist title name appears.
To enter a new name, select “Enter,” and follow the
explanations on page 34.
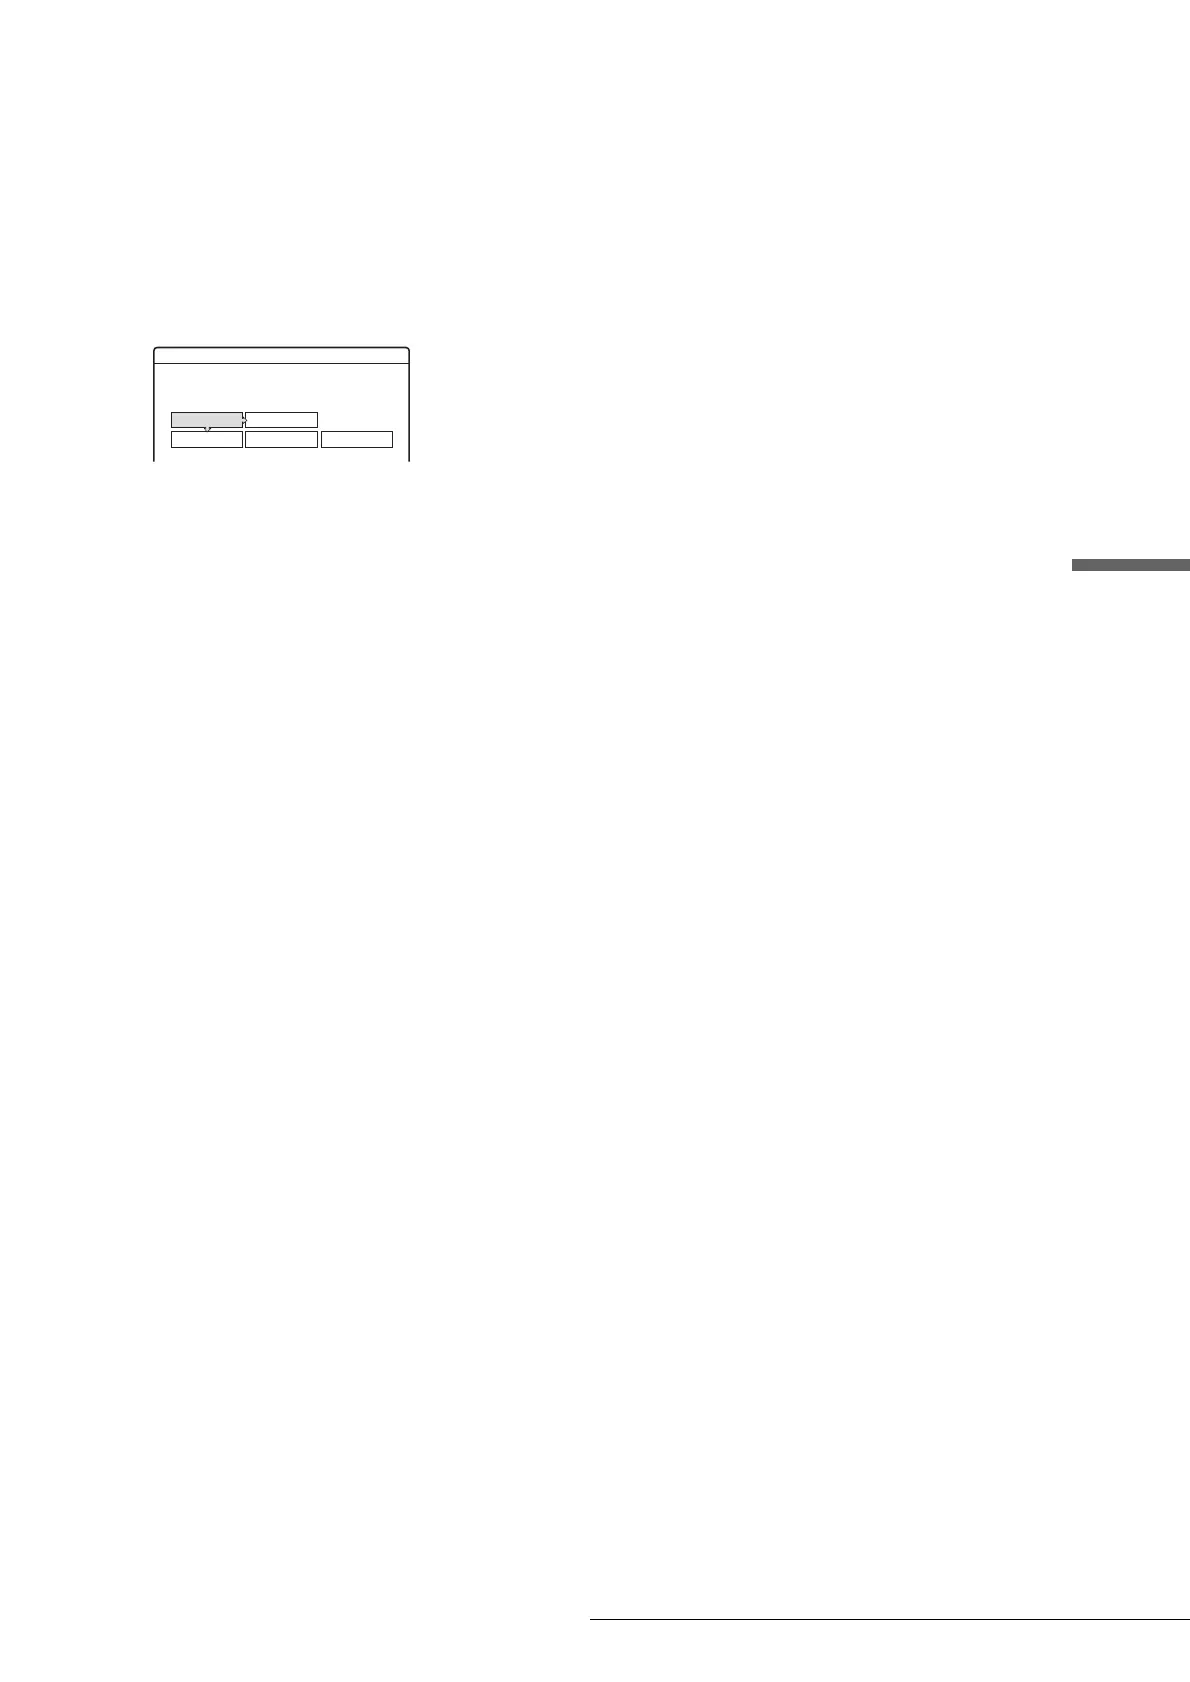
Scenes Selection
Do you want to capture the scene
between IN 0:00:30 and OUT 0:00:52?
OK Cancel
Preview Change IN Change OUT
,continued
 Loading...