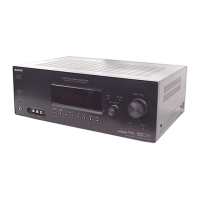
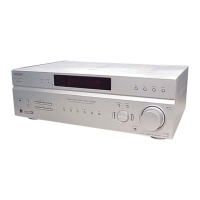
STR-KM2/KM3
9
SECTION 3
TEST MODE
FL CHECK MODE
All fl uorescent segments are tested. When this test is activated, all
segments turn on at the same time, then each segment turns on one
after another.
Procedure:
1.
When pressing the [SURROUND SPEAKER] and [M-TURBO]
buttons, press the [
?/1
] button to turn on the main power.
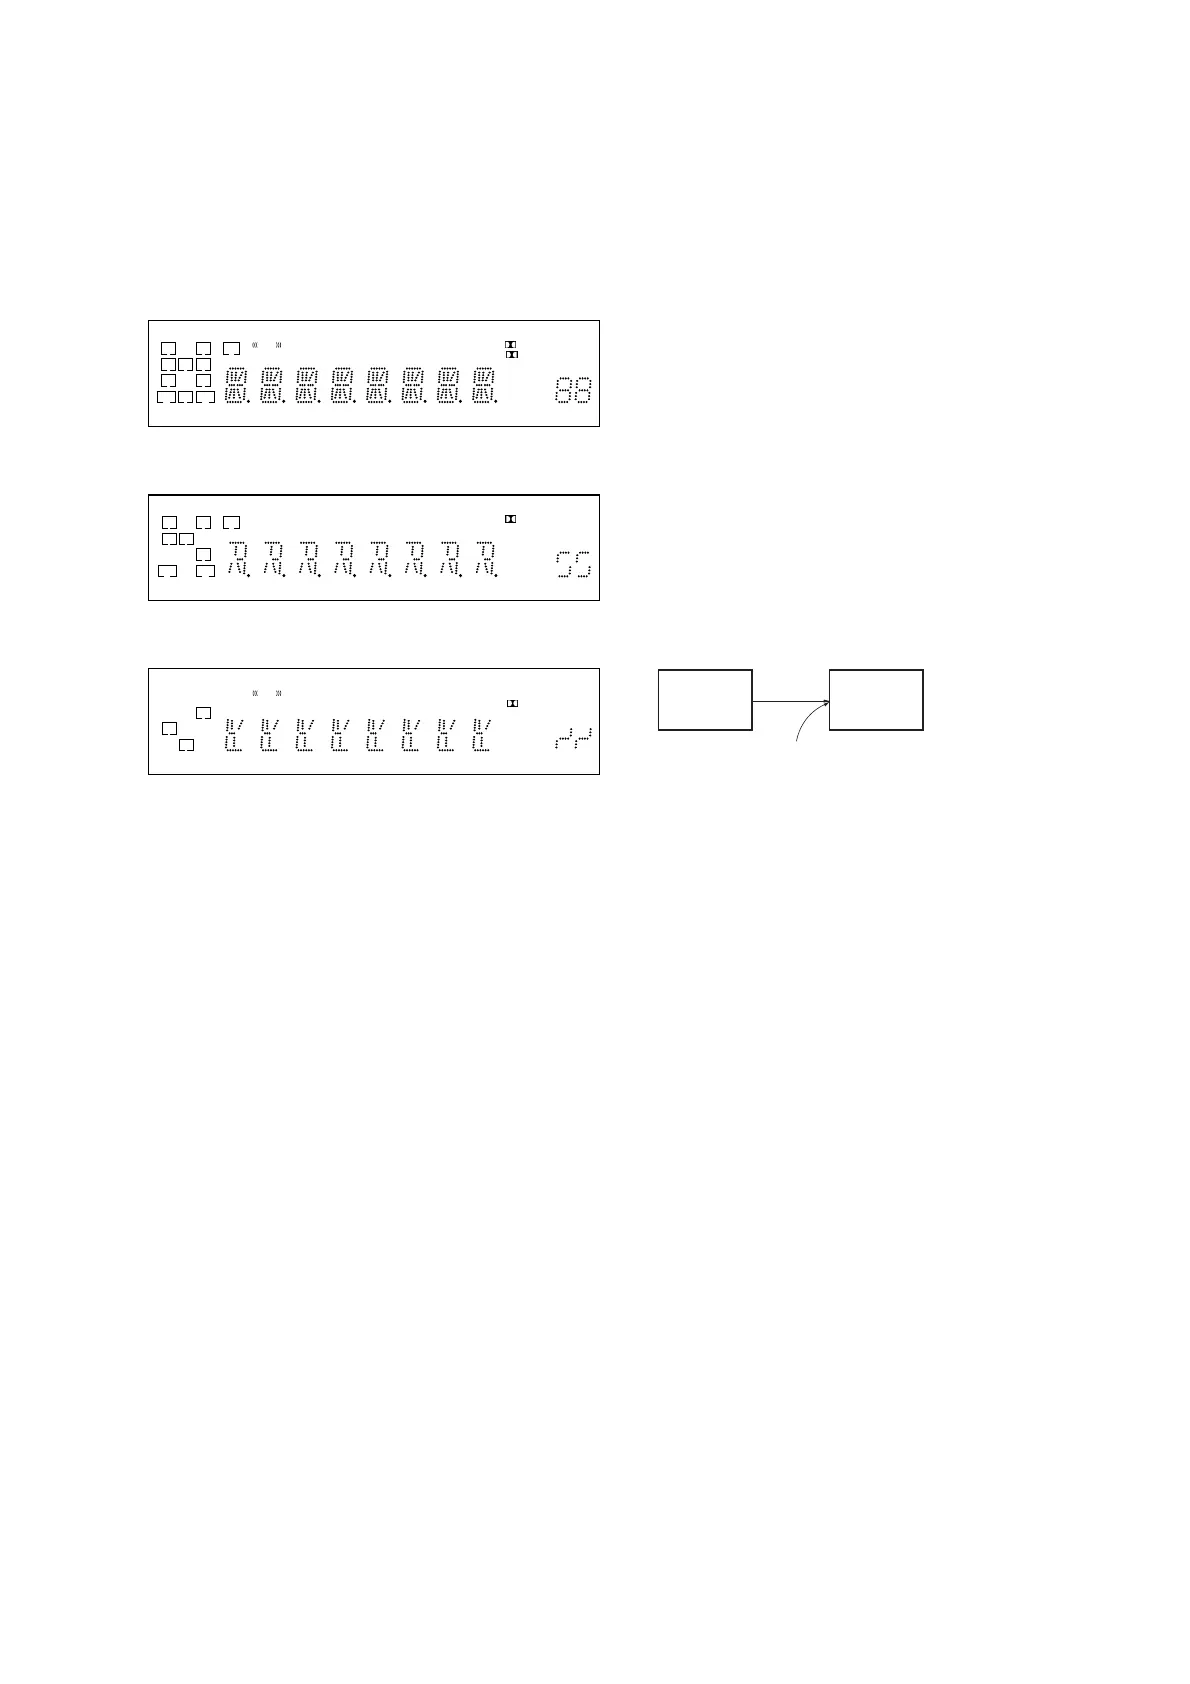
2. All segments turn on.
L C R
SL S SR
SBL SB SBR
LH RH SW
COAX OPT
HDMILFE DTS -ES NEO:6 USB
96/24
DTS-HD MSTR HI RES LBR LPCM
RDS
AAC
TrueHD
SLEEP
D.RANGE
ST
D
PL II
+ EX
MHz
ft.
k Hz
m
x z
dB
3. Turn the [INPUT SELECTOR] dial.
4. Test pattern 1 turn on.
L C R
SL S
SR
SBL SB SBR
LH RH SW
COAX OPT
HDMILFE DTS -ES NEO:6 S-AIR
96/24
DTS-HD MSTR HI RES LBR LPCM
AAC
TrueHD
SLEEP
D.RANGE
PL
+
ft.
k m
z
dB
5. Turn the [INPUT SELECTOR] dial once again.
6. Test pattern 2 turn on.
L R
S
SBL SBR
LH RH SW
COAX OPT
HDMILFE DTS -ES NEO:6 USB
96/24
DTS-HD MSTR HI RES LBR LPCM
RDS
TrueHD
SLEEP
D.RANGE
ST
D
PL II
EX
MHz
Hz
x
7. Turn the [INPUT SELECTOR] dial once again. All segments
turn off.
8. Every turning of the [INPUT SELECTOR] dial turns on each
segment one after another on the same order.
S.F. CLEAR MODE
The preset sound fi led is cleared when this mode is activated. Use
this mode before returning the product to clients upon completion
of repair.
Procedure:
1. While pressing the [MUSIC] button, press the [
?/1
] button to
turn on the main power.
2. The message “S.F. CLEAR” appears and initialization is per-
formed.
USER INITIALIZE MODE
All preset contents are cleared when this mode is activated. Use
this mode before returning the product to clients upon completion
of repair.
Procedure:
1. Hold the [
?/1
] for 5 seconds.
2. The message “CLEARING” appears on the display.
3. After a few seconds, “CLEARED” appears.
SOFTWARE VERSION DISPLAY MODE
The software version is displayed.
Procedure:
1. While pressing the [SURROUND SPEAKER] and [MUSIC]
buttons, press the [
?/1
] button to turn on the main power.
2.
The message “M2**Mx.xx” appears. This is main micropro-
cessor version (KM2).
The message “M3**Mx.xx” appears. This is main micropro-
cessor version (KM3).
**: destination, x.xx: software version
3. Press the [DISPLAY] button on the remote commander,
DSP fi rmware version
“S. VER x.xx” appears.
Sound tuning version
“M2 ST x.xx” appears (KM2).
“M3 ST x.xx” appears (KM3).
Tuner Version
“T.VER x.xx” appears.
SPDIF UPDATE MODE
User plays the CD that contains u-com/DSP data with CD/DVD
player.
Update u-com/DSP etc. fi rmware from SPDIF input.
Connection:
CD/DVD
player
DIGITAL board
COAXIAL BD/DVD IN jack (J2301)
set
Procedure:
Normal case
1. While pressing [MOVIE] and [M-TURBO] buttons, press the
[
?/1
] button to turn on the main power.
2. The messages “UPDATE” and “PLAY.DISC” are displayed
alternately every one second.
After this step, all user operation is prohibited except power
off. To cancel this mode, power off or AC power cord pull out
is required.
3. Connect CD player to COAXIAL BD/DVD IN jack (J2301 on
the DIGITAL board), and play update CD.
Update is started when DSP detect update signal. The message
“UPDATING” is displayed blinks every one second.
From this step, all user operation is prohibited. Power off is
also prohibited.
4. While main u-com is being updated, fl uorescent indicator tube
is blacked out.
5. When update data error is detected or disc is not matched with
target model, error messages “DISC ERR” and “PLAY.DISC”
are displayed to restart playing valid CD.
When fl ash writing error is happened, error messages
“UPT. ERR” and “PLAY.DISC” are displayed to restart play-
ing CD.
6. When all update is fi nished, set is reboot automatically. After
reboot, complete message “COMPLETE” is displayed (dis-
played continuously until any user operation).