— 24 —
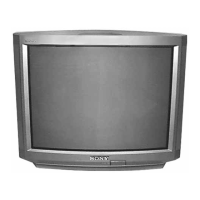
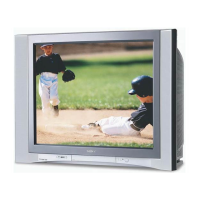
KV-32WS4
oNmetImetitnemtsujdAtnuomAataD
1TRBLORTNOCRESU
2LOCLORTNOCRESU
3CIPLORTNOCRESU
4EUHLORTNOCRESU
5NIAGR13
6NIAGGjdA
7NIAGBjdA
8FERLVLR13
9FERLVLGjdA
01FERLVLBjdA
11TIMILVRDKAEP36
21AMMAG13
31VEL2=FFOVEL3=NOPCSNO
41YALEDFFO
51FFUBATADFFO
61XIRTAMCSTNFFO
71VTDHFFO
81LBSFFFO
91FFOTUCOTUANO
02SID2WSFFFO
122WSFFFO
22SID1WSFFFO
321WSFFFO
42KCALBTPADAFFO
52V1HGIHYFFO
622DOMFFO
72HCTERTSEULBFFO
82TUOMVFFO
92SBAVRDKAEPNO
03TIMILKAEPTSNCEMITFFO
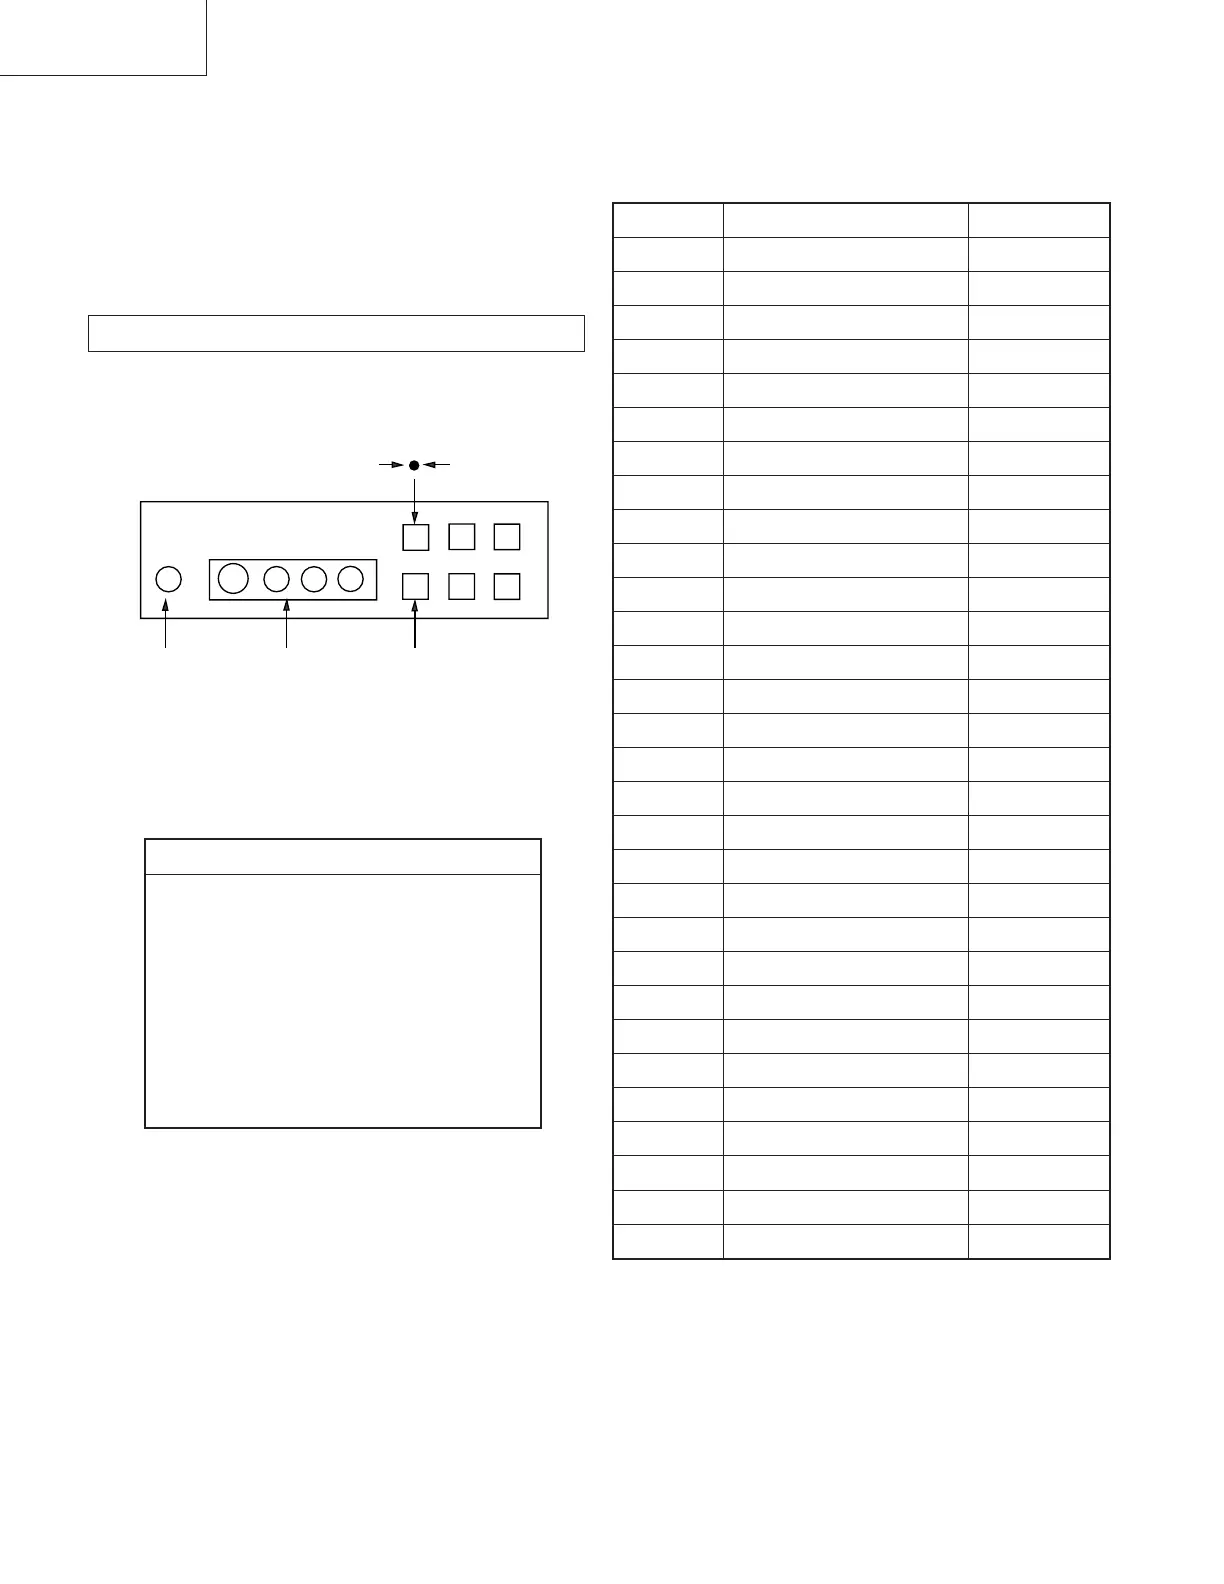
Fig. 4-3
Headphone
jack
AV3
Input jacks
AV INPUT
VOL PROG
++
--
4-1. ELECTRICAL ADJUSTMENTS
Service adjustment to this model can be performed with the supplied
remote commander, RM-862.
HOW TO ENTER INTO SERVICE MODE
1. Turn on the main power switch of the set while pressing the
PROG + (plus) and PROG
- (minus) buttons on the front panel.
2. “TT” will appear on the upper right corner of the screen.
3. Press " MENU " on the commander to get the service menu on
screen.
4. Push the joystick up (green) or down (blue) on the remote
commander to select the adjustment item.
5. Press the center button to proceed to the next menu.
6. If the adjustment item is 'Video Proc.', push the down button to
move to 'Video Proc.'.
7. The Menu as indicated in Fig 4-3 will appear on the screen.
8. Move the joystick up or down to move to the adjustment item and
press the center (OK) button.
9. Change the data in order to comply with each standard.
SECIVEDSECIVED
SECIVED
SECIVEDSECIVED
VTtinI
edisotuA&rednopsimuL,piP
tsujdAbuS
corPoediV
niaMceDloC
tnoC.tcelfeD
buSceDloC
xoBerutaeF
lA
AD
PIPelgniS
dnuoS
ted32eniL
0874ADT
4419ADT
1639ADS
3419ADT
456C78S
0719ADT
0829ADS
8829ADS
SECTION 4
CIRCUIT ADJUSTMENTS