18 Step 3: Adjusting the Picture Size and Position
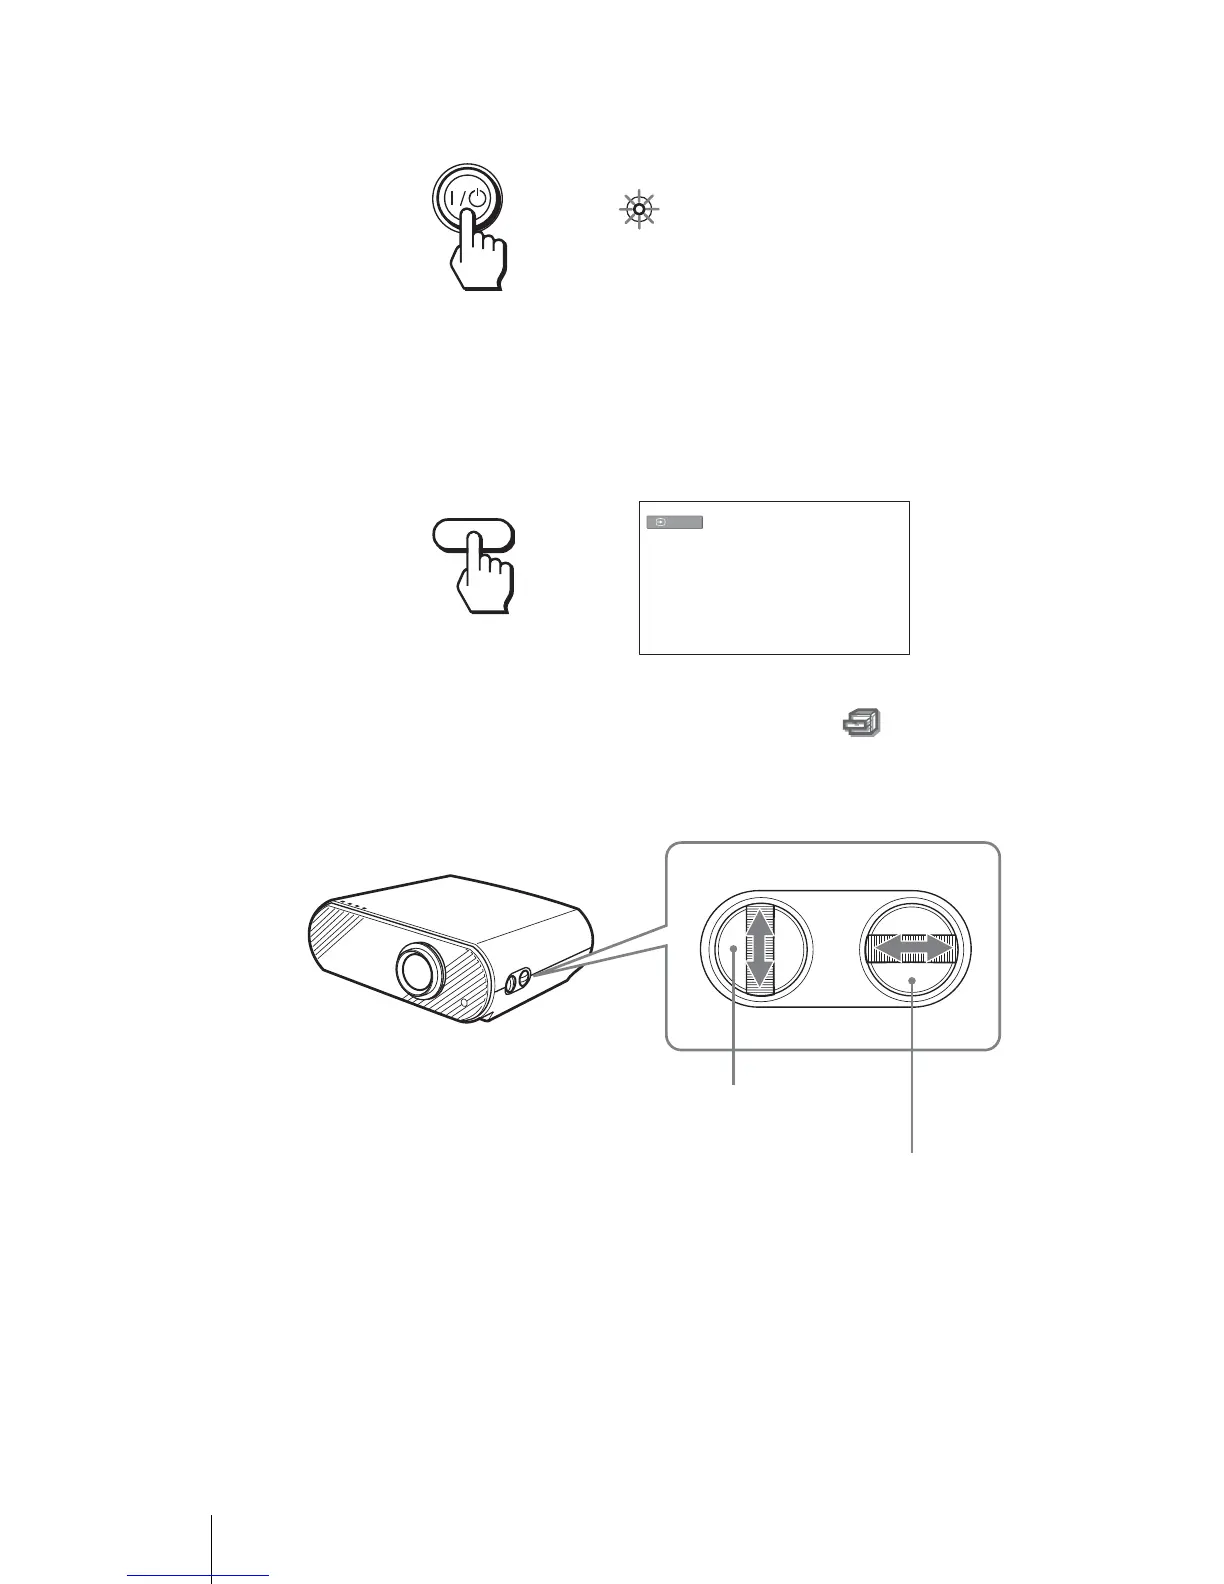
2 Press the I/1 (on/standby) switch to turn on the projector.
The ON/STANDBY indicator lights in green.
3 Turn on the equipment connected to the projector.
Refer to the operating instructions of the connected equipment.
4 Press INPUT to project the picture on the screen.
Each time you press the button, the input indication changes. (1 page 24)
Tip
When “Auto Input Search” is set to “On” in the Function menu, the channel
of the signal input is automatically displayed.
5 Move both LENS SHIFT dials to adjust the picture position.
ON/
STANDB