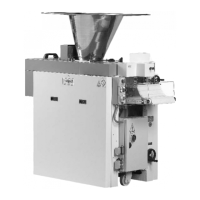
SVP 0/1/2/3-E - Code: 3529.0091.01
Technical Assistance Service
Secure the spacers inside the slots of the motor base with the appropriate
and pass the threaded rod
Refit the retaining bushing to the end of the threaded rod.
Connect the electrical cables to the terminal board.
turns anti-clockwise, otherwise stop the
machine immediately with the pushbutton
from the socket and invert two phases in the motor terminal board as explai-
Check again that the pulley
turns in the right direction.
Check that at maximum speed, the machine does not exceed 27 strokes
per minute; if it does, find the exact position for that speed and bring the
mechanical retaining bushing into contact with the motor base.
Close the safety guards with the relative screws.
Changing the motor ref. 3
Disconnect the spring which connects the motor base to the structure (see
Disconnect the electrical cables from the motor terminal board, making a
note of the order in which they were connected.
Remove the 4 screws which fix the motor to the base, having first removed
the spring connecting the base to the structure.
Take out the motor and move the pulley r
Re-fit the new motor into the machine, fixing it to the support base with the
four screws, having first aligned the pulleys
Re-fit the spring connecting the motor base to the structure.
Connect the electrical cables to the motor terminal board.
Check that the motor turns in the right direction as shown in point 2 of sec-
; if it does not, invert two phases in the terminal board as shown in
Close the side protection guards and secure them with the relative screws.