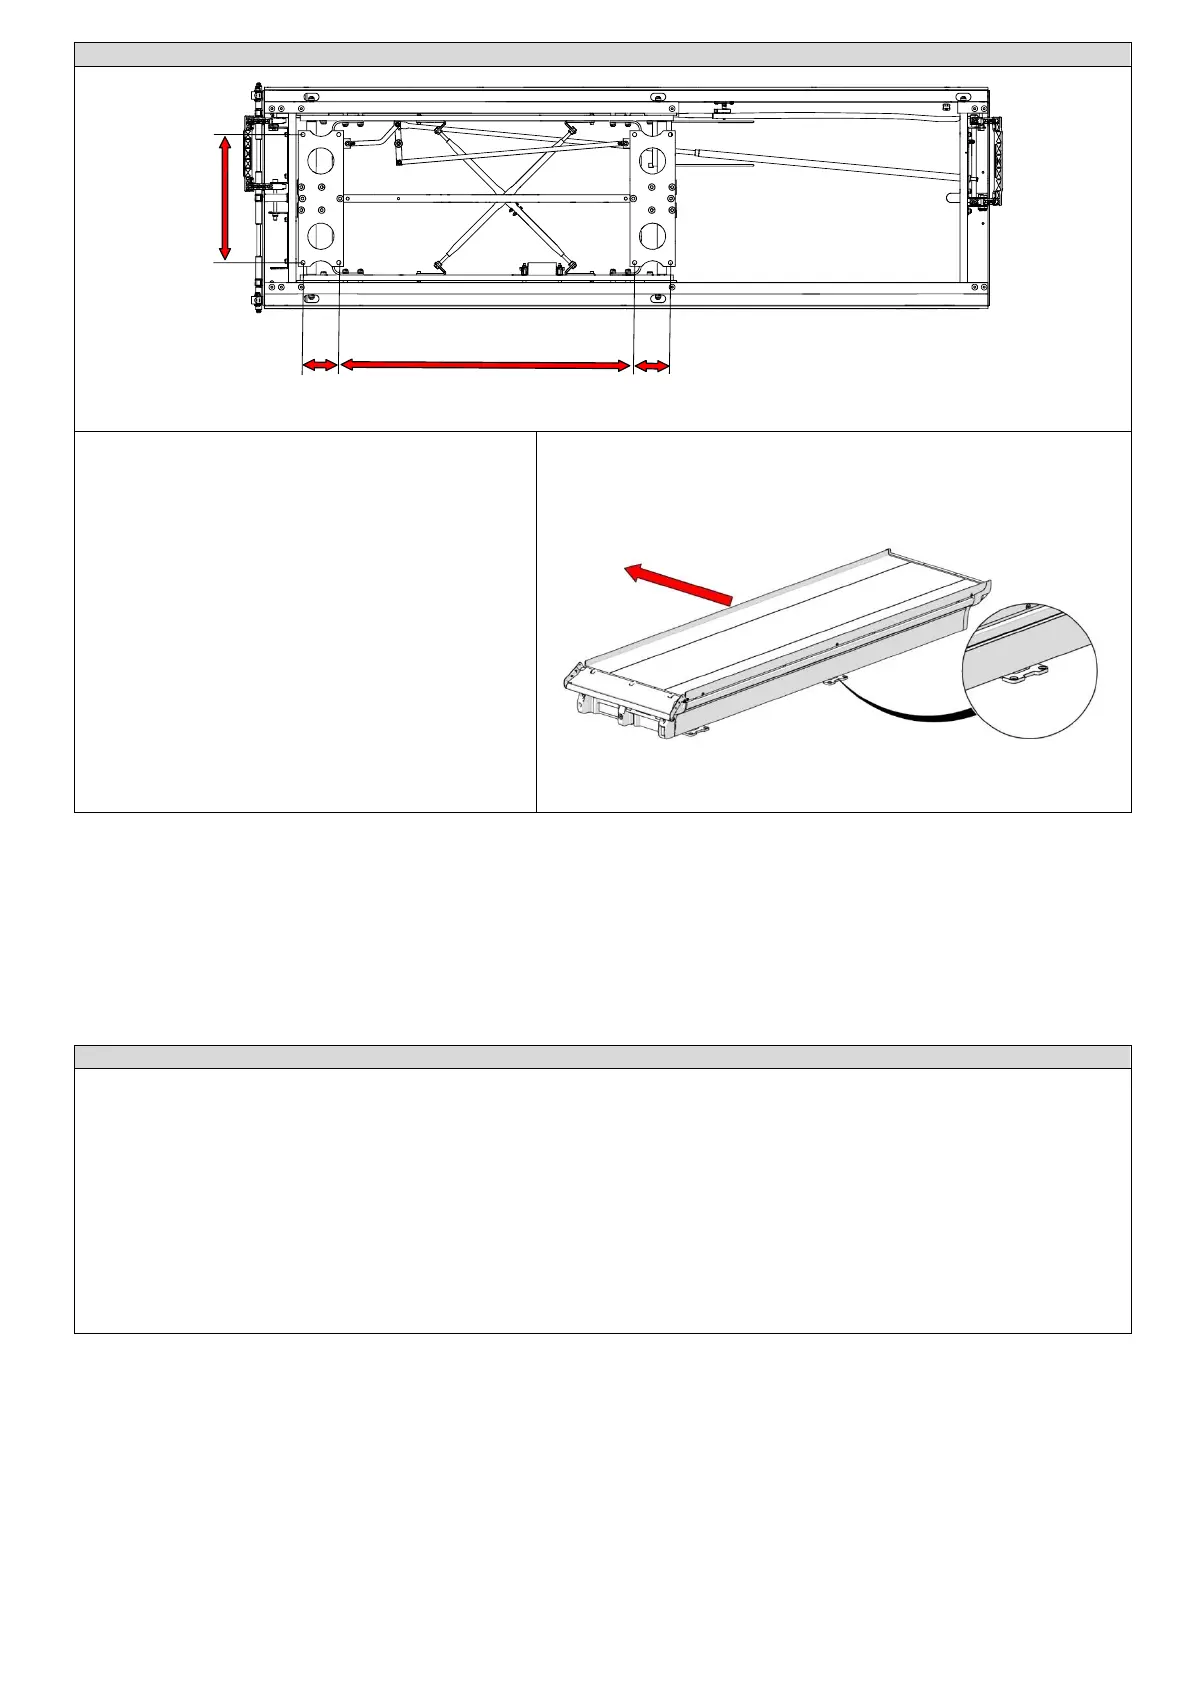
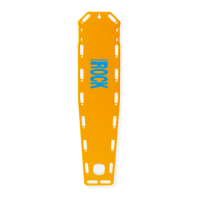
Once the stretcher support is placed in the desired position,
move it sideways completely, until the fixation plates
become visible.
Mark the position of the 4 visible holes , then move the
stretcher support sideways in the opposite direction
marking the position of the remaining 4 holes making sure
that the stretcher support has remained in the desired
place.
It is now possible to drill the holes needed for fixation.
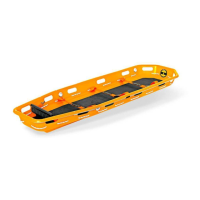
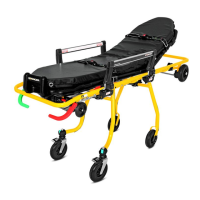
Before reinstalling front and rear bumpers, install the stretcher fastener, if not factory installed.
To do this, place the stretcher with the fastener on the support surface so that the assembly is properly placed.
Drill the support surface according to the instructions manual of the fastener in use.
Thanks to the structure of the surface of the stretcher support, backplates are not required for the installation of the stretcher fastener
(unless expressly required by the manufacturer of the fastener). Wide band washers and self–locking nuts shall be used.
If an electric S-MAX fastener is used and/or the stretcher support is supplied with an Electric pack (optional), it must be directly connected to
the battery of the vehicle using a 25A fuse. The connection cable must be connected to the input indicated with “IN” in the picture. Such
wiring is not supplied.
Failure to comply with this connection requirement, will result in the impossibility to unlock the stretcher from the fastener, resulting in risks
for patient and/or delays in rescue procedures.
If the stretcher support is equipped only with the electric pack, it is advisable to connect this system to the key electrical panel to avoid that
devices connected to the 12V socket and the led light contribute to the discharge of the vehicle’s battery when it is not moving.