Maintenance Waukesha Cherry-Burrell
®
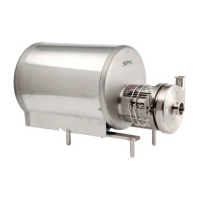
Brand C-Series Pump
01/2019 95-03008-IEC Page 53
Installing the “E” Seal
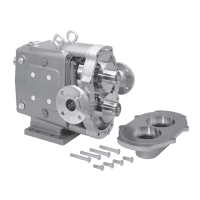
1. Install the backplate, gasket, and casing.
2. Install and tighten the casing clamp.
3. Scribe a mark on the shaft at location “A” behind the back-
plate. See Figure 126.
4. Remove the casing clamp, casing,
and backplate.
5. Slide the deflector (Pin Impeller design only), stationary gland
r
ing, one inboard rotary seal, one seal O-ring, one seal cup,
and drive collar onto the shaft.
6. Locate the drive collar in relation to the scribe mark and
secure it
to the shaft with the setscrews. See Figure 126.
NOTE: D
rive collar location is critical.
7. Install the seal spring, seal cup, seal O-ring, and seal onto
the
shaft. See Figure 124 and Figure 125 on page 52.
8. Be sure that the spring is seated in each cup and the drive
ea
r on each seat cup is not in alignment with the drive pins on
the drive collar.
9. Slide the stuffing box and backp
late assembly over the shaft
and seal parts.
10. Secure the stationary gland ring to the stuffing box using four
sc
rews.
11. Assemble the guard assembly and
tighten the nut.
12. Attach the water inlet and outlet to the stuffing box. Two 1/8"
NPT (3
,175 mm) water connections are provided on the stuff-
ing box. They are spaced at 90° from each other and should
be
located at 45° to vertical when assembling the pump.
Flush water must enter one of these connections and exit
through the other.
13. The amount of water
used will vary depending on the operat-
ing temperature of the pump. In vacuum applications, 10
dr
ops per minute discharge is recommended.
NOTE: Water
must be piped through the stuffing box to keep the
seal cool and vacuum-tight.
NOTE: App
roximately 3 gallons per hour (11,36 liters per hour) is
required to maintain the seal temperature at 100°F (38°C) when
the product temperature is 175°F (79°C).
14. Assemble the casing gasket and casing, and then install the
clamp
. Use a soft rubber mallet to line up the casing and
tighten the clamp, then install the guard assembly.
Figure 126 - Drive Collar to Backplate
Dimension
M
odel Dimension “A”
C-114 5/16" (7
,9 mm)
C-216, C-218,
C-328
23/64" (9
,12 mm)
Figure 127 - Water Connection
Locations