14
Installation & Mounting bracket
INSTALLATION
Recommended installation height:
Camera should be installed to aim the animal’s mid-body.
Ideal installation for quality pictures & videos:
For a better eld of view, the targeted animal should be ranged at a 25 feet
/ 7.5m distance away from the camera.
To get brighter pictures at night, it is important to consider having back
-
ground elements to reect the camera's infrared. (e.g. Trees or fence)
Make sure the front of the camera is free of any obstructions.
The installation area should be cleared from branches or bushes.
These could be responsible for triggering false detections when combined
with heat, reections and/or wind. Setting the sensitivity level of the
camera too high can also result in false detections.
DETECTION/TRIGGER ZONE
In order to get the best detection zone coverage, you need to consider that
the trig
ger zone is what will be displayed in the middle of a picture. The
detection works on a at level and will give better results if you consider
side to side motion.
Here is an exemple of a proper installation.
Every motion within the red rectangle will trigger the camera. Everything
under or upper those limits will not. By looking at your photos you can see
if the camera is aiming properly at the action path.
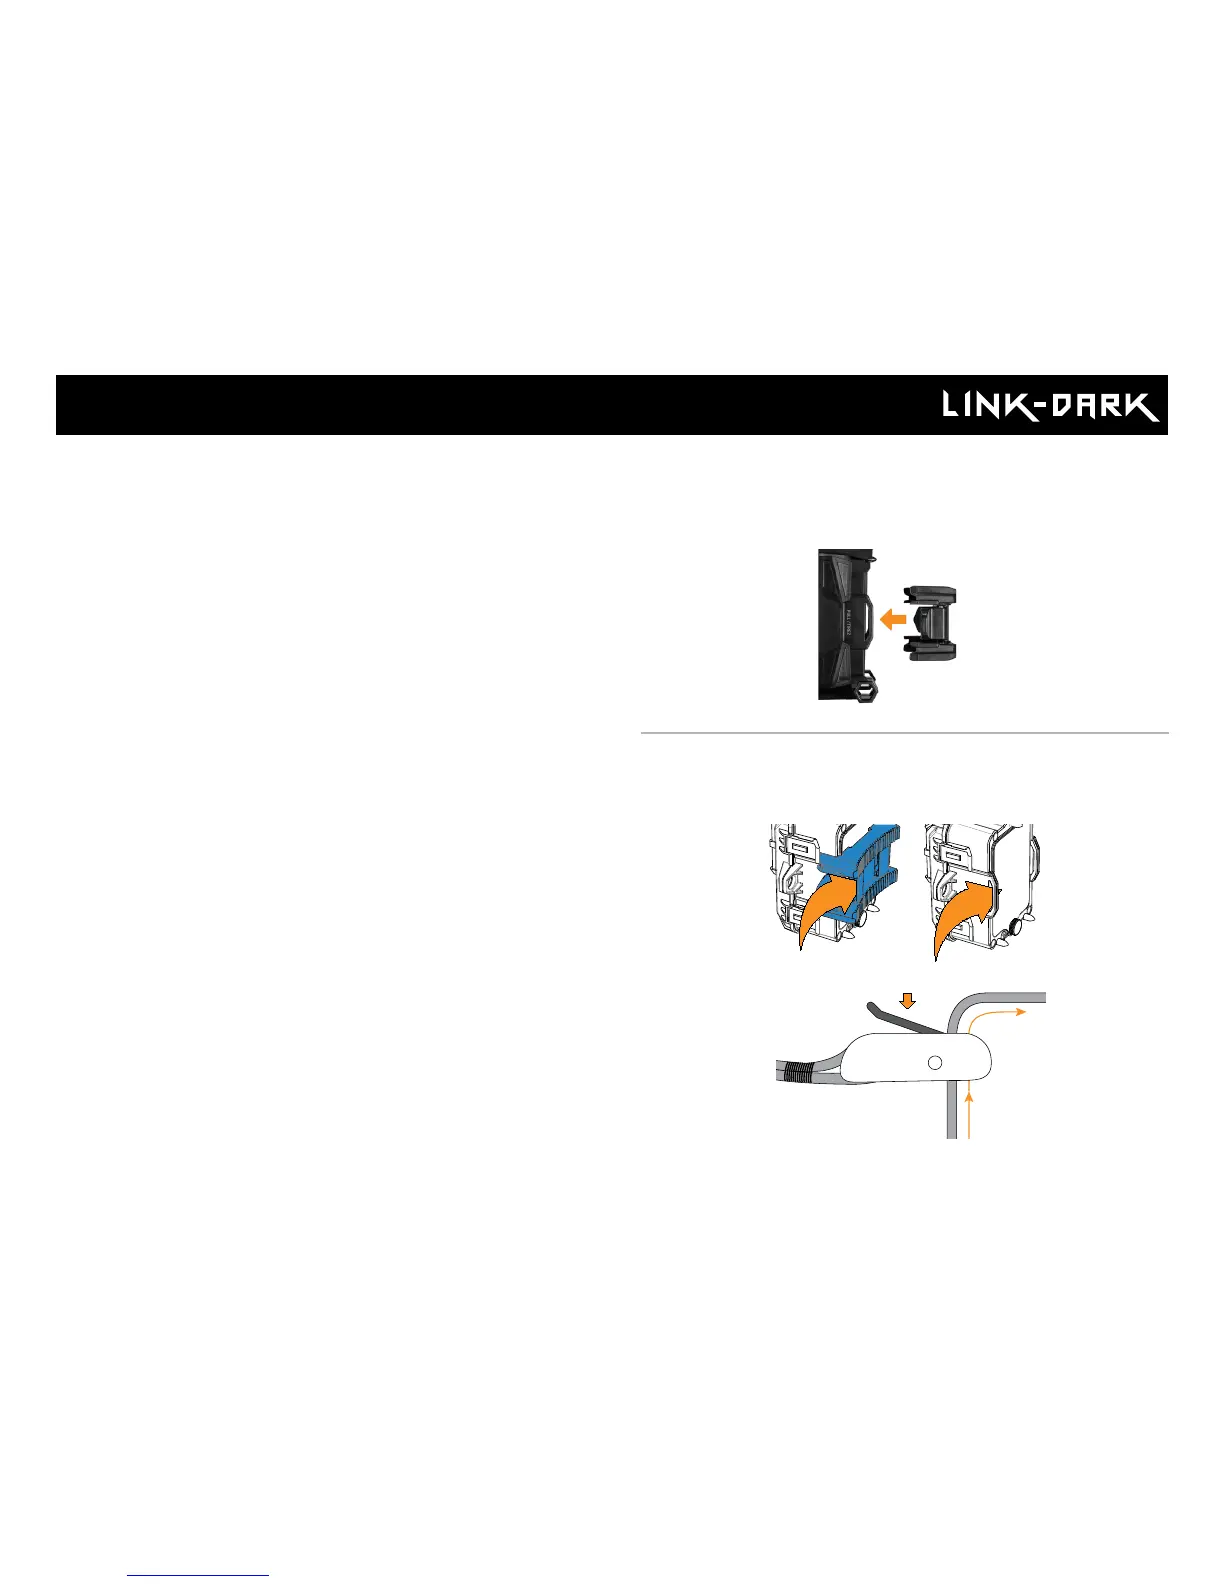
MOUNTING BRACKET
To remove the camera from the mounting bracket:
1. Push the tab to release the camera from the mounting bracket.
2. Remove the camera.
INSTALLATION WITH THE SUPPLIED STRAP
Use the mounting bracket or the camera strap installation grooves to x the
camera. The dimensions of the strap (included) is 1" X 60".