Shenzhen Sincevision Technology Co.Ltd
www.cnsszn.com
17
/
43
Quick Start Guide of SR Series ©2021 SSZN All Right Reserved
6.2 Connecting the controller and the Camera
This section explains the procedure for connecting the controller and the camera.
Do not supply power to the controller before connecting the camera cable.
Connecting the camera cable while the controller is switched ON may damage
the camera and/or the controller.
Maintain a minimum bend radius of 30 mm or more for the camera cable,
and the connectors at both ends should not be in tension state.
When using a cable tray, select a model with R100 or higher unless specified
otherwise.
Step1 Connect the camera cable to the camera connector of the controller.
Figure 6- 7 Connecting the Camera Cable to the Controller
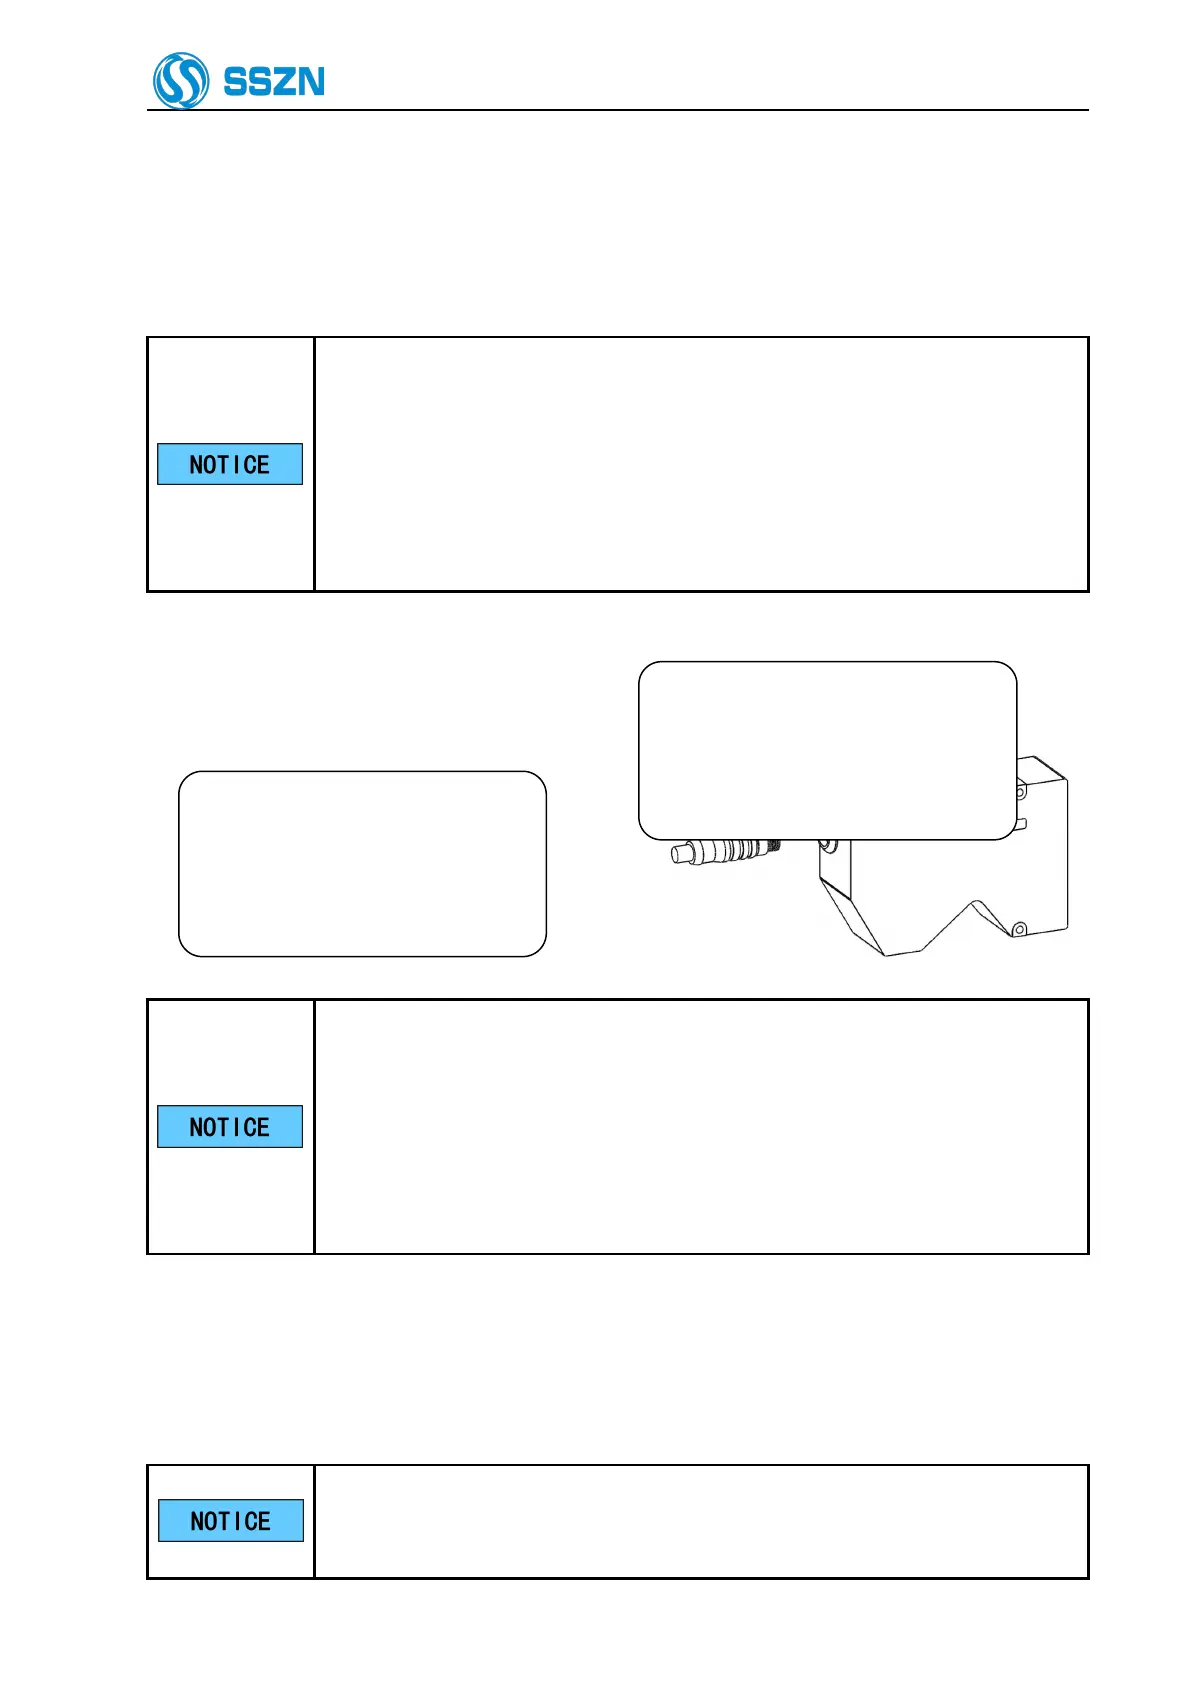
Step2 Connect the camera cable and the camera.
Check the orientation of the
connector, and then insert it all the
way while slowly rotating it. Tighten
the screw with a tightening torque of
1 to 1.5 N·m.
Figure 6- 8 Connecting the camera cable and the camera
Plug in the connector after making sure its orientation is correct. Inserting the
connector in the wrong orientation may break the connector pins and result in
a malfunction.
Insert the connector without tilting it, and then tighten it firmly. If the
connector is not tightened enough, it may become loose due to vibration, etc.
resulting in poor contact.
Tighten it firmly by hand and then retighten approx. 45° to 60°.
6.3 Connecting the Power Supply to the Controller
This section explains the procedure for connecting the controller and the power supply.
Use a wire between AWG14 and AWG20.
If you are using a solderless terminal, use a terminal that has the following size
and suits the M3 screw:
If only one camera is used, connect it
to the CAM A connector. Tighten the
screws on both sides of the connector
with a flathead screwdriver. Make sure
it is fixed firmly.