33
The LCD screen is limited to 8 characters for each le name. Therefore in order to easily locate the
le you require please save your model les with a name that meets this criteria.
At the start of each print, the printer performs an auto-calibraon process to ensure that the bed
is level and that the extruder(s) are perfectly posioned to print your model successfully. This
requires a small switch to be lowered to each of the four corners of the bed to measure the exact
locaon and for prinng to begin at the correct posion. The height of the Z Axis sheet plays an
important point in this measurement; as if the bed isn’t calibrated to include this height then the
print could possibly fail. Therefore each of the 4 touch-points need to measure the same height
as the central area where the print itself will take place. In order to achieve this, the Z Axis sheet
needs to cover not only the central print area, but the 4 corners as well.
Queson 5. I can’t read my full le name from the LCD
Queson 6. I only want to print a small object, why do I have to use a full size
Z Axis sheet?
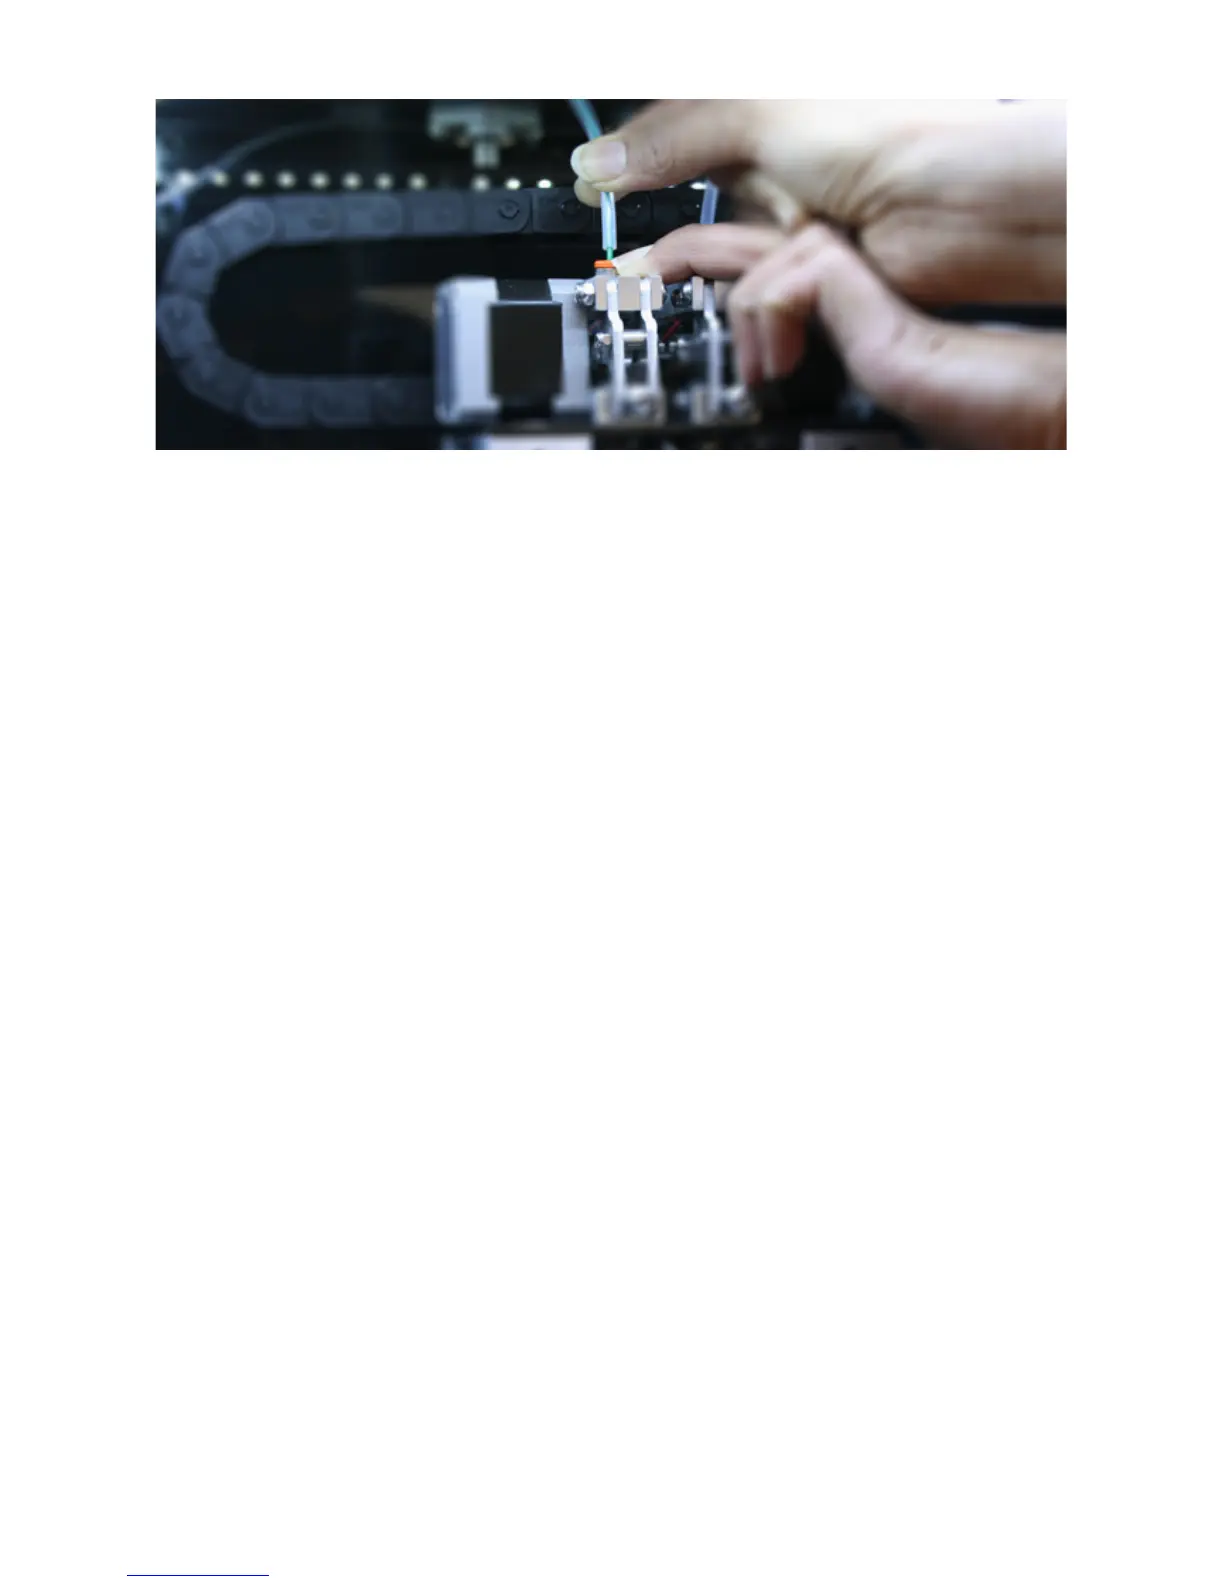
Once the plastic tubing has been removed, please follow the ‘Change Filament’ process again to retract
the lament, whilst gently pulling the lament (by hand) from the top of the printhead. Try this process a
maximum of two times.
If the second retraction still hasn’t freed the lament, please follow the ‘Change Filament’ process again,
but when asked if lament is currently loaded, select ‘No’. This will start the extrusion process (rather than
retraction) which will hopefully loosen and free the lament.
Once you see lament being extruded (please only try this process a maximum of two times), please try
the retraction process once again. The lament should now be loose and unload successfully.
If the above process is not successful please contact us via our online Contact Form and one of our
customer service team will guide you through a resolution.
Please remember to re-attach the plastic tubing into the orange push-tting before commencing your
next print.
 Loading...