Operation
WARNING!
Risk of death when operating the water treatment system during bathing.
Hair or clothing might get sucked into the suction openings of the pool and in extreme cases
trap persons under water and prevent them from surfacing again.
-
Never operate water treatment system devices while persons are in the pool.
-
Prevent any access to the pool for as long as water treatment system devices are in use.
CAUTION!
Risk of injury!
A damaged device or damaged accessories may cause injuries.
-
Check the device and the accessories (see section "Testing").
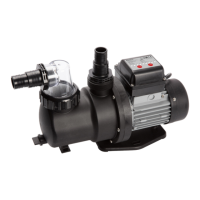
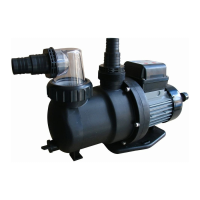
Pump operation
1. Make sure that all hoses and pipes are correctly connected and that the water level in the pool is at
least 1 to 2" (2.5 to 5 cm) above the opening of the suction line.
2. Check the valve setting of your filter system before you activate the pump.
3. Connect the pump's power plug to the power supply.
The running time display blinks (if a battery is inserted, the last selected running time is displayed).
4. Press the timer button
several times until the LED of the desired running time is lit.
5. Switch on the pump
by pressing the ON/OFF button on the timer
.
The pump starts running at this time and deactivates itself automatically once the selected running
time has expired. The timer activates the pump every day at the same time for the same running
time (once every 24 hours).
The pump is running.
6. Check the pump for unusual noises.
If there is air in the system, bleed it again.
7. Press the ON/OFF button on the timer
to manually stop the pump operation.
Manual stopping the pump deactivates the timer.
The pump is switched off.
Maintenance
Replacing the timer battery
1. Make sure that the pump's power cable is disconnected from the power supply.
2. Undo the screws of the timer cover with a Phillips screwdriver PH1 and remove the cover.
3. Lightly push down on one edge of the battery to loosen it. Remove the battery.
4. Replace the battery (see section "Technical data").
5. Screw the cover back on.
The timer battery is exchanged.
Cleaning
Only clean the device with a standard bathroom cleaner, clear tap water and a lint-free cloth. Aggressive
cleaning agents can damage the device. Dry the device with a lint-free cloth.
27
 Loading...