Elite
2
PLUS
Pushing down on the control lever or pulling back on the
upper knob will reverse the scooter.
Remember, the more you push the Wig-Wag, lever or
side control lever the faster you will go.
Reverse speed is programmed to 50% slower than
forward speed.
DANGER!
It is advisable that during the first few sessions of
operating your scooter that the area around you is clear
of obstacles and pedestrians.
Before operating your Scooter, ensure the seat height
has been adjusted to your satisfaction, and the tiller angle
has been set for optimum safety and comfort.
DANGER!
When using your Scooter on public walk ways and •
footpaths, always be aware of pedestrians and
situations which might require extra care.
Be especially vigilant around young children and •
pets.
Remember, when driving in public places drive with •
caution and regard for others at all times.
When manoeuvring in confined areas, including •
shops, ensure the minimum speed is selected.
If you leave your Scooter unattended, ensure that it •
does not obstruct pedestrians or other road users.
Remember to keep the key with you at all times for •
your safety and security.
For the safety of the operator and other pedestrians, •
Sunrise Medical recommends that whilst driving on
footpaths and other pedestrian walk ways, the
scooter preset speed should be set to less than 4
mph/6kph.
7.8 BRAKING
To stop the Scooter simply release the Wig-Wag or side
control lever, whilst keeping your hands on the handlebar.
Two types of braking will automatically operate in
sequence:
Automatic regenerative braking, which slows the •
Scooter to a standstill.
Automatic parking brake which will operate as the •
scooter comes to a stop. The automatic parking
break holds the Scooter in position, even if you are
on a hill.
NOTE: This is a two stage process and is not
instantaneous. First the scooter slows down and stops,
then the parking brake comes on. When starting off again
the parking brake will release automatically. If the throttle
is momentarily engaged and released, the parking break
will release and then engage again in approximately 1/2 a
wheel turn.
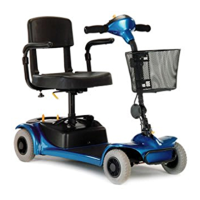
7.9 EMERGENCY BRAKING USING THE HAND BRAKE
In the unlikely event of an unwanted movement of the
Scooter, use the Parking Braking System (PBS) hand
brake. The Parking Braking System (PBS) is operated by
pulling the hand brake lever on the tiller, this will slow the
scooter to a controlled stop.
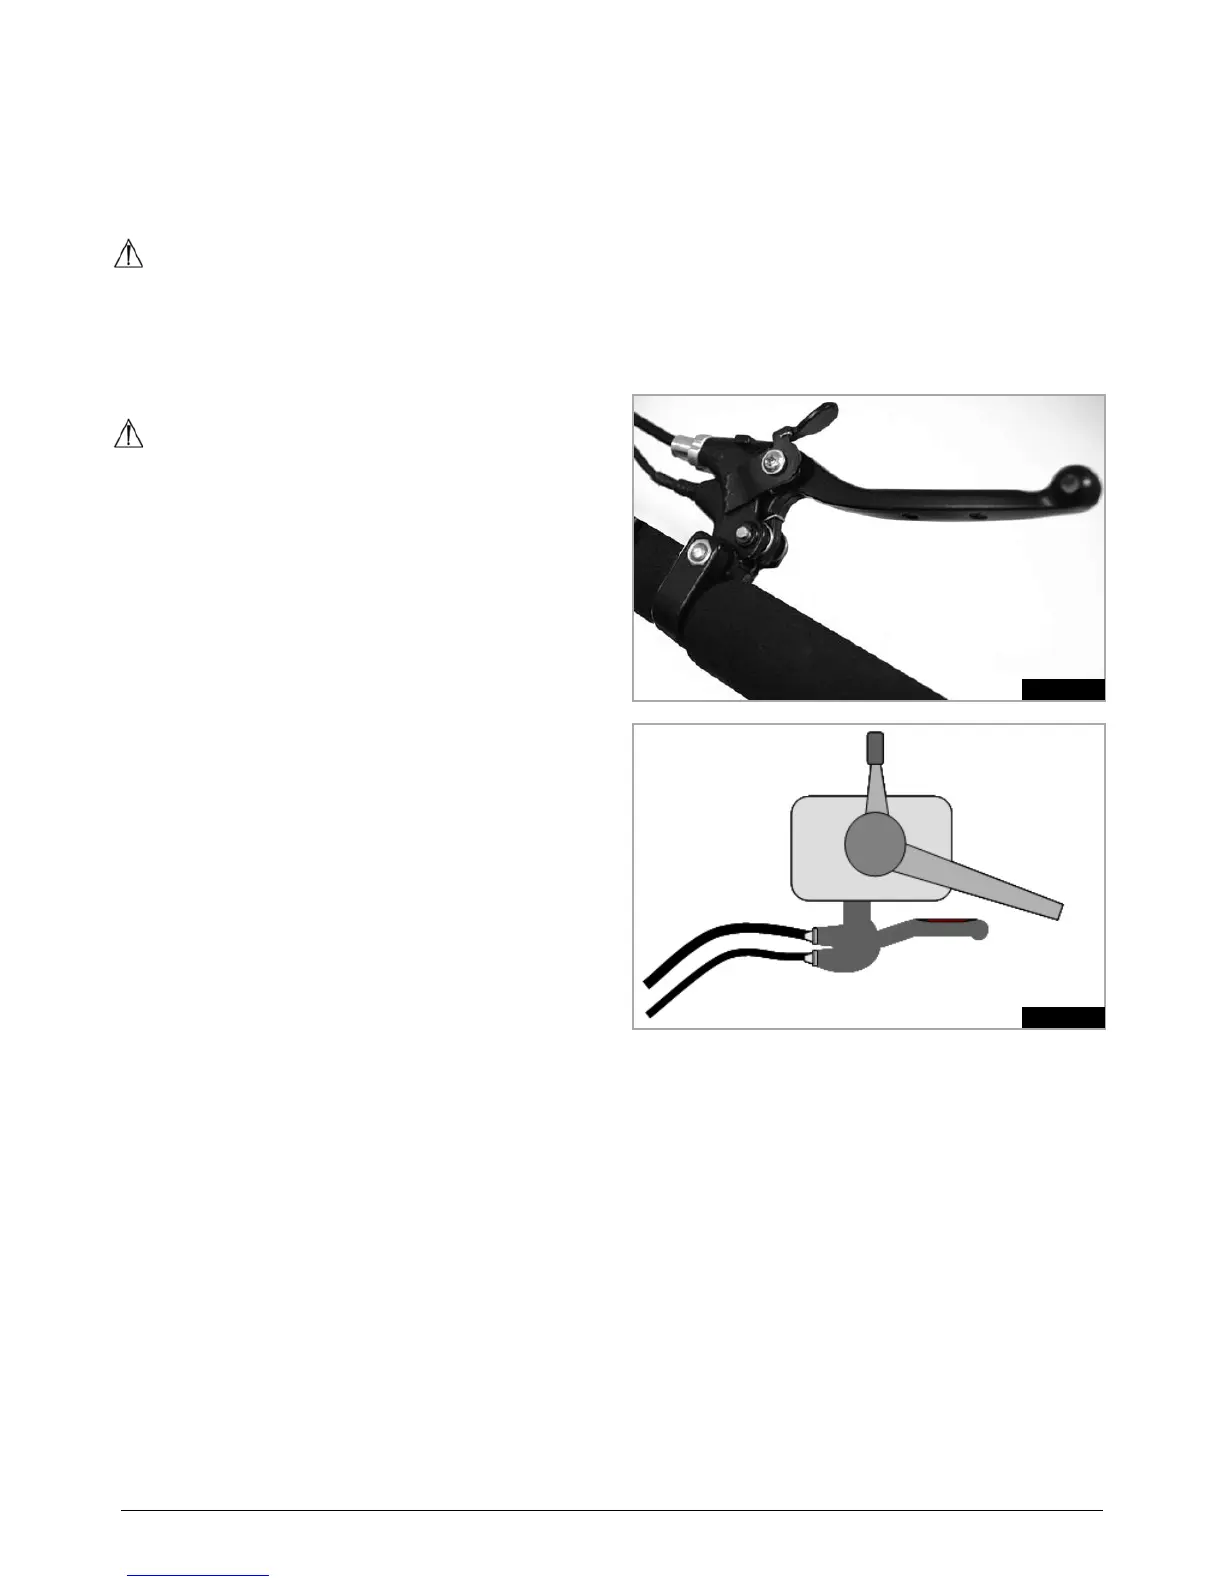
Handlebar mount, (Fig.7.9.1), side lever mount, (Fig.7.9.2)
.
The hand brake automatically stops the drive unit by way
of an electrical connection. Releasing the hand brake lever
will allow the drive unit to function again.
NOTE: The scooter will not drive with the handbrake
applied.
7.10 EMERGENCY BRAKING USING THE KEYSWITCH
In the unlikely event of an unwanted movement of the
Scooter, turning the keyswitch OFF will cause the Scooter
to a come to an immediate stop. Though very effective,
emergency braking is extremely abrupt and must never be
used in normal use.
7.11 SWITCHING OFF
The Scooter must always be switched off at the On/Off key
switch.
NOTE: The scooter can remain safely on charge for a
couple of weeks. When the Scooter is not to be use for a
long period of time, first charge the batteries fully and then
disconnect them from the scooter. Store as close to room
temperature as is possible.
Fig.7.9.1
Fig.7.9.2