UM0718 Getting started
Doc ID 15846 Rev 1 11/31
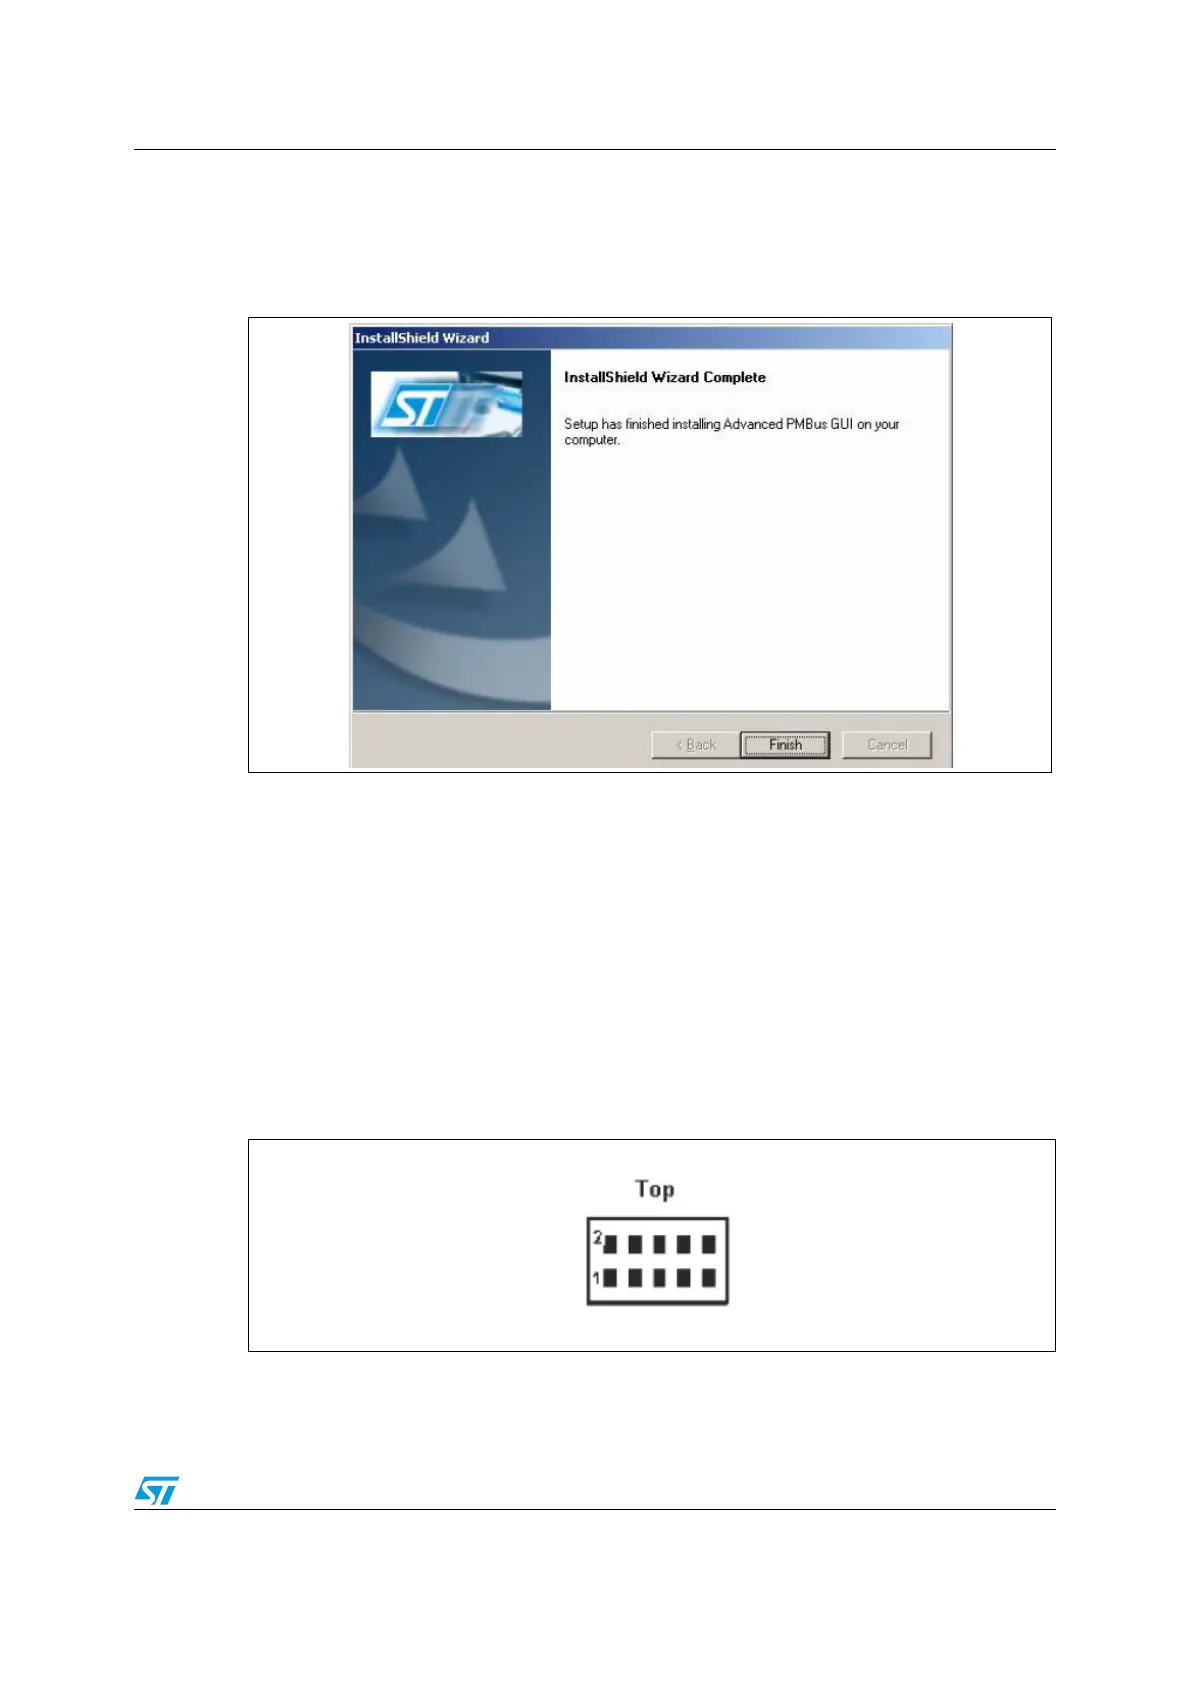
Step 6:
After installation is complete, the following window appears to indicate that the installation
has successfully completed.
Figure 8. PMBus GUI installation step 6 - setup finish window
After clicking the “Finish” button, the software has installed in the directory selected or in the
default directory. A shortcut of this software is also available in the START menu as well as
on the desktop.
1.4 Quick start
1.4.1 Hardware configuration
● Connect the demonstration board to the PC through a USB type B connector
● Select the supply voltage for the slave, using the EG1313 switch (5 V/3.3 V/ NC)
● Connect the PMBus slave, (See Figure 4 below).
Figure 9. PMBus connector configuration