digifobpro User Instructions Page - 15
Connecting the digifobpro to your PC
1. Connect the supplied USB cable, to a free USB socket on your PC.
Connect the other end to the USB port on the bottom of the digifobpro.
Ensure that the digiConnect software is started by selecting Programs
– Tachosys - digiConnect on your PC.
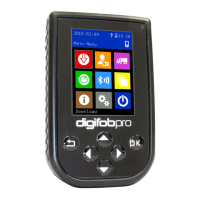
2. Turn on your digifobpro by pressing and holding the OK button for at
least 2 seconds. The digifobpro will display the USB Link Icon.
If you are having problems connecting the digifobpro to the PC disconnect
the cabling from your PC and try an alternative USB socket. If you still have
problems try a different cable of the same type.
If you cannot see the digifobpro USB drive then go to;
Change the ‘ Enabled ‘ option to YES.
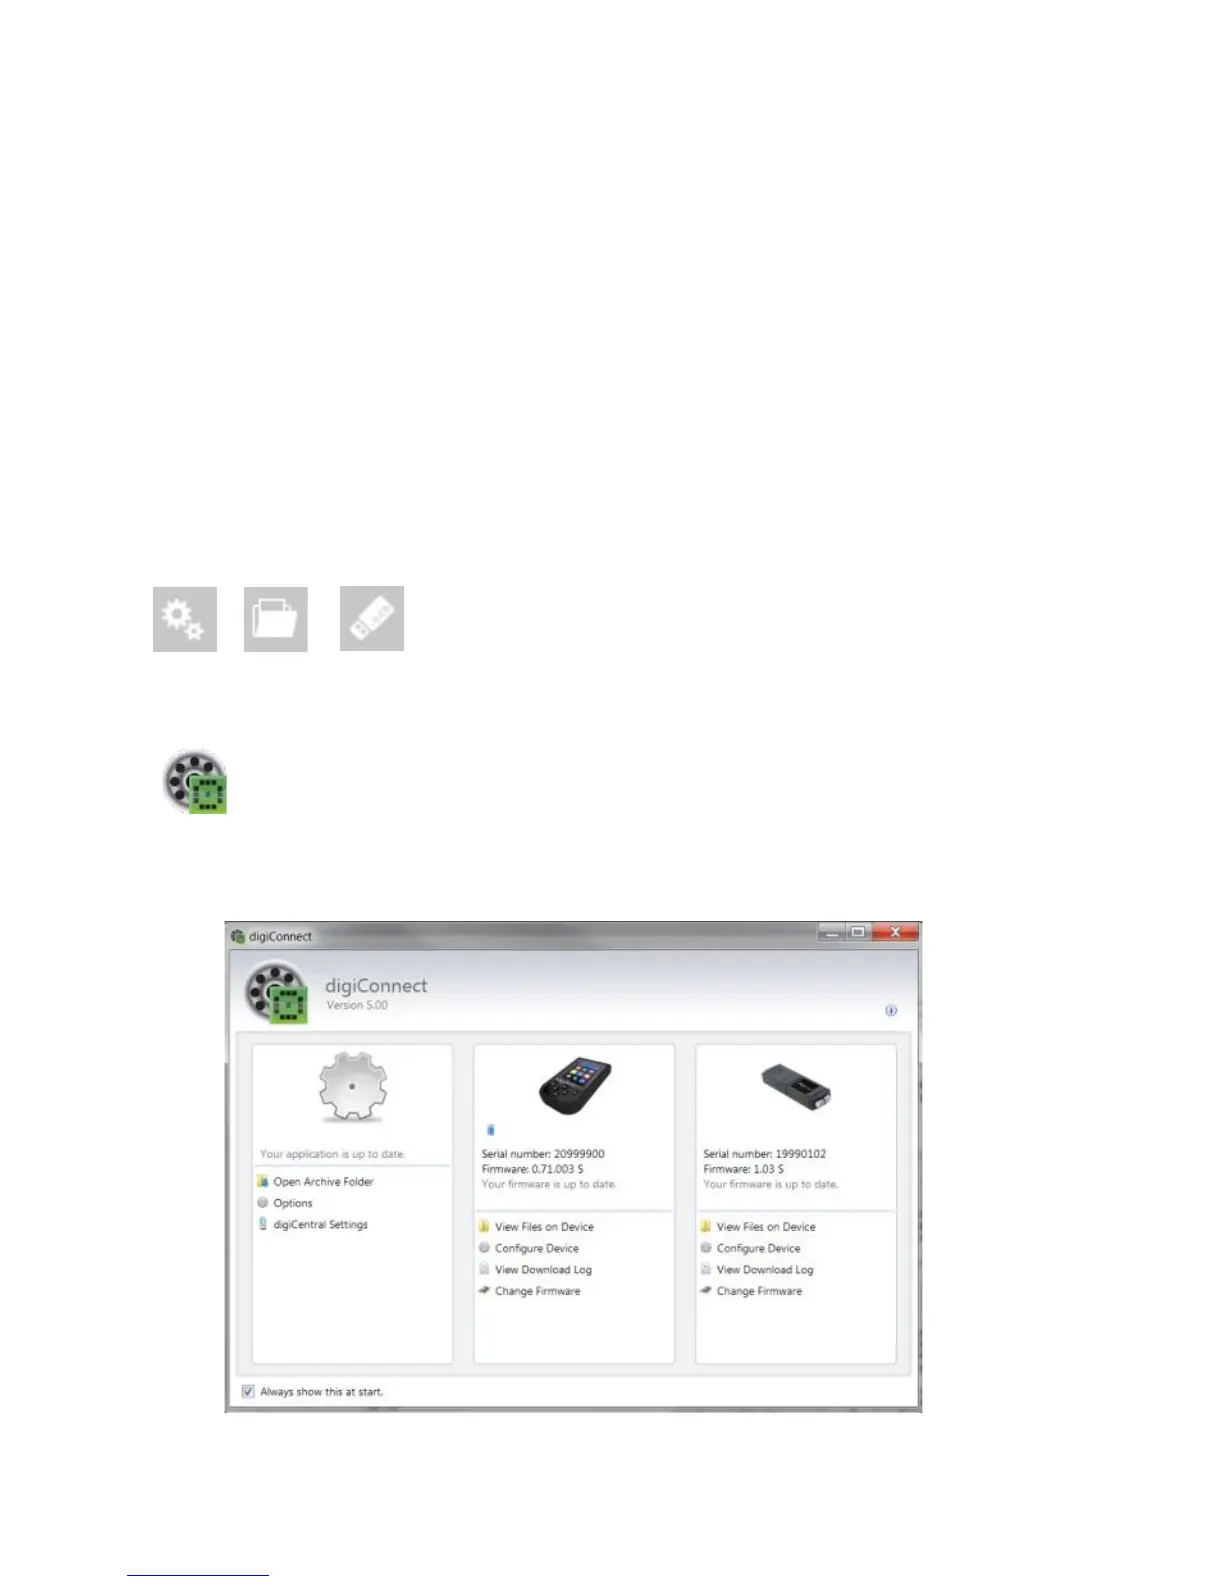
digiConnect - Accessing the functions menu on your PC
digiconnect places an icon in your system tray at the bottom of your
screen. If this ICON is not present then go to Windows - ALL
Programs - Tachosys - digiconnect and click on the digiconnect Icon.
Click on the digiconnect ICON at the bottom of your screen.
digiconnect will display all of the Tachosys devices connected to your PC.
Fig 3.