We cannot guarantee the playback of all files although extensions are listed, as it depends on file size, codec, bit
rate and resolution.
*This user manual describes the full functionality including the recording function and may not be applicable if the software for recording via
USB has not yet been installed.
2.0 YOUR RECEIVER
2.1 DEFAULT PIN: 1234
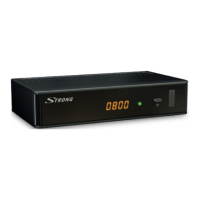
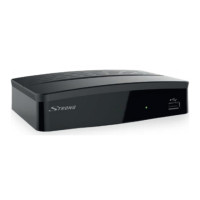
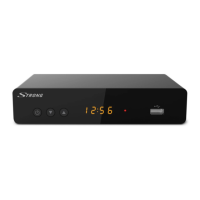
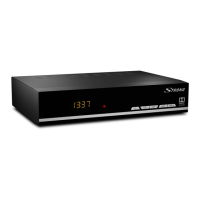
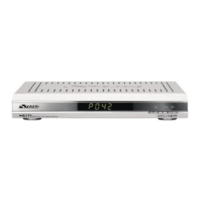
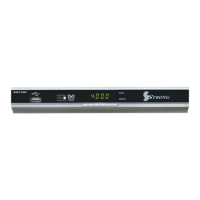
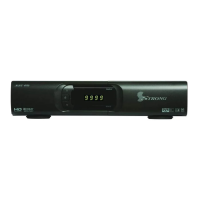
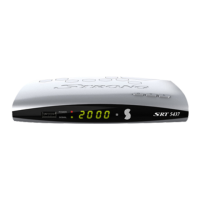
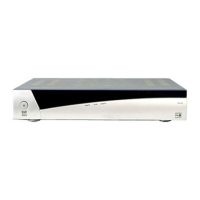
2.2 Front Panel
Fig. 1
1. IR Sensor Receives commands from the remote control
2. LED Display Shows channel number in operation and time in standby
3. Mode Indicator LED RED indicates that the receiver is in STANDBY mode.
4. Standby/ON button Switches the receiver ON or into Standby
5. USB To connect your USB storage device.
2.3 Rear Panel
Fig. 2
1. CABLE IN Connect your receiver to the wall connector provided by the cable operator
2. CABLE OUT Connect your receiver to another digital receiver or to a TV to keep using its internal
(analogue) tuner (loop through function)
3. HDMI Connect your receiver with your TV set using an HDMI cable.
4. TV SCART Connect your receiver with your TV set using a SCART cable.
5. S/PDIF (coax.) Connect your receiver to a digital home theatre, AV receiver or digital audio
amplifier.
6. Power connector The receiver requires a wall adapter, mains voltage input 100~240 V AC 50~60Hz
12 V, 0.5 A DC output. Please check the local power conditions before connecting
the receiver to the mains supply.
2.4 Remote Control
Fig. 3
1. q Switches the receiver On/Standby.
2. ! Mutes all audio outputs of the receiver
3. 0~9 Enter channel number in TV mode or value input in menu
4. TV/R Toggles between TV or RADIO mode.
5. No function
6. FAV Opens the favourite group selection.
7. 9 One step back in menu or switching between 2 last watched channels.
8. AUDIO Opens the audio language selection*
9. INFO Opens the current channel information; 2x opens the technical information about
the current channel.
10. EPG Opens the EPG (Electronic Programme Guide) in TV mode*
11. p/q Change channel to next/previous. Menu: Moves the cursor up/down.
12. tu Decreases/increases the volume level. Menu: Change settings for specific menus.
13. OK Opens the current channel list in menu: for confirmation
14. MENU Opens the main menu, in a menu you will get one step back.
15. Exits from the menu or sub-menu.
16. VOL+/VOL Increases/decreases the volume level.
17. P+/P Page up/down in all list modes.
18. LIST Opens the current channel list.
19. CH+/CH Channel up/down.
5
English