F Series Manual
15
2.1.3 Installing / Removing a module
WARNING: For safety reasons, always make sure no tool is installed in the
module. Only install a module when the flatbed is switched off or after clicking
‘Change Tool’ in Axis Control.
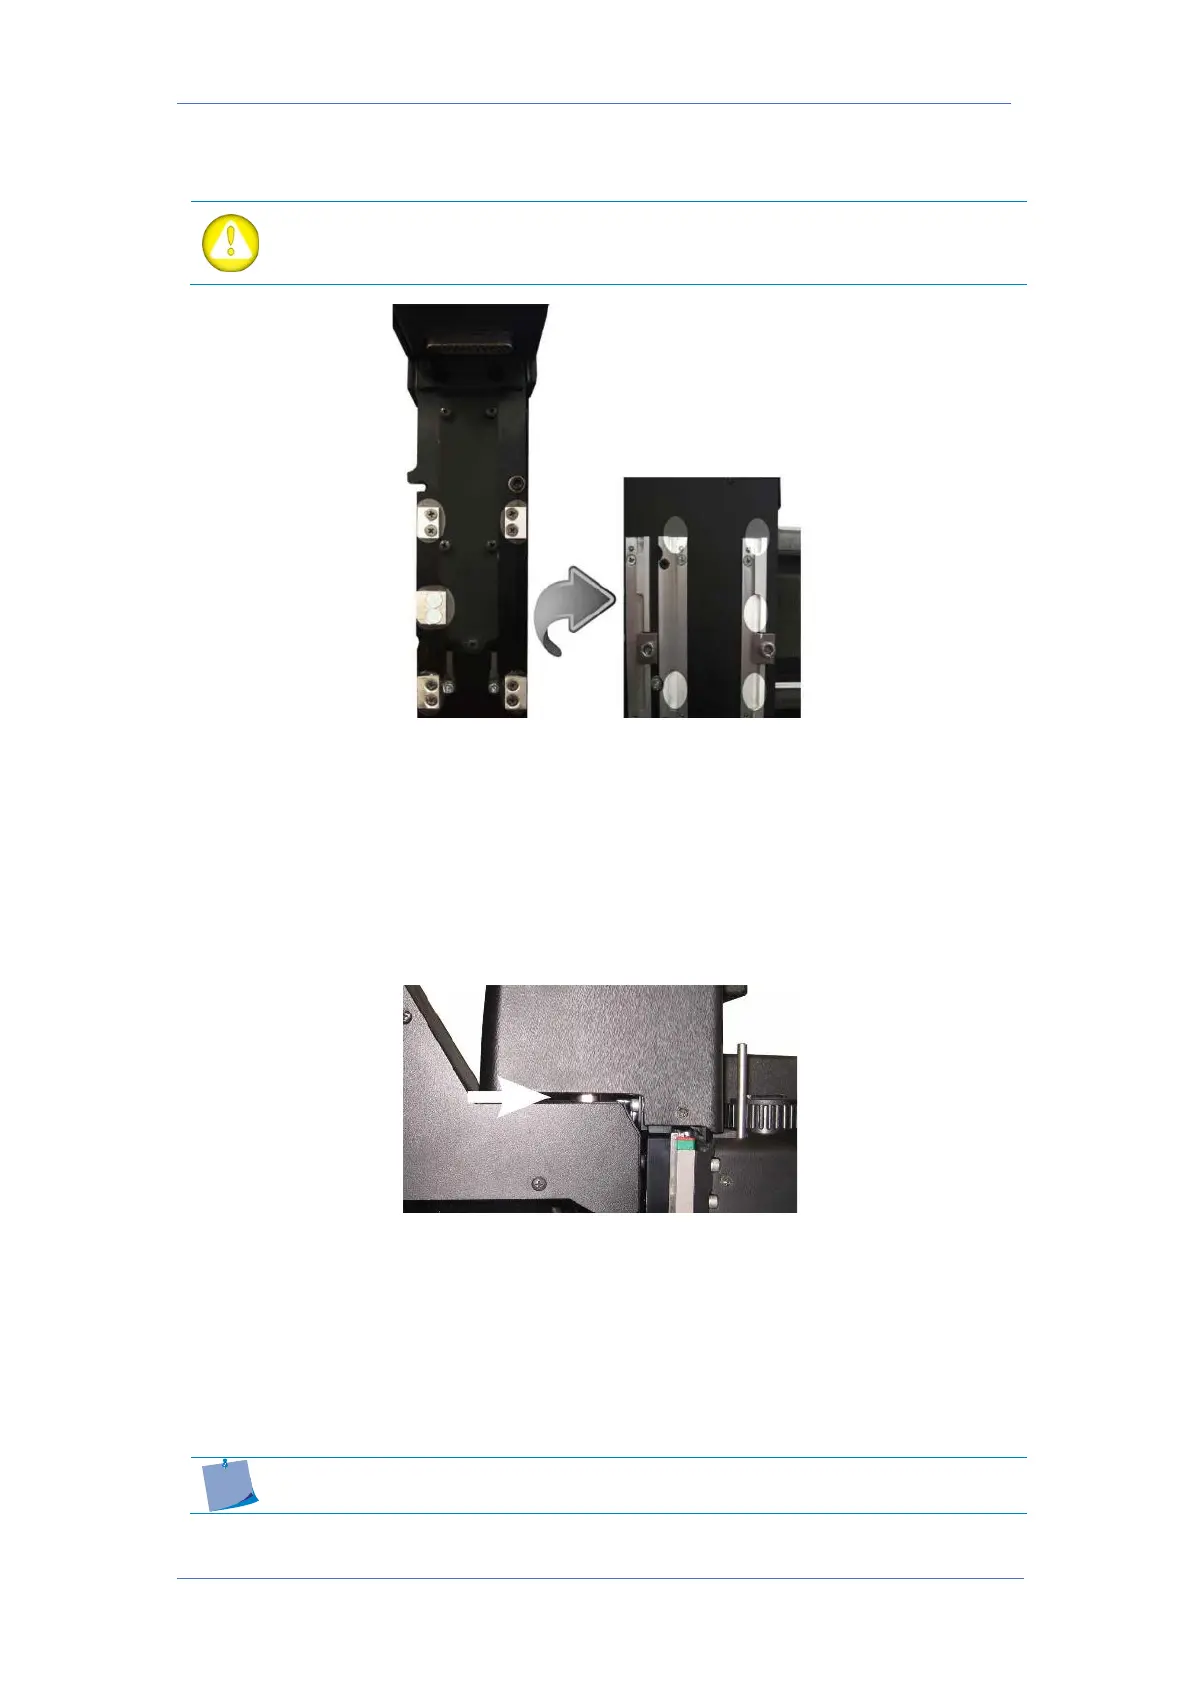
2.1.3.1 Installing a module
In order to install a module, line up the 5 highlighted areas and slide the module down. The
module glides into the carriage in a dovetail guiding. Do not use excessive force, otherwise,
the connector can be damaged. Recheck the alignment when in doubt. The module must be
pushed down approximately 15 mm (0,6”) and is secured with one screw on the right side.
Before securing the module check if the connector of the module is completely seated in the
connector of the carriage.
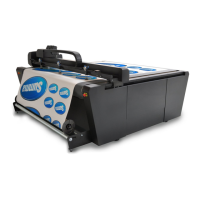
2.1.3.2 Removing a module
To remove a module, loosen the screw at the right side of the module for about 1 turn
counterclockwise with the hex screwdriver. Put this screwdriver in the hole under the module
on the right side. Now gently lift the module with the screwdriver 3 to 4 mm (0.12 to 0,16”).
Guide the module manually for an extra 10 mm (0,4”) and remove it from the carriage. The
drag module does not have such a hole to lift the module, so just lift it manually.
It is recommended to remove any unused modules. Leaving unused
modules on the carriage can lead to poorer cutting quality.