16
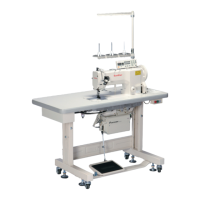
B) Adjusting the thread take up tension
As in figure 17, loosen the screw ② of the thread
tension control assembly, and insert the driver into
the groove of the thread tension control assembly ③.
Turn clockwise to make the spring ① tension
stronger and counter clockwise to make it weaker.
(See Figure 17)
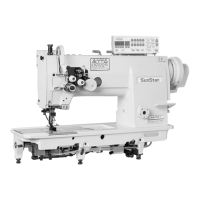
C) Adjusting the timing of the thread take up spring
tension
As in Figure 18, loosen the stopper screw ①, and
turn clockwise the guide plate ③ for the thread take
up spring to make the timing of the spring ② faster
and counter clockwise to make it slower.
※ The timing of the thread take up spring tension is
normal, when the guide plate is located in the
middle as can be seen in figure.
[Figure 17]
[Figure 18]
③
①
②
Strong
Weak
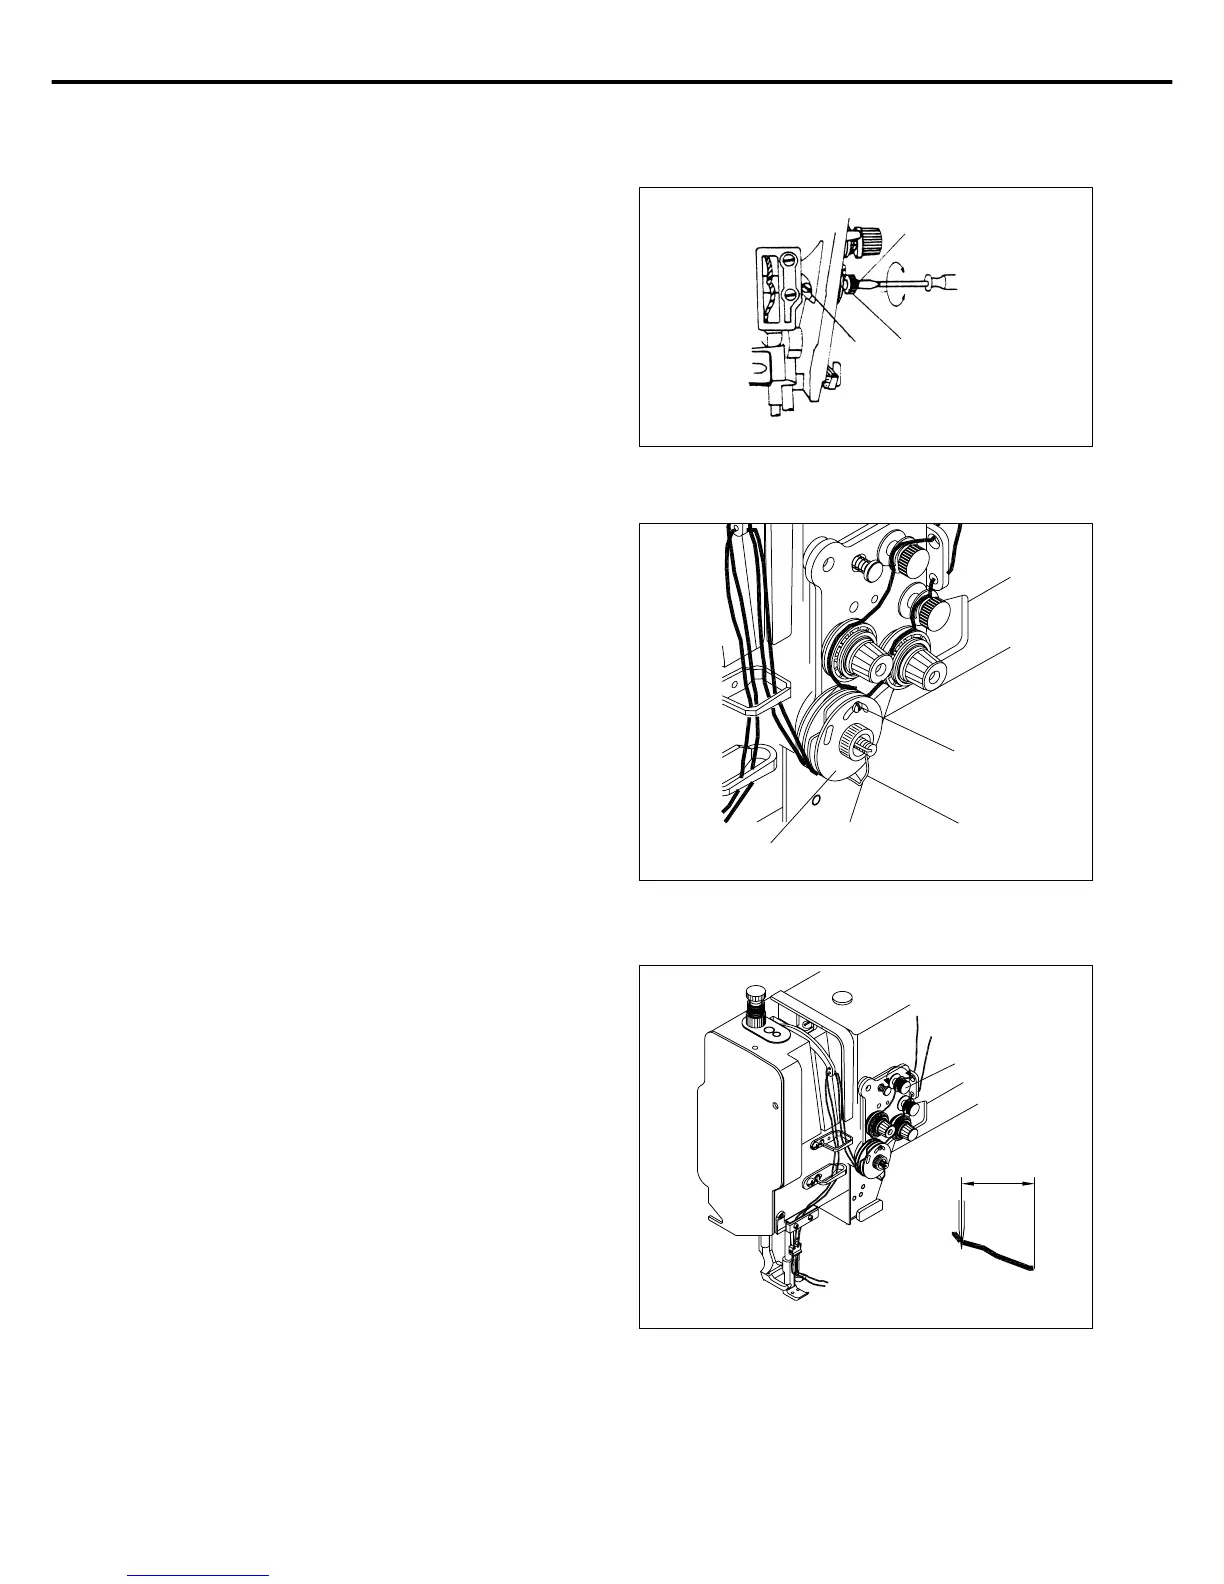
D) Adjusting the auxiliary thread tension control
assembly (for automatic trimming type)
As in Figure 19, when the auxiliary thread tension
adjustment nut ① is turned clockwise, the length of
the thread after trimming is short. The other way
makes the thread long.
※ The appropriate length of the upper thread on the
needle after trimming is 35~45 mm.
[Figure 19]
②
①
③
①
35~45mm
 Loading...