16 • Questions? Call or Text +1-801-658-0015
Microscope Tips
The Zapp Plus microscope has been designed to pro-
vide maximum visual clarity, eye protection, and ease
of use. One challenge using the microscope is getting
used to bringing the workpiece to the welding electrode
while looking through the microscope. This is an easy
challenge to overcome.
To begin, follow the suggested practices below while
the welder is paused. While the welder is in paused, it
will not make a weld when the workpiece touches the
electrode.
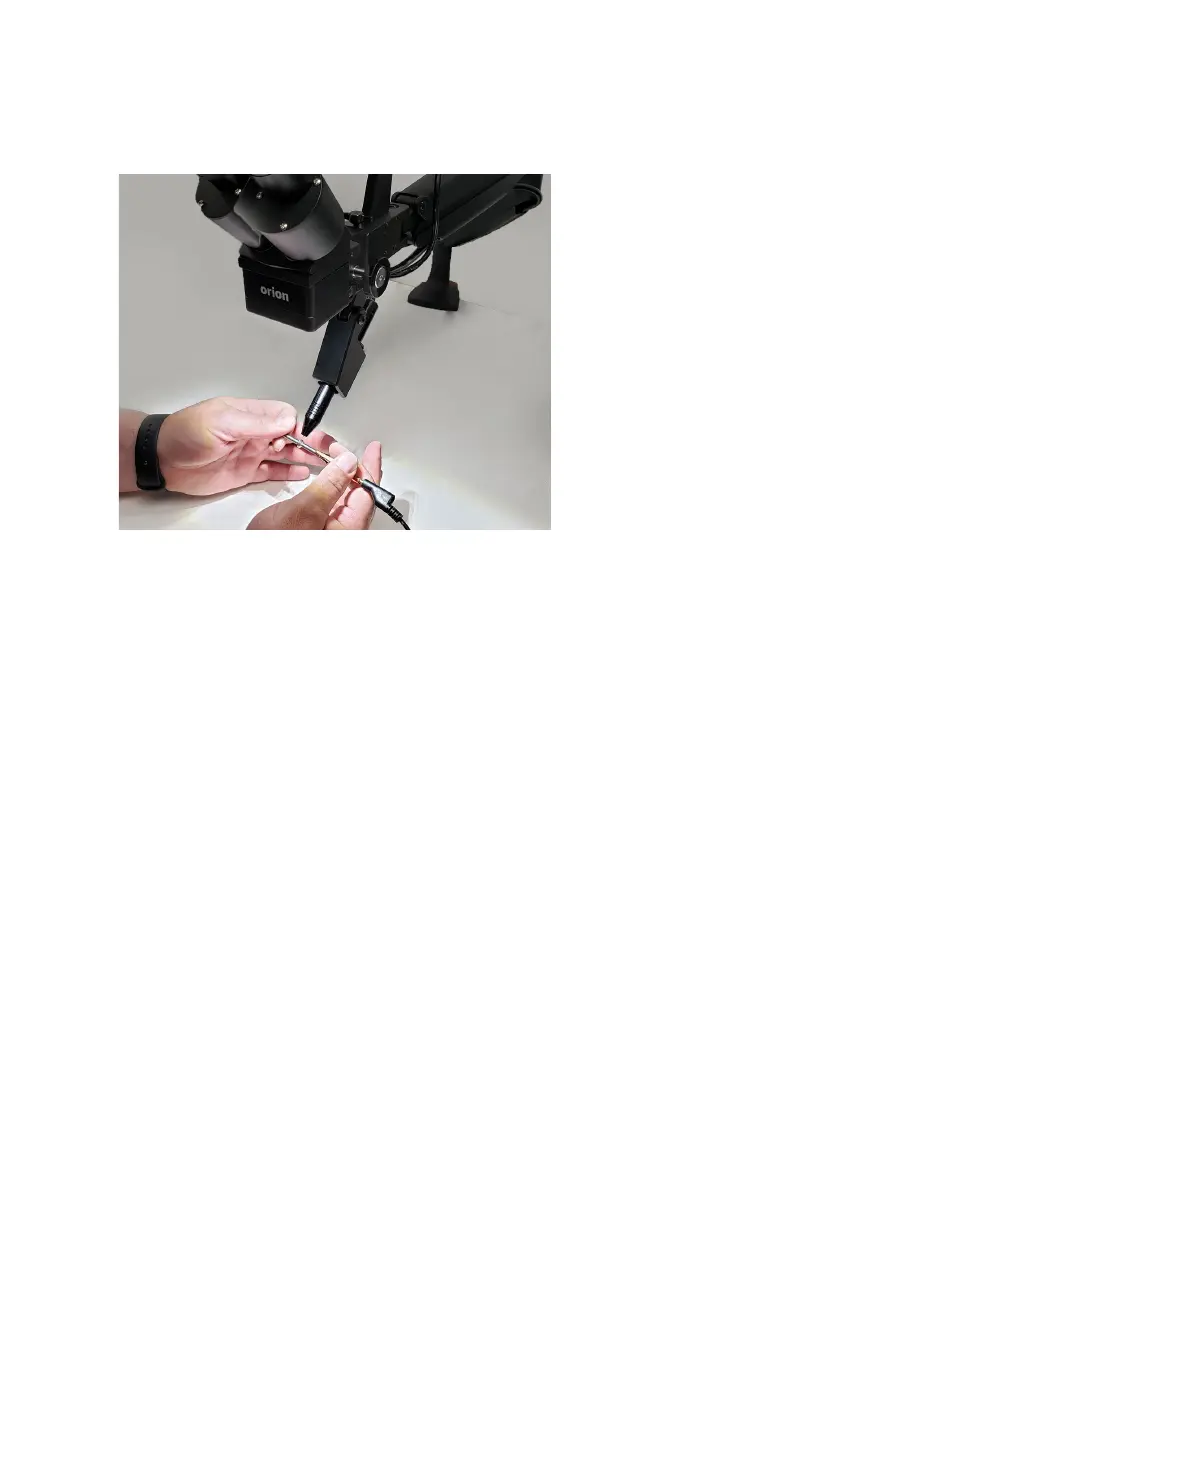
Rest your hands on the table and position the work-
piece close to the welding electrode before looking into
the microscope.
Make sure your focus is at the tip of the electrode.
Use slow, controlled movements.
electrode. See Figure 16.1.
Place the workpiece surface perpendicular to the point of the electrode. As discussed in later chapters, the
angle of the electrode tip relative to the workpiece surface is very important and will take practice.
Now practice making soft contact with the workpiece to the electrode.
Once you feel comfortable, attach the alligator clip to the workpiece and touch the workpiece to the electrode.
Hold still and wait for the weld to occur.
Note: Be mindful of your energy setting: Too much power may damage the workpiece. Start low (3-4J) and work
up to higher energies (8-10).
Microscope LCD Filter Shutter System
The Microscope LCD Filter Shutter System provides an unobstructed working view before welding and com-
-
scope LCD Filter Shutter System has been activated before allowing the weld to take place. Should the shutter
not activate, the microscope lens is equipped with >UV 16 and >IR 16 for maximum eye protection.
Warning: Avoid direct view of the welding area without protective lenses.
Mounting Zapp Plus Stylus in Microscope & PJ Scope:
• Install the rubber eyepiece covers onto the microscope lenses.
• Plug the included Shutter Cable into the RJ45 port on the microscope (the bottom of the microscope
head). See Figure 17.1.
Figure 16.1. Rest your hands on the table and position the
workpiece close to, but not touching the electrode., Then
look through the microscope.
Zapp Plus User Manual