EasyManuals Logo

SunSynk SUNSYNK-8K-SG01LP1 Installer Manual

SunSynk SUNSYNK-8K-SG01LP1
78 pages
To Next Page IconTo Next Page
To Previous Page IconTo Previous Page
Page #23 background imageLoading...
Page #23 background image
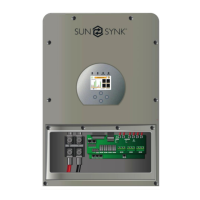
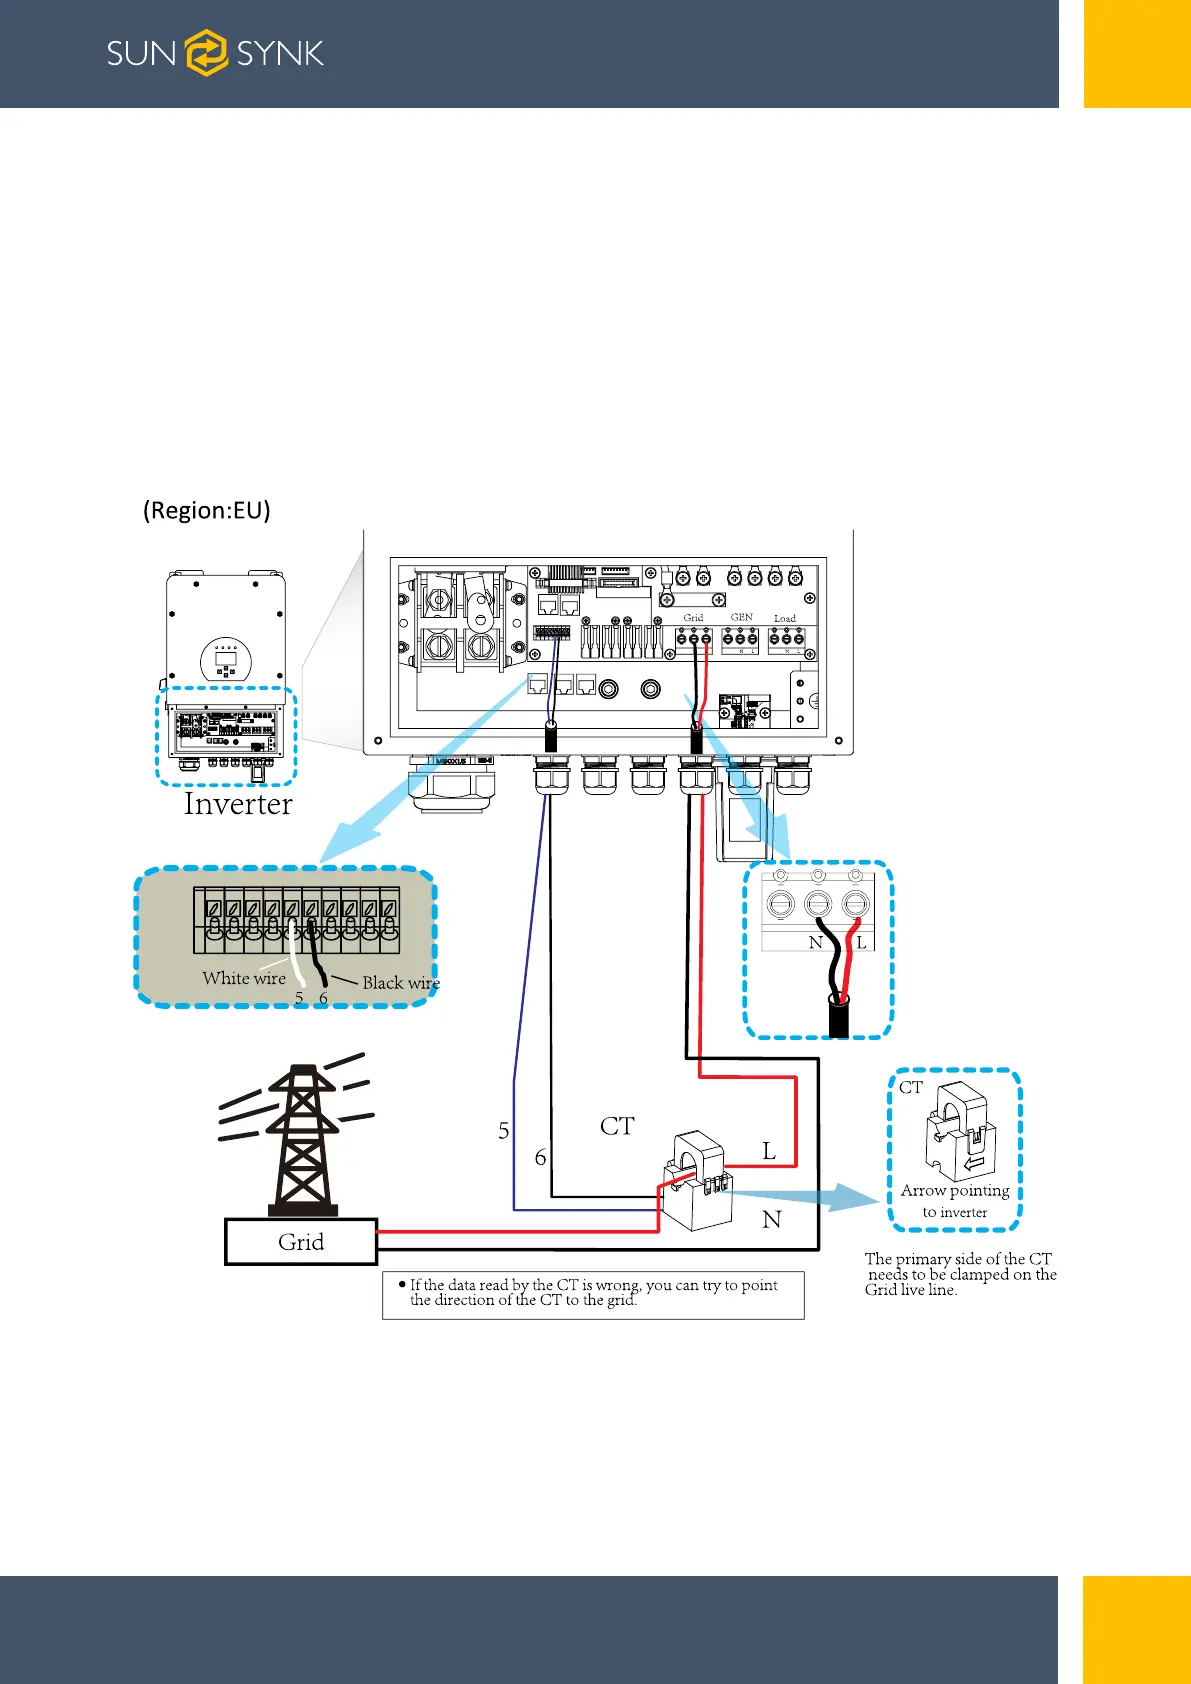
4.10. Installing the CT Coil
The CT coil is one of the most important parts of the Sunsynk Parity inverter. This device reduc-
es the power of the inverter to prevent feeding power to the grid. This feature is also known as
“Zero Export”.
1. Fit the coil (sensor) around the live cable on the main fuse feeding the building and run the
cable back to the inverter. This cable can be extended up to an extra 10m using a similar
cable.
2. Connect the other end of the CT coil into the inverter terminals marked as CT coil.
Page | 23 Hybrid Inverter | Installer Manual

Table of Contents

Other manuals for SunSynk SUNSYNK-8K-SG01LP1

Questions and Answers:

Question and Answer IconNeed help?

Do you have a question about the SunSynk SUNSYNK-8K-SG01LP1 and is the answer not in the manual?

SunSynk SUNSYNK-8K-SG01LP1 Specifications

General IconGeneral
BrandSunSynk
ModelSUNSYNK-8K-SG01LP1
CategoryInverter
LanguageEnglish

Related product manuals