Operation
NT 10000...NT 12000 61
Your router supports port forwarding.
Procedure:
1. Connect your Solar Inverter with your DSL router. Use a CAT5 Ethernet cable
with 1:1 RJ45 sockets. The main unit is connected to the network as stan-
dard.
2. Register free of charge, e.g. at www.dyndns.org.
3. Create an alias for accessing your Solar Inverter, e.g. NT-sun-
ways.dyndns.org. You can then access your Solar Inverter via this address.
4. Configure your DSL router such that the IP address is regularly reported to
www.dyndns.org (follow the procedure described in the manual for your
DSL router for this purpose).
5. Configure your DSL router such that it accepts queries from the Internet
(e.g. via port 80) and forwards them internally to the Solar Inverter (port
forwarding).
6. Also note that the port for access from the Internet set in your firewall must
be enabled.
NOTE
Instructions for configuring common DSL routers are available for download
from the Sunways AG website.
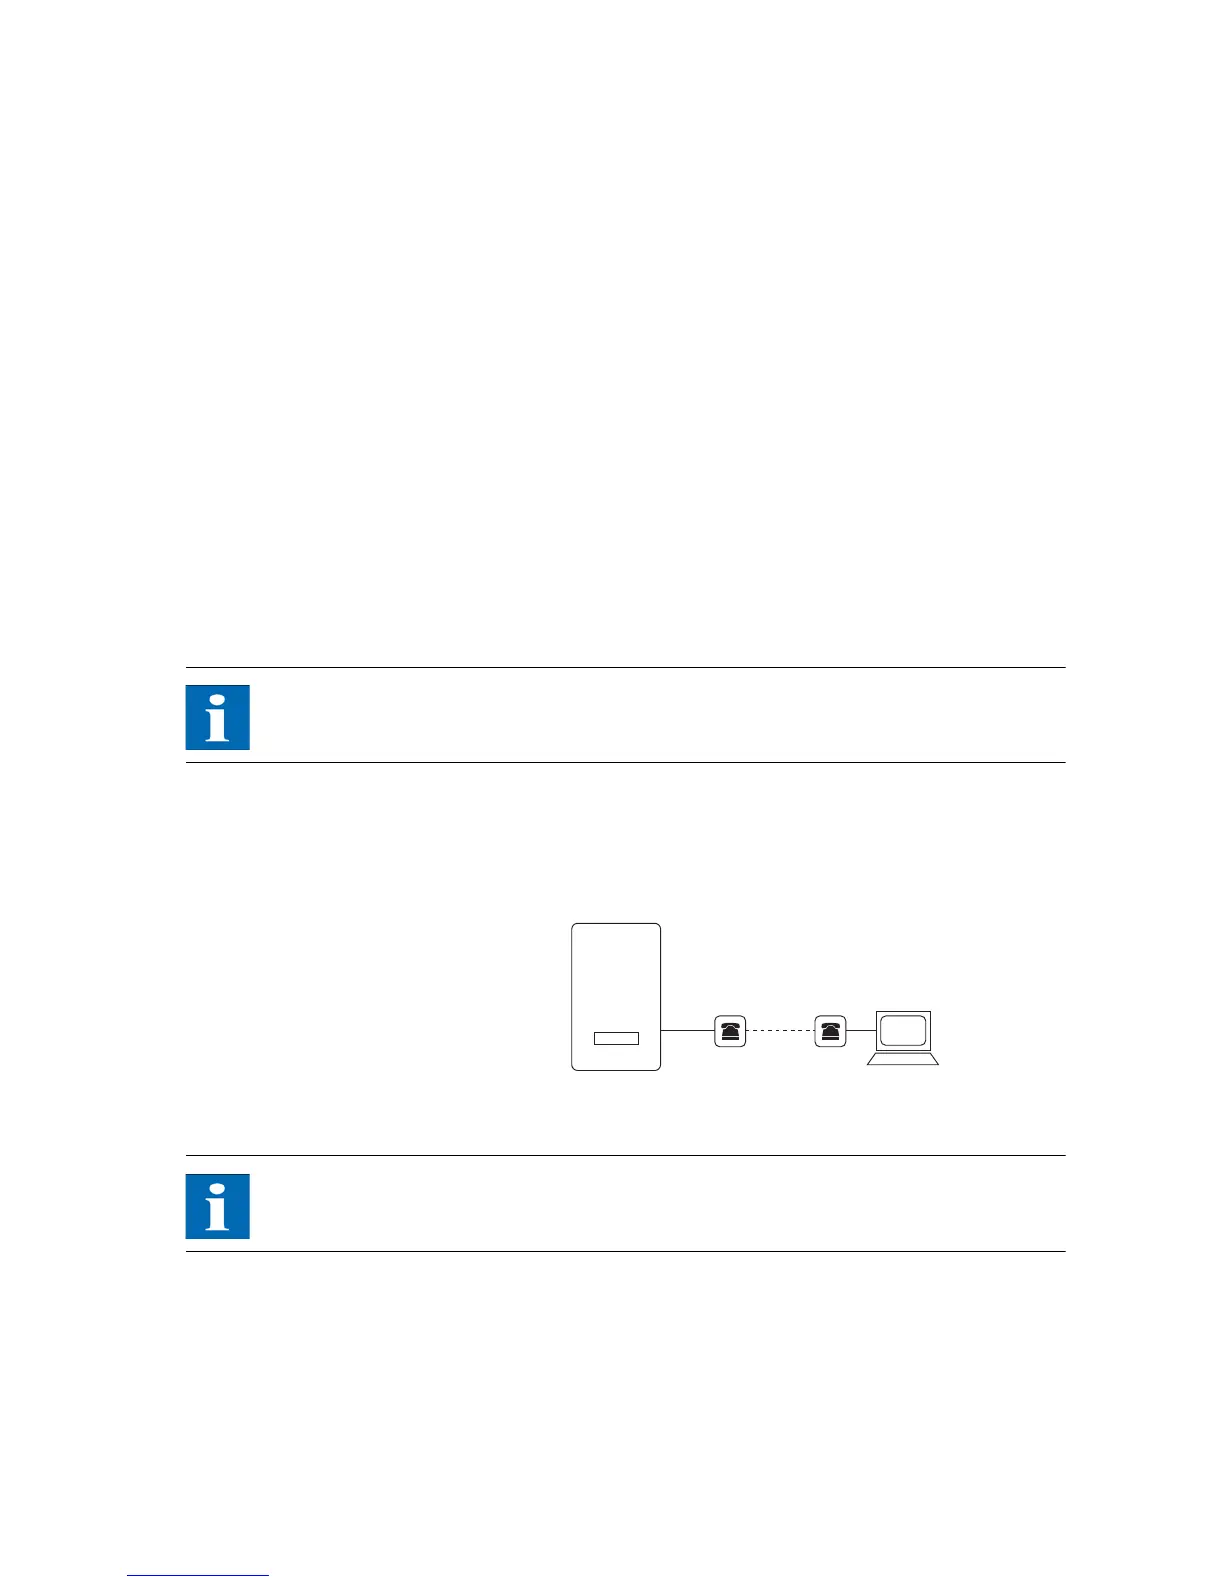
Connection via the Sunways
Modem
A modem connection can be used to bridge longer distances during system mo-
nitoring and configuration. The Sunways Modem is connected to the Solar In-
verter for this purpose. The Sunways Modem is available as an analog, ISDN and
GSM type.
1. Connect your Solar Inverter and your PC with a crossed or 1:1 Ethernet con-
nection cable, type CAT5 with RJ45 sockets.
NOTE
In a networked system only the main unit should be connected to the remote
modem as standard.
2. Connect an external modem to your PC or use the internal modem of the
PC, if available. For commissioning please refer to the Sunways Modem user
manual.