47
Chapter 3: Maintenance and Component Installation
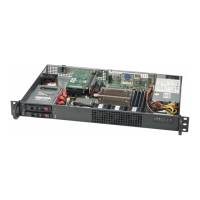
Figure 3-10. GPU Heatsink
4.
pattern, then the four outside screws in a diagonal pattern. Be careful not to damage the
surrounding elements.
5. Install the GPU heatsink. Orient it with the smooth air channel on the chassis right side
(when viewed from the front). That is the same side as the power supply modules. The
arrow on the heatsink should point to the front of the chassis. Secure with four screws
gradually in a diagonal pattern.
Note: Do not add any thermal grease to the heatsink. The required amount has already been
applied.
FRONT
6. Attach the OCuLink cable from the add-on module connector to the riser card connector.
This allows the GPU to output directly to the network at high speeds
• CN1 (from AOM) to CN1 (from RSC-GN2-66)
• CN2 (from AOM) to CN2 (from RSC-GN2-66)
• CN3 (from AOM) to CN3 (from RSC-G-A66-X1)
• CN4 (from AOM) to CN4 (from RSC-G-A66-X1)

 Loading...