50
Chapter 3: Maintenance and Component Installation
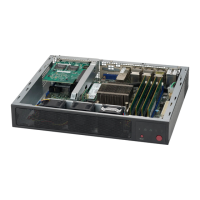
PCI Expansion Card Installation
Installing an Expansion Cards
1. Power down the system, and remove both covers, as described previously in this
section.
2. In the rear of the chassis, remove the screw securing the PCI slot shield in the PCI slot
that you wish to use.
3. Slide the expansion card bracket into the open PCI slot while plugging the expansion
card into the motherboard.
4. Secure the expansion card bracket into the PCI slot using the screw previously set
aside.
5. Replace the top covers and power up the system.
Figure 3-11. Removing the PCI Slot Shield
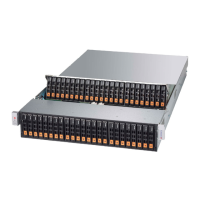
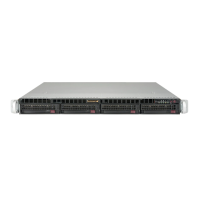
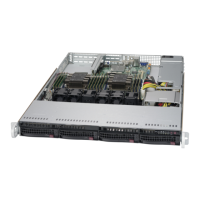
Drive Carrier LEDs
The chassis includes externally accessible SAS/SATA/NVMe drives. Each drive carrier
displays two status LEDs on the front of the carrier.
LED Color State Status
Activity LED
Blue Solid On SAS/NVMe drive installed
Blue Blinking I/O activity
Status LED
Red Solid On Failed drive for SAS/SATA/NVMe with RSTe support
Red Blinking at 1 Hz Rebuild drive for SAS/SATA/NVMe with RSTe support
Red Blinking with two blinks and
one stop at 1 Hz
Hot spare for SAS/SATA/NVMe with RSTe support
Red Power on for SAS/SATA/NVMe with RSTe support
Red Blinking at 4 Hz Identify drive for SAS/SATA/NVMe with RSTe support
Green Solid On Safe to remove NVMe device
Amber Blinking at 1 Hz Attention state—do not remove NVMe device
 Loading...