23
Chapter 2: Installation
Installing a CPU Heatsink
Note 1: The installation described in this section is for reference only. The actual in-
stallation steps may vary depending on the CPU heatsink model. Refer to the heatsink
instruction for more details.
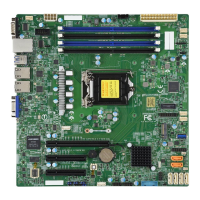
Note 2: Graphic drawings included in this manual are for reference only. They might
look dierent from the components installed in your system.
1. Loosen four screws to release the backplate. Note that one screw is not shown in the
illustration below.
Heatsink
Backplate
Unscrew
Unscrew
Unscrew
2. If there is a thin layer of protective lm on the backplate, remove it.
Protective lm
Backplate
top side
 Loading...