2-4
X7DB3 User's Manual
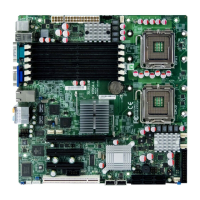
Heatsink Installation
CEK Passive Heatsink
Screw#1 Screw#2
Screw#1
1. Do not apply any thermal grease to
the heatsink or the CPU die-the required
amount has already been applied.
2. Place the heatsink on top of the
CPU so that the four mounting holes
are aligned with those on the retention
mechanism.
3. Screw in two diagonal screws (ie the
#1 and the #2 screws) until just snug (-do
not fully tighten the screws to avoid pos-
sible damage to the CPU.)
4. Finish the installation by fully tightening
all four screws.
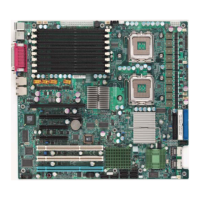
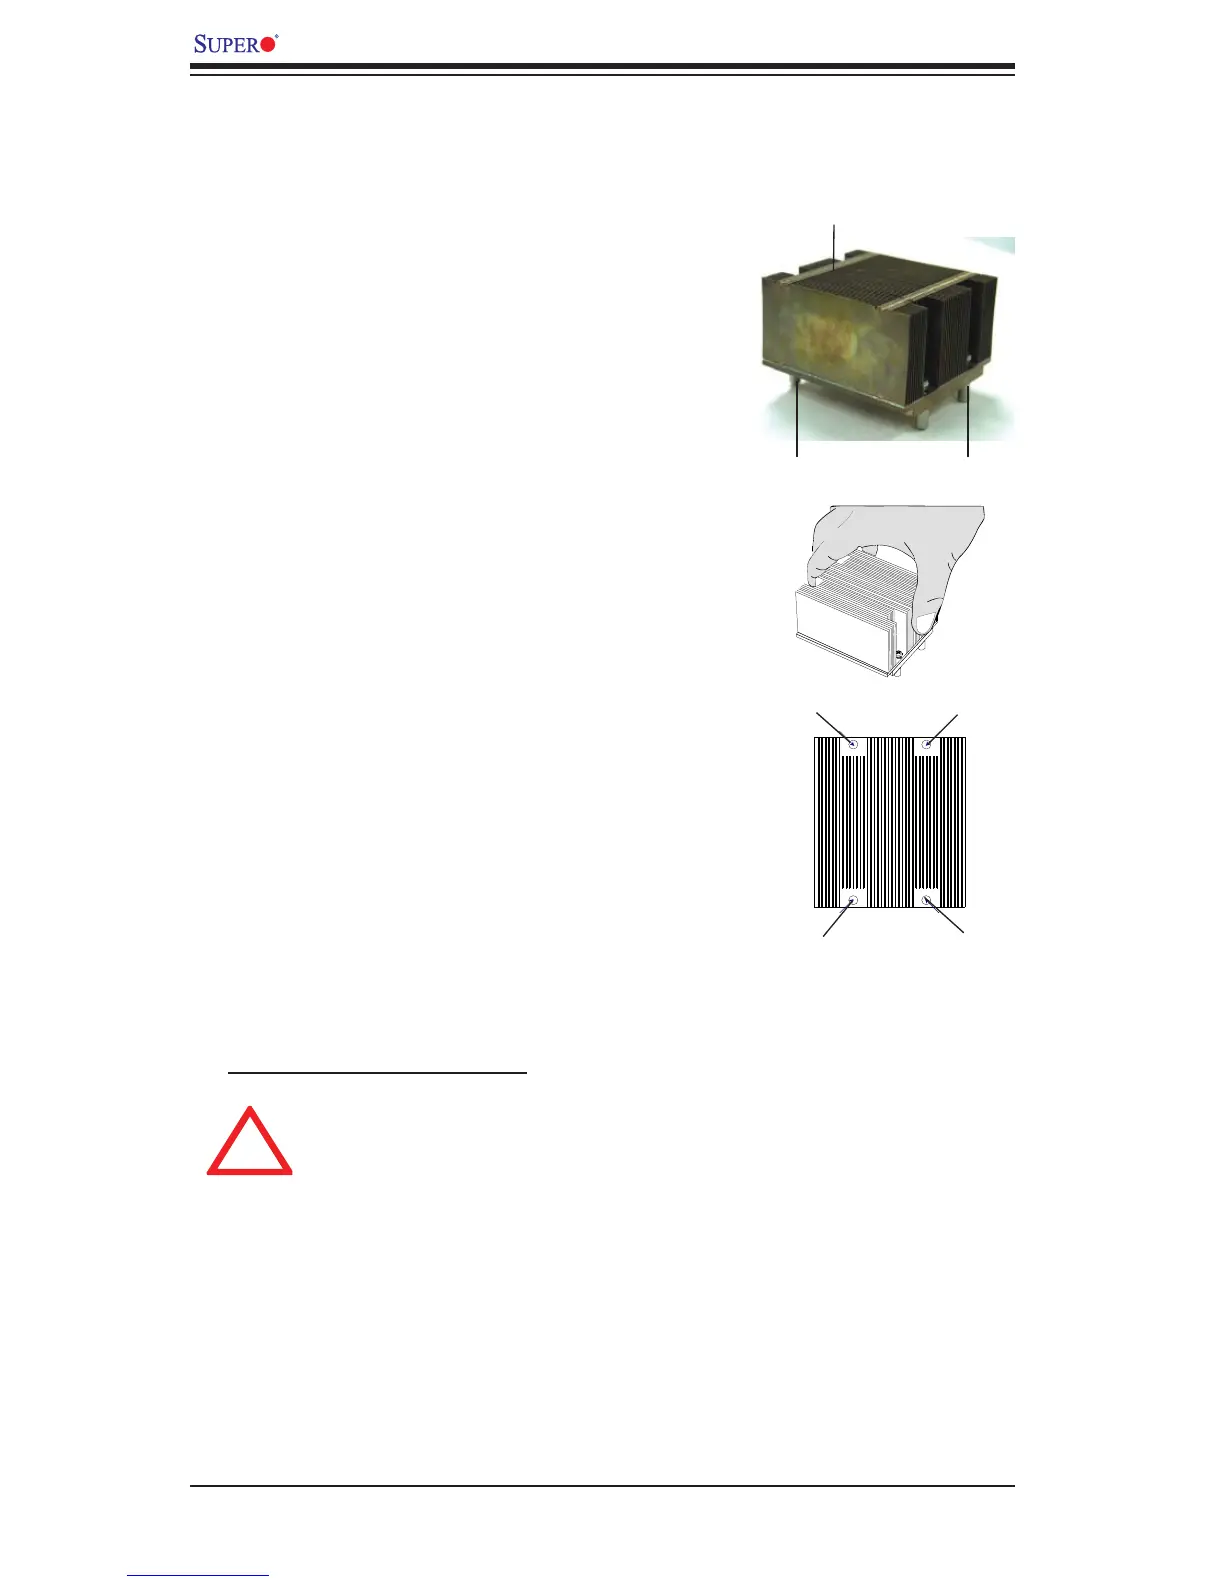
CEK Heatsink Installation
Screw#2
Warning: We do not recommend
that the CPU or the heatsink be
removed. However, if you do need
to uninstall the heatsink, please
follow the instructions below to
uninstall the heatsink to prevent
damage done to the CPU or the
CPU socket.
To Un-install the Heatsink
Screw#3
Screw#4