6B-3 Steering / Handlebar:
7) Remove the clutch lever assembly (15) from the left
handlebar.
Installation
Install the handlebars in the reverse order of removal.
Pay attention to the following points:
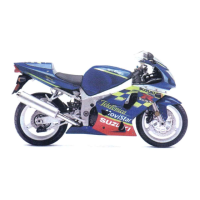
• When installing the clutch lever assembly to the left
handlebar, align the slit of lever holder with the punch
mark “A”.
• Install the handlebars temporarily to the front forks.
• Install the upper bracket (1), washer (2) and steering
stem head nut (3) temporarily.
NOTE
Face the chamfer side of the washer
downward.
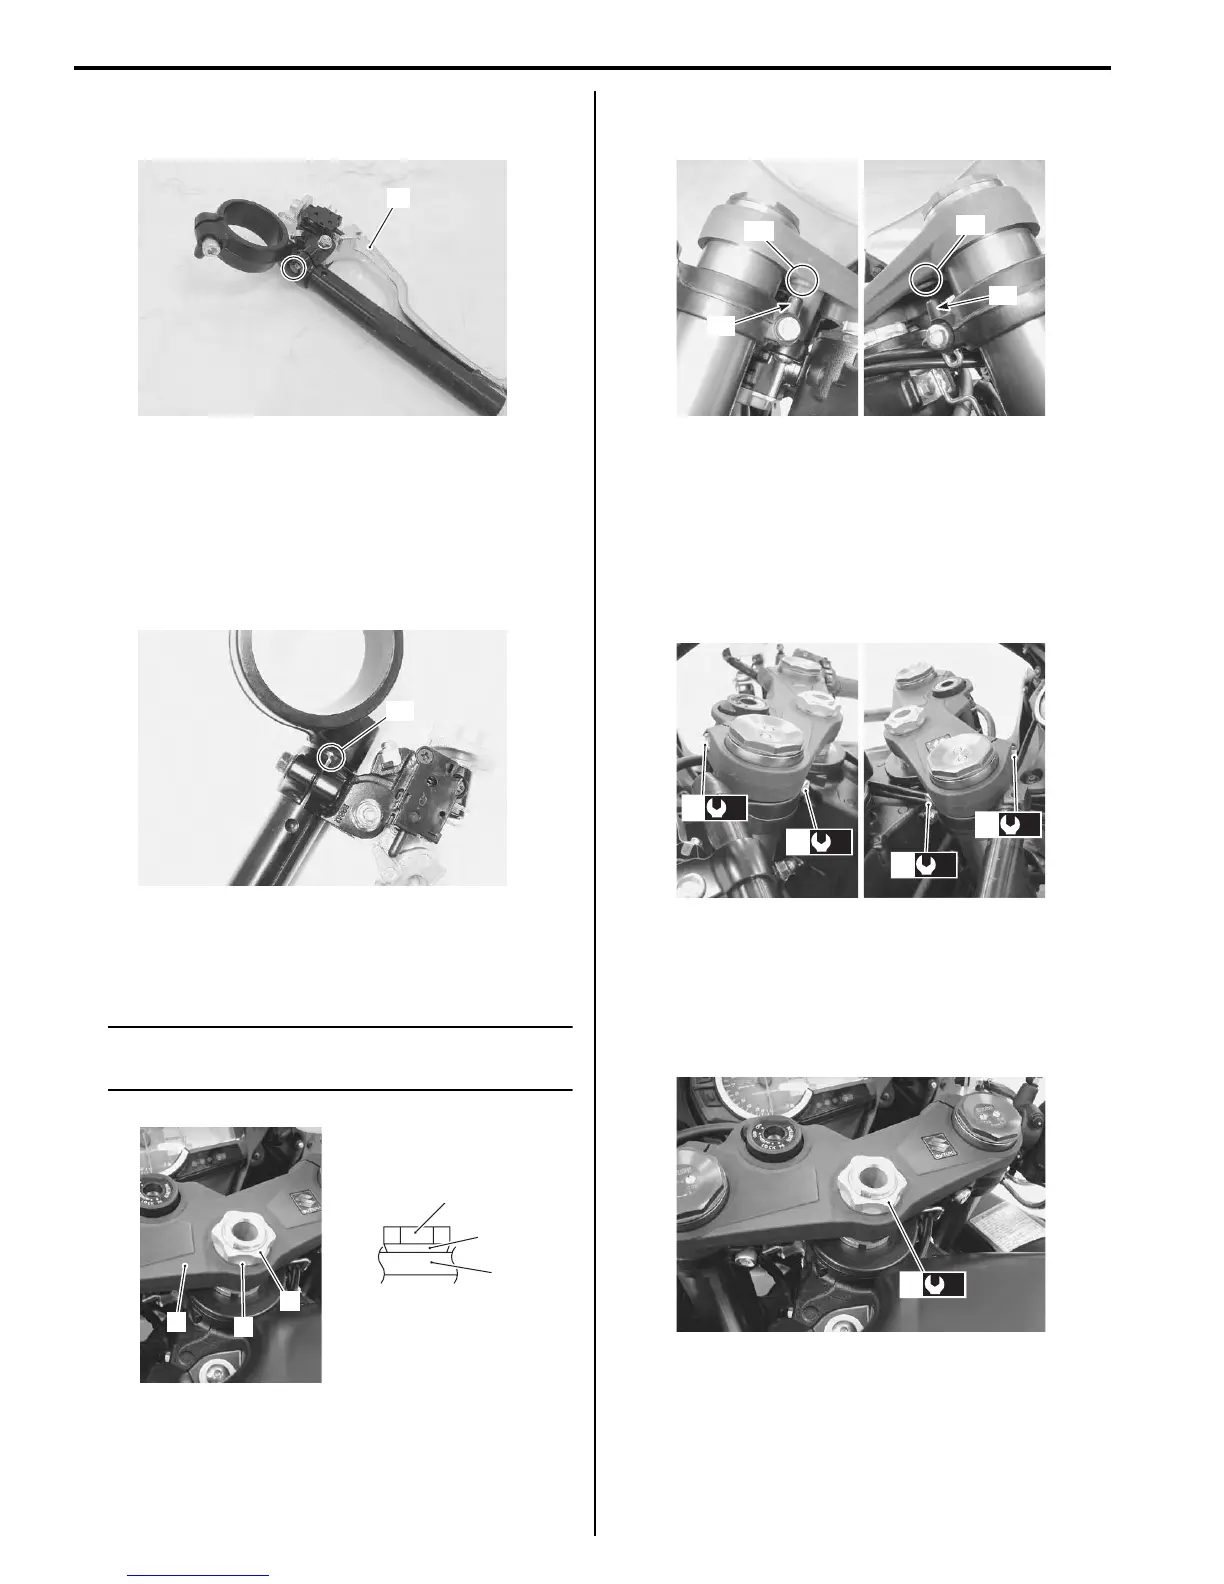
• Insert the protrusion “B” of the handlebar into the hole
“C” of the steering stem upper bracket.
• Tighten the front fork upper clamp bolts (4) and
handlebar clamp bolts (5) to the specified torque.
Tightening torque
Front fork upper clamp bolt (a): 23 N·m (2.3 kgf-
m, 16.5 lbf-ft)
Handlebar clamp bolt (b): 23 N·m (2.3 kgf-m, 16.5
lbf-ft)
• Tighten the steering stem head nut (6) to the specified
torque.
Tightening torque
Steering stem head nut (c): 90 N·m (9.0 kgf-m,
65.0 lbf-ft)
15
I947H1620007-01
“A”
I947H1620009-01
1
1
2
3
2
3
I947H1620008-01
“C”
“C”
“B”
“B”
I947H1620010-01
(a)
4
(b)
5
(b)
5
(a)
4
I947H1620011-01
(c)
6
I947H1620012-01
Manuals by Motomatrix / The Solution For Lost Motorcycle Coded Keys
email: info@motomatrix.co.uk / www.motomatrix.co.uk

 Loading...