Steering / Handlebar: 6B-4
• Install the front brake master cylinder. Refer to “Front
Brake Master Cylinder Assembly Removal and
Installation” in Section 4A (Page 4A-10).
• Apply grease to the end of the throttle cables and
cable pulley.
: Grease 99000–25010 (SUZUKI SUPER
GREASE “A” or equivalent)
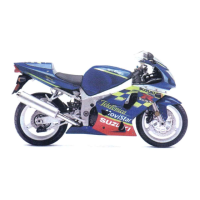
• Insert the projection “D” of the right handlebar switch
box into the hole of the right handlebar.
• Apply a handle grip bond “E” onto the left handlebar
before installing the handlebar grip.
: Handle grip bond (Handle Grip Bond
(commercially available))
• Insert the projection “F” of the left handlebar switch
box into the hole of the left handlebar.
• After installing the steering, the following adjustments
are required before driving.
– Throttle cable routing (Refer to “Throttle Cable
Routing Diagram” in Section 1D (Page 1D-2))
– Clutch cable routing (Refer to “Throttle Cable
Routing Diagram” in Section 1D (Page 1D-2))
– Throttle cable play (Refer to “Throttle Cable Play
Inspection and Adjustment” in Section 1D
(Page 1D-7))
– Clutch cable play (Refer to “Clutch Cable Play
Inspection and Adjustment” in Section 0B
(Page 0B-14))
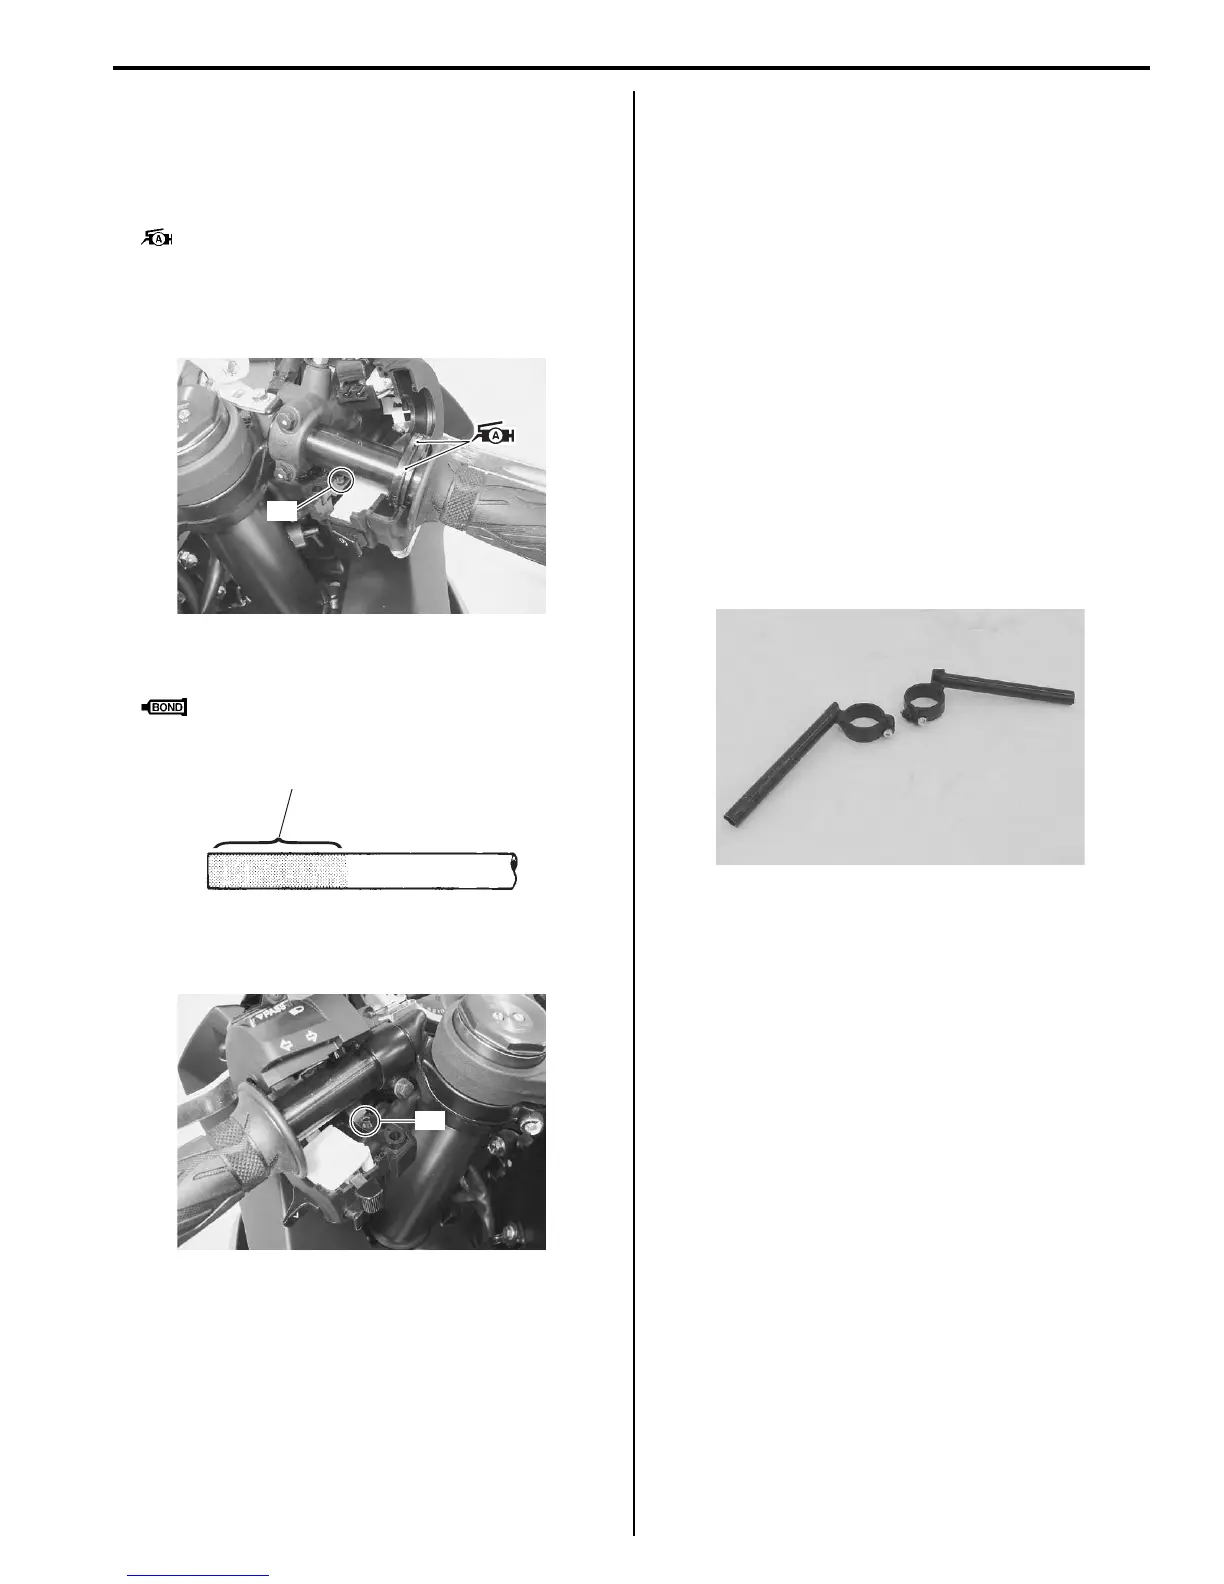
Handlebars Inspection
B947H16206003
Refer to “Handlebar Removal and Installation” (Page 6B-
2).
Inspect the handlebars for distortion and damage.
If any defect is found, replace the handlebar with a new
one.
“D”
I947H1620013-01
“E”
I947H1620014-01
“F”
I947H1620015-01
I947H1620016-01
Manuals by Motomatrix / The Solution For Lost Motorcycle Coded Keys
email: info@motomatrix.co.uk / www.motomatrix.co.uk

 Loading...