9
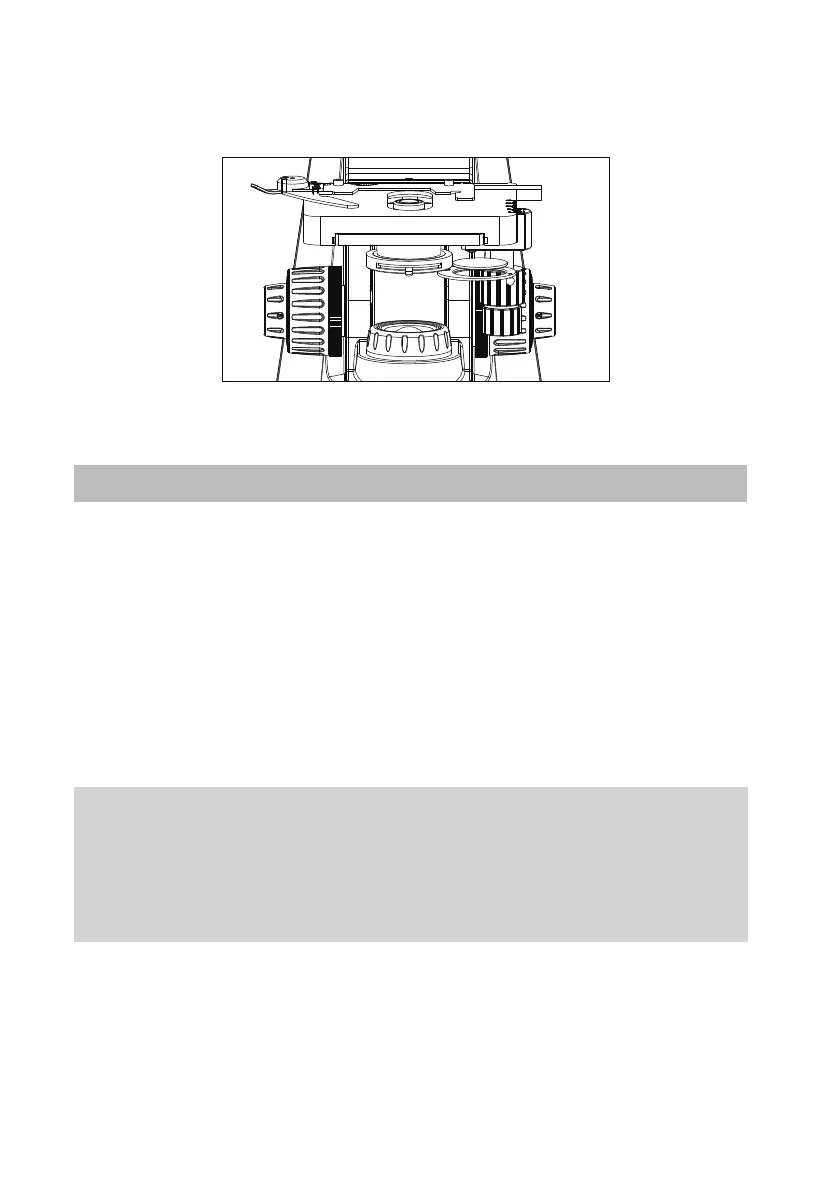
it out and place 32mm diameter lter into it, taking care that dust, dirt and
ngerprints do not get on the lter and the eld lens.
●
A diuser is built into the condenser of the microscope.
IV. Usage of microscope components
1. Illumination brightness adjustment
●
Turn the light intensity control wheel fully clockwise to the low brightness
position.
●
Set the power switch on the rear of microscope to position “I” (ON)
●
The brightness indicator of Swift Logo in the front of microscope base will
light up.
●
When the light intensity control wheel is turned anti-clockwise to high
brightness position, the light intensity will increase.
●
Automatic power o function:
A safety and environmentally friendly feature in Stellar 1. If the brightness
is unchanged for 30 minutes, the microscope illumination will
automatically switch o. Turn the light intensity control wheel and the
illumination will automatically recover.
2. Interpupillary distance adjustment
● Before adjusting the interpupillary distance, bring a specimen into focus
using the 10x objective.
● Adjust the interpupillary distance so that both the right and left eld of
view become one.

 Loading...