16
●
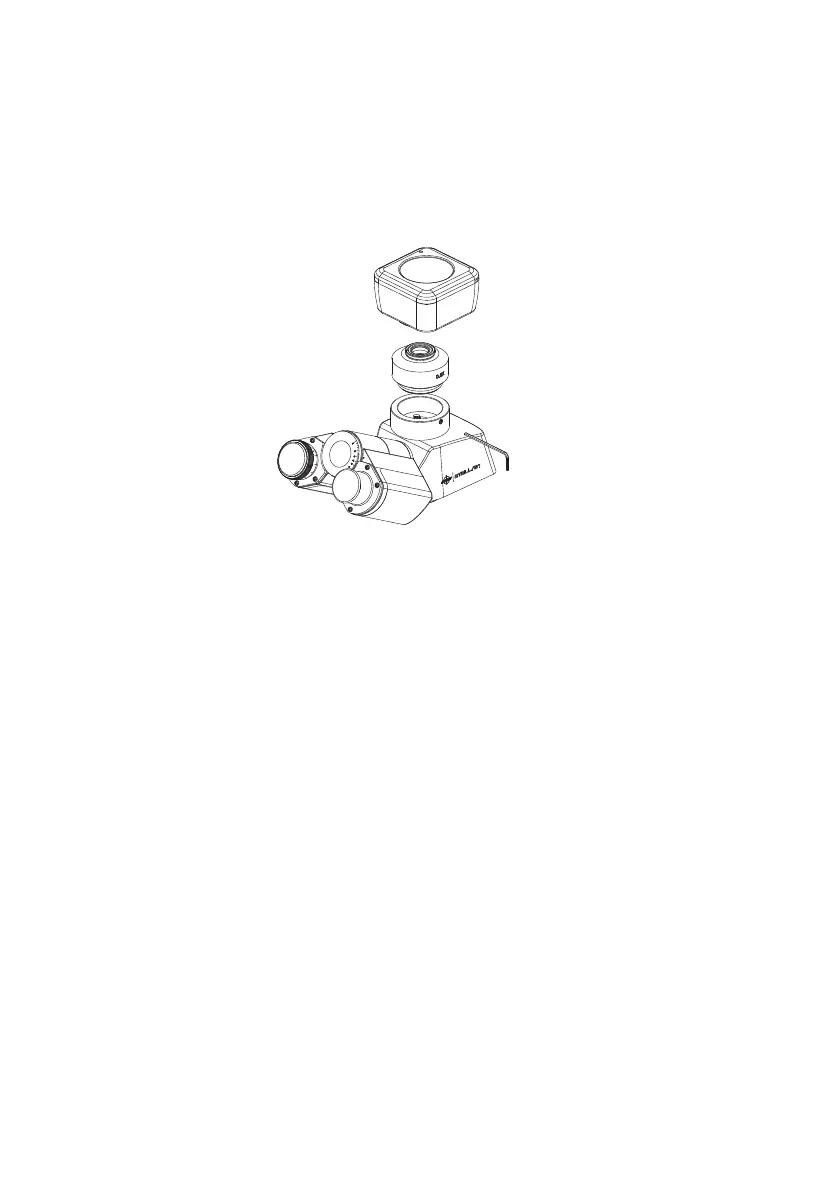
Use of standard C-mount adapter (Optional)
- Screw the adapter onto the camera.
- Loosen the set screw of photo port by the provided hexagon wrench and
remove the dustproof cap.
- Insert the camera and adapter into the opening of the photo port and
tighten the set screw.
- To ensure vibration free operation, set the microscope on a sturdy
vibration free table or a bench with a vibration proof device.
- For the same total magnication, select a combination of the highest
possible objective magnication and lowest possible projection lens
magnication to achieve the utmost image denition and contrast.
- Select a blue lter for routine application. An additional colour-
compensating lter can also be used depending on the colour rendition.
- A change of depth of focus, contrast and resolution of image is attainable
with an aperture setting that is 2/3 of the objective N.A.
- For specic photomicrographic procedures, refer to the manual of the
specic camera being used.

 Loading...