4.2.2 To install the product
Note:
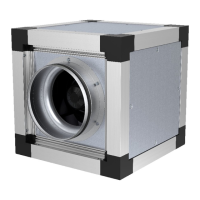
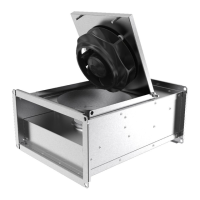
The MUB fan, the MUB CAV/VAV fan and the MUB/F fan
can be installed in any angle on the floor, on the wall or in
the ceiling.
The MUB/T fan, the MUB/T-S fan and the MUB/T ECO fan
have a drain plug at the bottom of the fan casing. Always
install the fan with the drain plug down.
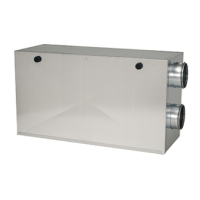
1 Place the product where it is to be installed.
Note:
Make sure the product is installed with a distance of 1x the
product width to nearest wall or other product.
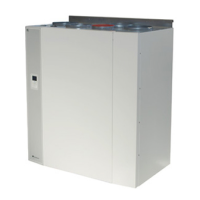
2 If the installation location is on the floor, Systemair rec-
ommends using SD vibration pads to decrease vibra-
tions transmitted from the product.
Place the vibration damper pads under the bottom cor-
ners of the frame.
3 If the installation location is in the ceiling, the product can
be installed using mounting rails. Mounting rails are not
supplied by Systemair.
4 If necessary, install cable grommets. Refer to 4.2.3 To in-
stall cable grommets page 8.
5 If the product is a MUB-CAV/VAV fan, set up the CAV
controller. Refer to 4.2.5 To set up the controller for CAV/
VAV page 9.
6 If the product is installed outside, install weather protec-
tion. Systemair recommends installing weather protec-
tion roof WSD and weather protection grille WSG. The
products are available as accessories. Refer to 4.2.6 To
install weather protection page 9. To locate correct ac-
cessories: see 13 Accessory overview page 33 and the
online catalogue at www.systemair.com .
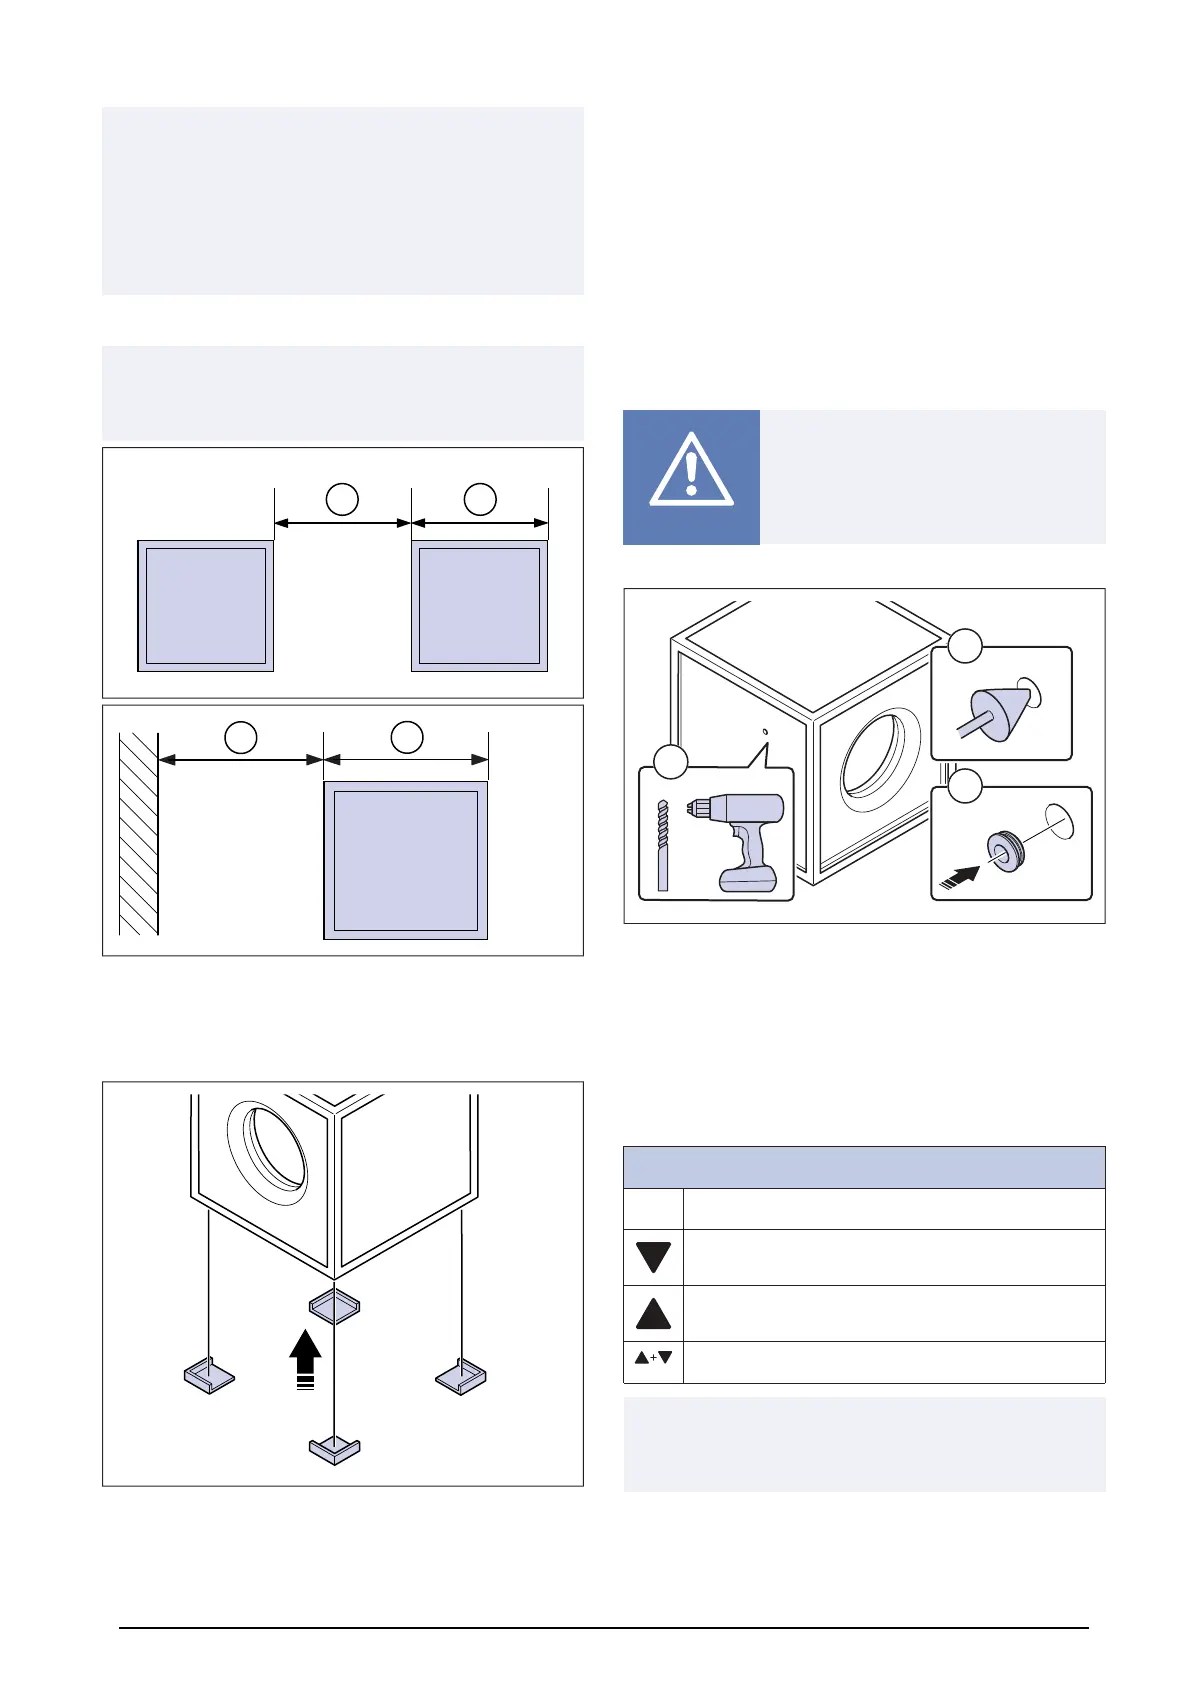
4.2.3 To install cable grommets
Caution
Risk of damage to the cables because of
sharp edges. If it is necessary to put a ca-
ble through a hole in the side panel, ca-
ble grommets must be installed.
1 Drill a hole through the side panel (1).
2 Use a deburring tool to smooth the edges of the hole on
the two sides of the side pane (2).
3 Put the cable grommet in the hole (3). Systemair recom-
mends using stepped rubber (Systemair article number
313521) to avoid damage to the cable.
4.2.4 To operate the pressure
controller
Pressure controller navigation buttons
P P = Programming button and select menu.
Arrow Down = Navigate down, decrease value.
Arrow Up = Navigate up, increase value.
Arrow Down + Arrow Up = Leave menu.
Note:
Full instruction manual for PCA-2 1000 D2 controller is
available at www.systemair.com.
8