Do you have a question about the TA Instruments DHR Series and is the answer not in the manual?
Outlines regulatory compliance standards and safety requirements for the instrument.
Lists specific safety standards for electrical and laboratory equipment by region.
Details electromagnetic compatibility standards relevant to the instrument's operation.
Details essential personal protective equipment and required accessories for safe operation.
Warns about high voltages and specifies qualified personnel for maintenance.
Alerts users to the Class 2 laser product and the danger of staring into the beam.
Explains the meaning of safety symbols displayed on the instrument.
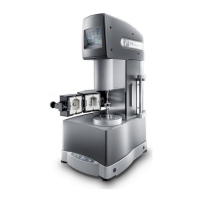
Provides a general introduction to the Small Angle Light Scattering (SALS) Accessory.
Explains the principles of light scattering and how it relates to particle properties.
Describes the direction of the incident light relative to the sample's shear direction.
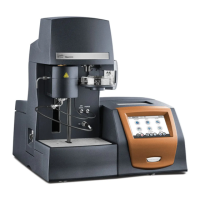
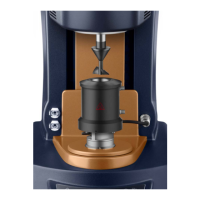
Details the components and specifications of the SALS accessory hardware.
Explains how to adjust the planoconvex lens to set the focal point within the sample.
Describes the plane polarized light and the use of an analyzer for polarization studies.
Explains how to adjust the intensity of the incident laser light using filters.
Details the necessary corrections for intensity measurements due to angle and distance.
Lists the technical specifications of the SALS accessory.
Step-by-step instructions for mounting the upper and lower fixtures of the accessory.
Procedure for attaching the rheometer geometry to the instrument spindle.
Instructions for connecting the camera and installing necessary software drivers.
Detailed steps for aligning the SALS system using a calibration sample.
Guides on preparing the SALS accessory and deciding on calibration levels.
Describes basic usage for collecting and viewing scattering images.
Details processing images for clarity, averaging, and background subtraction.
Outlines requirements for absolute data gathering and numerical analysis.
Explains how to determine the relationship between pixel position and scattering angle.
Discusses using Mie scattering patterns from calibrated samples for system calibration.
Guides on using the Laven program for Mie scattering calculations.
Instructions on preparing and loading the sample for calibration.
Step-by-step guide on using ImageJ for processing scattering images.
Details calculating system calibration factors using Excel and data.
Provides an overview of the procedures for using the SALS accessory after setup.
Instructions on how to load samples, including precautions for bubbles.
Explains how to set the focal position within the sample using lens settings.
Guidance on locking camera exposure settings for consistent image capture.
Information on choosing the appropriate image format for saving results.
Instructions on how to export captured images for further analysis.
| Brand | TA Instruments |
|---|---|
| Model | DHR Series |
| Category | Measuring Instruments |
| Language | English |