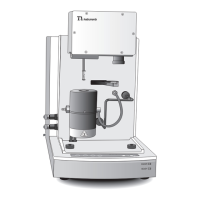
DHR/AR Series SALS Accessory Getting Started Guide Page 32
Chapter 4:
Using the SALS Accessory
Overview
Once the SALS accessory has been properly installed, aligned, and calibrated (if needed), follow the direc-
tions in this chapter to load your samples, set the focal positions, lock the exposure, and select the desired
image format for your results.
Loading the Sample
The sample can be loaded in the usual way for a parallel plate, i.e., by raising the instrument head, placing
the sample on the lower plate, bringing the head back to the required geometry gap, and trimming the sam-
ple to the edge of the upper plate. But it is important when performing a SALS experiment that there are no
entrained bubbles in the sample, as these will tend to disrupt the scattering pattern. Unfortunately, many of
the samples that are likely to be used with the SALS system are particularly susceptible to this problem.
Some way to ensure that no bubbles are formed or a way to remove them must be found.
With some samples you can close the geometry gap to about twice that normally used for the experiment,
and inject the sample very gently into the gap using a wide-tipped plastic pipette to prevent trapped bub-
bles. The gap can then be slowly brought to its working position. If any bubbles do become entrapped, they
can sometimes be removed using a needle pipette.