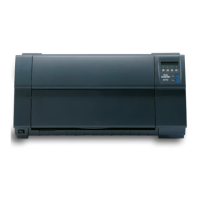
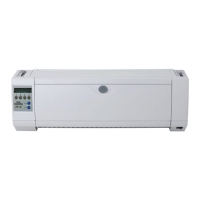
9. Adjust the Head Gap Lever to the right scale based on different paper thickness.
10. Close the Front Flap. When the Front Flap is closed, the Front Flap can avoid dust and
reduce printing noise when the printer is working. Opening the Front Flap is just for Ribbon
installation and adjustment.
Note on Ribbon Cartridge Removal:
1) Eject any paper loaded in the printer.
2)
Turn off the printer power.
3) Set the gap lever to the most open position labeled “RIBBON”.
4) Open the front cover.
5) Move the carriage to the middle. Be careful not to touch the print head if
printing had just been performed, as the print head may be hot.
6) Remove the blue ribbon frame from the print head.
7) Use fingers to take hold of the handle on the ribbon cartridge firmly, and pull
the cartridge towards you to unlatch it. Some force may be needed to unlatch the
cartridge.
8) Remove the ribbon fabric from the print head carefully without entangling it.