6-4
OPERATING PROCEDURES
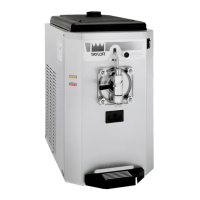
Model 428
Operating Procedures
6
13. Insert the ice buster through the door spout and into
the slot located just above the lower O-ring.
Figure 6-13
14. With the ice buster in place, rotate the draw valve to
allow installation of the draw handle. This will lock the
ice buster in place. Install the draw handle pin and
close the draw valve by moving the handle to the left.
Figure 6-14
15. Place the large rubber gasket into the groove on the
back side of the freezer door. Slide the white plastic
front bearing onto the bearing hub, making sure that
the flanged end of the bearing is resting against the
freezer door. Do not lubricate the door gasket or
front bearing.
Figure 6-15
16. Position the freezer door onto the four studs on the
front of the freezing cylinder. Install the handscrews.
Tighten equally in a crisscross pattern to ensure the
door is secure. Do not overtighten.
17. Position the torque arm by inserting it through the slot
in the torque switch arm and down into the hole in the
torque rotor, which protrudes from the door. Verify
proper installation by moving the torque rotor back
and forth to make sure it moves freely and easily.
Figure 6-16
Proceed to Step 18 on page 6-8.
 Loading...