30
Model C300Operating Procedures
080926
Brush Cleaning
Step 1
Prepare an approved 100 PPM cleaning solution
(examples: 2--1/2 gal. [9.5 liters] of Kay--5R or 2
gal. [7.6 liters] of Stera--SheenR). USE WARM
W ATER AND FOLLOW THE MANUFACTURER’S
SPECIFICATIONS.
IMPORTANT: Follow the label directions. Too
STRONG of a solution can cause parts damage,
while too MILD of a solution will not provide
adequate cleaning. Make sure all brushes provided
with the freezer are available for brush cleaning.
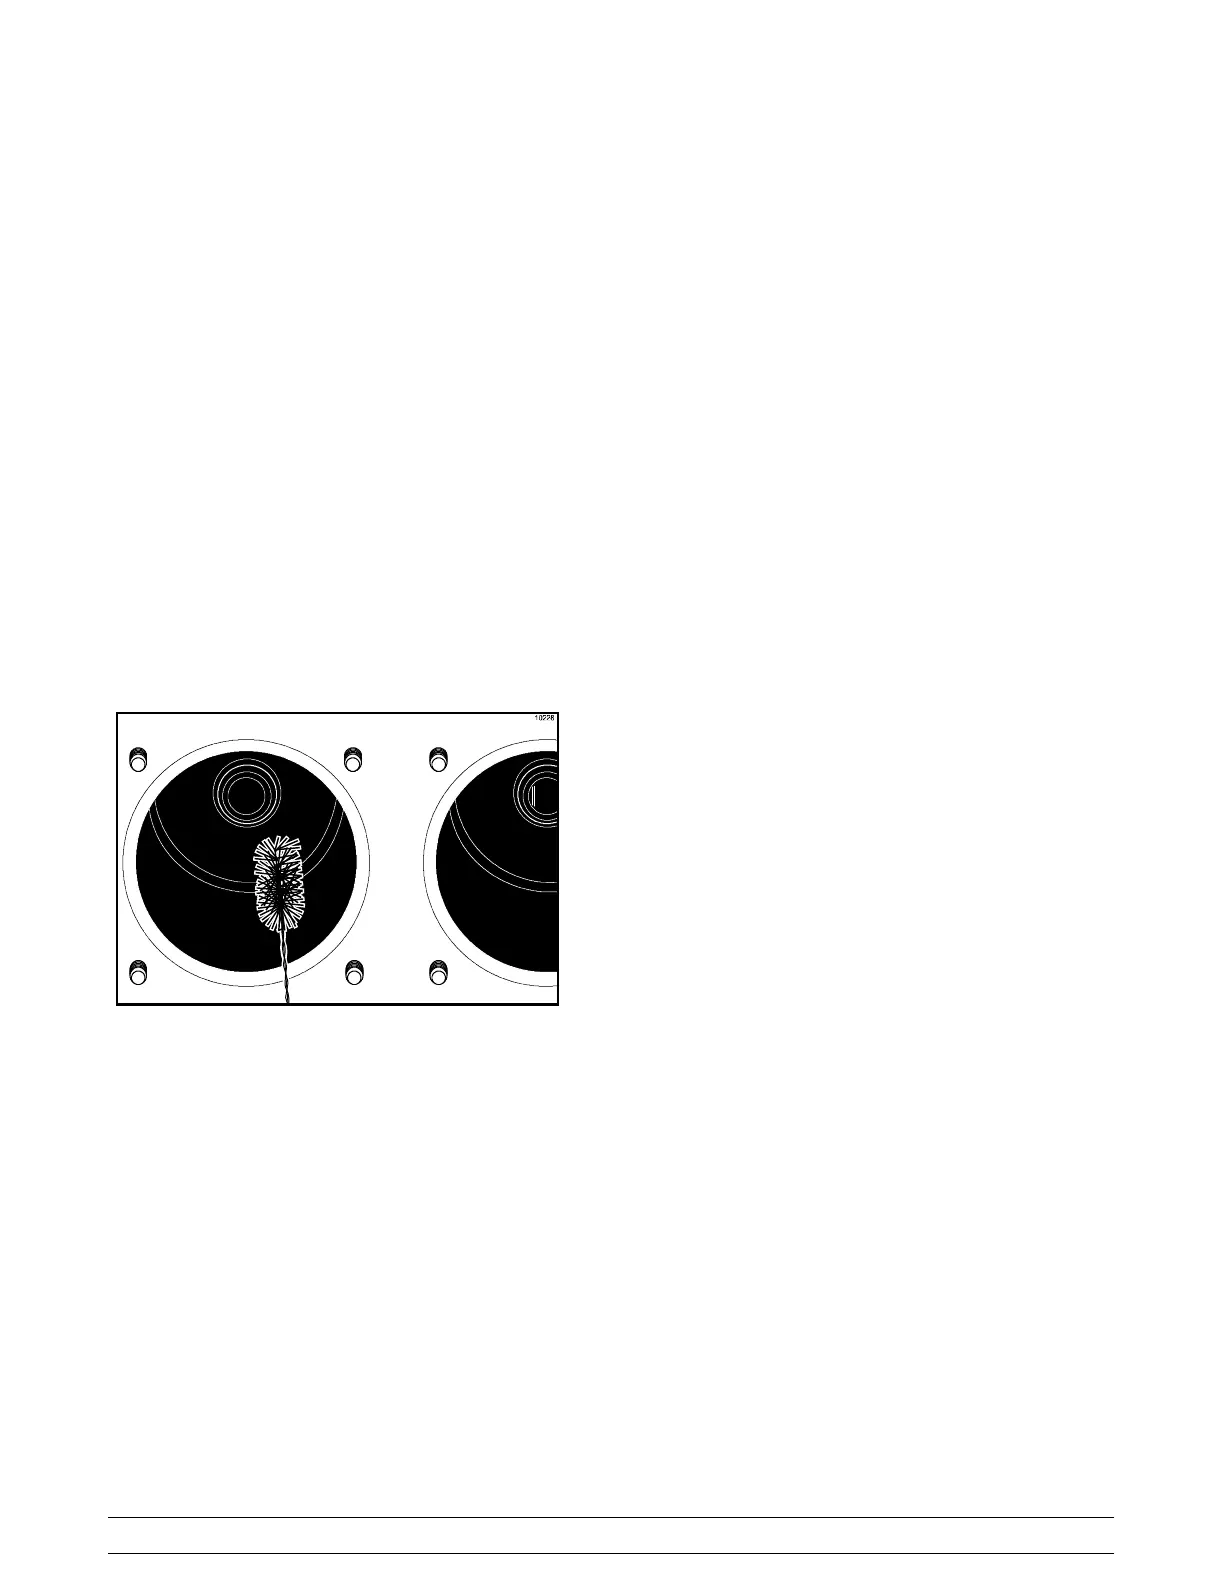
Step 2
Return to the freezer with a small amount of
cleaning solution. With a single service towel, wipe
clean the rear shell bearing surface. Brush--clean
the rear shell bearings at the back of the freezing
cylinders with the black bristle brush.
Figure 45
Step 3
Remove the:
S seals and o--rings from the drive shafts
S drive shaft seal bushings from drive shaft
seals
S caps and springs from freezer doors
S screws and draw handle slides from freezer
doors
S pivot pins from draw valves
S draw valve handles from freezer doors
S draw valves from freezer doors
S o--rings from draw valves
S prime plugs from freezer doors
S o--rings from prime plugs
S o--rings and front bearings from freezer
doors
Discard all o--rings and replace them with new ones.
Note: To remove o--rings, use a single service towel
to grasp the o--ring. Apply pressure in an upward
direction until the o--ring pops out of its groove. With
the other hand, push the top of the o--ring forward. It
will roll out of the groove and can be easily removed.
If there is more than one o--ring to be removed,
always remove the rear o--ring first. This will allow
the o--ring to slide over the forward rings without
falling into the open grooves.
Step 4
Using a single--service towel, wipe the lubricant off
the parts. Brush--clean all disassembled parts in the
cleaning solution. Make sure all lubricant and syrup
is removed. Place all the cleaned parts on a clean,
dry surface to air--dry.
Step 5
Wipe clean all the exterior surfaces of the freezer.